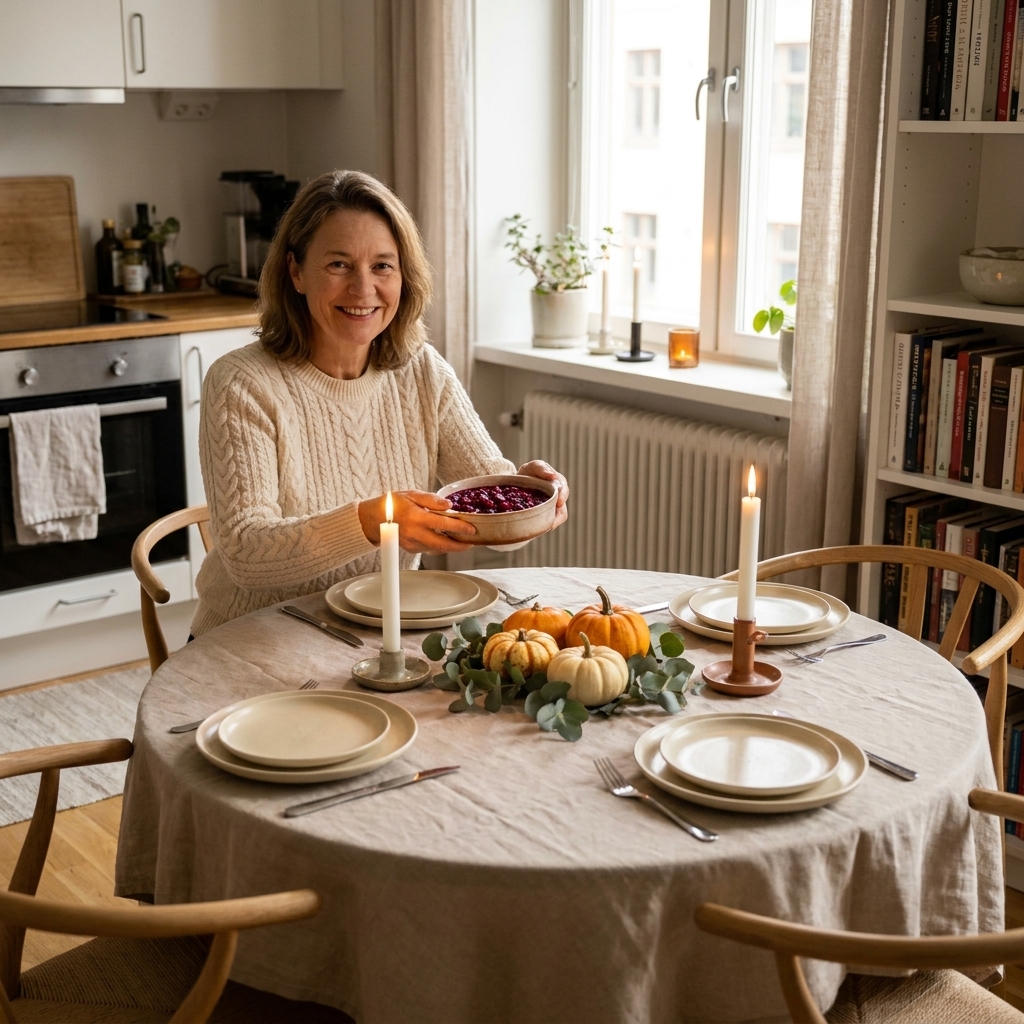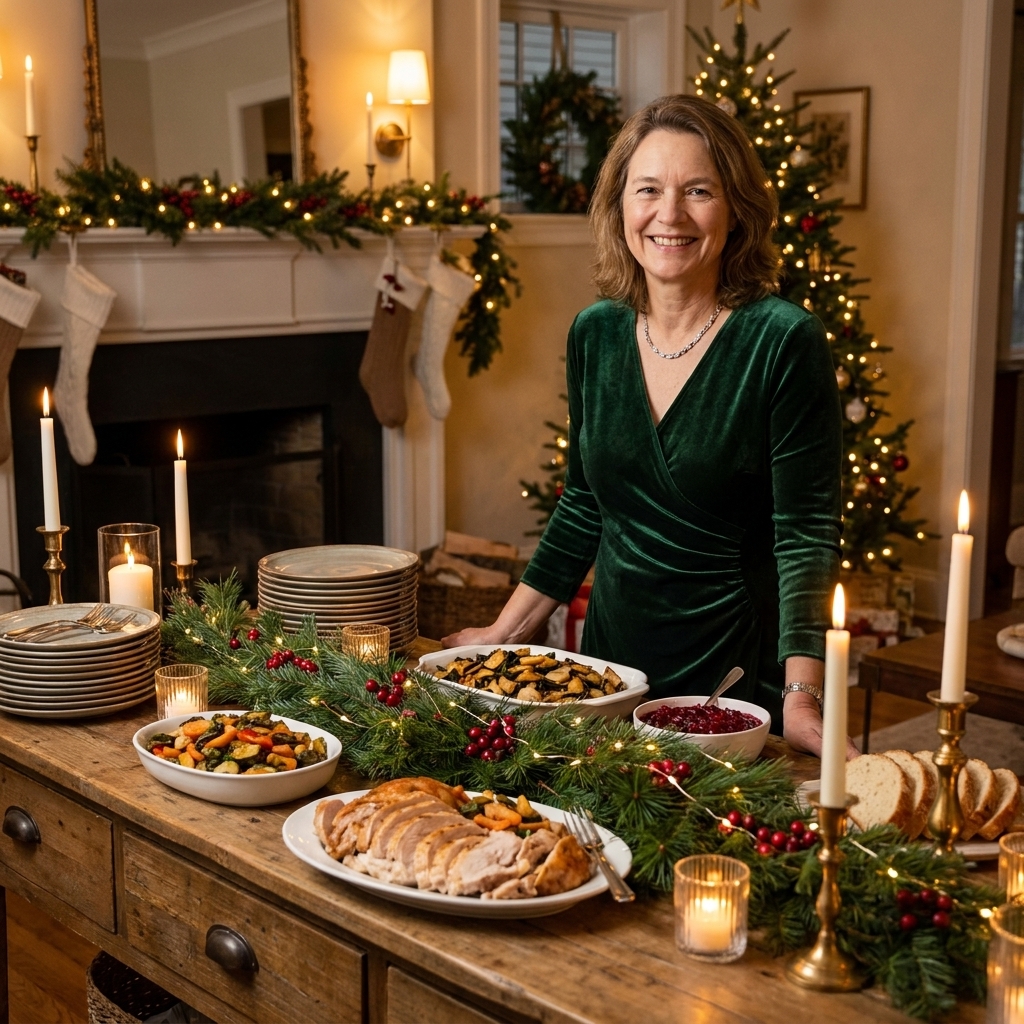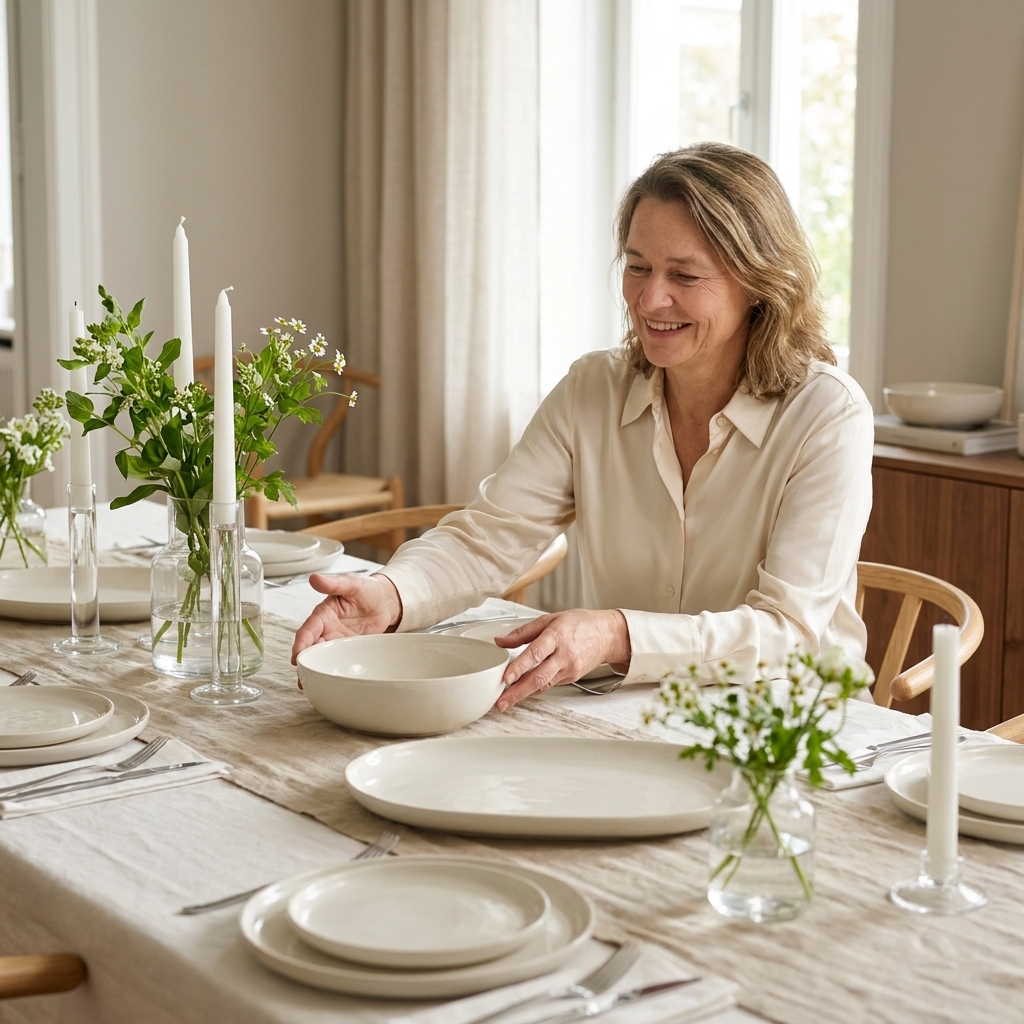
A practical, pretty guide to layering linens, chargers, centerpieces, and place settings for a warm, memorable Thanksgiving table.
The Festive Dwell
Layered Christmas Dinner Tablescape
Design a layered Christmas dinner tablescape that feels rich, welcoming, and totally doable. Learn how to stack chargers, plates, linens, and centerpieces like a pro, plus color palette ideas and a stress-free setup timeline.

Clara Jenkins
Clara Jenkins is a former visual merchandiser and lifelong holiday enthusiast who believes every season is worth celebrating. She helps readers transform their everyday spaces into magical, welcoming homes through budget-friendly DIYs, elegant tablescapes, and clever styling tricks. When she isn't untangling fairy lights or hot-gluing autumn wreaths, Clara can be found hunting for vintage ornaments at local flea markets.
Published October 17, 2026
Updated October 17, 2026
If you have ever looked at a magazine-worthy Christmas table and thought, “Beautiful… but how do people actually pull that off?” you are my people. Layering is the secret. Not layering as in “buy a cart full of stuff,” but layering as in building a table in intentional steps so it looks lush, cohesive, and guest-ready.
I learned this during my visual merchandising days: the most impressive displays are almost always built on a repeatable formula. For your Christmas dinner tablescape, that formula is simple: start with the foundation, add structure, then finish with sparkle and nature. Let’s build yours, one layer at a time.
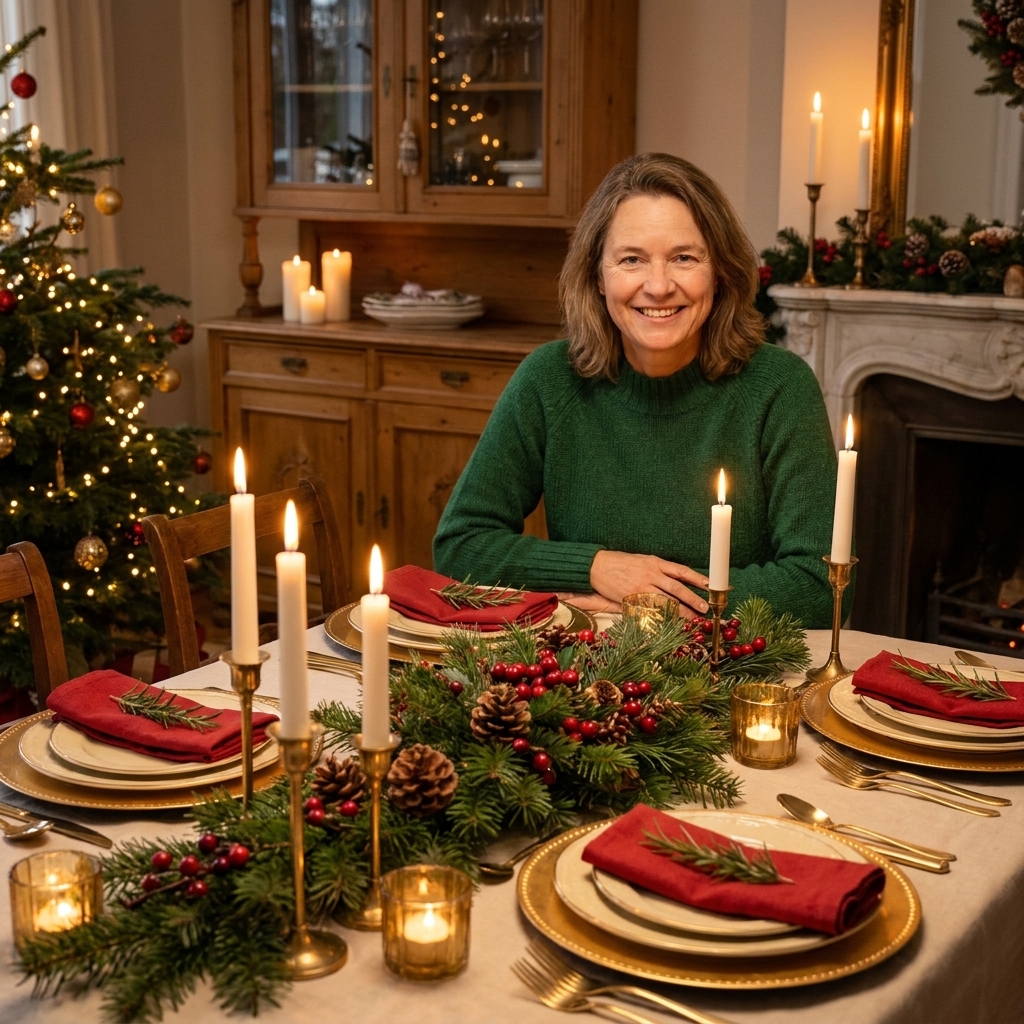
Before You Start: Pick Your Table Story
A layered tablescape feels elevated when it tells one clear story. That story is usually your color palette plus one supporting theme (classic, rustic, modern, vintage, wintry).
My easiest palette rule
Choose 2 main colors + 1 metal + 1 neutral. You can add a tiny accent, but only a tiny one.
- Classic: red + green + gold + ivory
- Soft and romantic: blush + cranberry + brass + cream
- Moody: forest green + black + gold + taupe
- Snowy: white + silver + icy blue + natural wood
- Vintage: burgundy + hunter green + antique gold + warm white
If you are stuck, look at your room. Your table should complement the space, not compete with it. If your dining room already has bold wallpaper or colorful art, go calmer on the table and let the layers come from texture instead of extra color.
Layer 1: The Foundation
This is the backdrop, and it affects everything that comes after. Pick one of these approaches and commit to it.
Option A: Tablecloth
A tablecloth instantly makes things feel “event.” It also hides mix-and-match chairs or table legs and gives you a clean base for layering. For Christmas, I love crisp white, warm ivory, deep green, or a subtle woven neutral.
Option B: Runner on bare wood
A runner creates a strong center line and makes your centerpiece styling easier. Linen, velvet, and even kraft paper can look stunning.
Option C: Bare table + placemats
This keeps the look fresh and unfussy, especially if you have a beautiful wood table. Choose placemats with texture like seagrass, felted wool, beading, or quilted cotton.
Clara tip: Ironing is optional, but steaming is magic. A quick steam makes even an inexpensive runner look boutique.

Layer 2: Placemats and Chargers
Chargers are not required, but they are the fastest way to get that layered, abundant look. Think of them like the frame around a painting.
How to choose chargers
- For sparkle: gold, brass, or hammered metal
- For warmth: rattan, seagrass, or wood
- For drama: black, deep green, or scalloped edges
- For vintage charm: thrifted silverplate (slightly mismatched is part of the magic)
Easy sizing rule
Your charger should be about 2 to 3 inches larger than your dinner plate. If it barely peeks out, the layer disappears.
No chargers? Still layer.
Use a placemat + dinner plate, or a large salad plate as a “charger”. I have done this many times and guests never notice what is “supposed” to be what.
Layer 3: Dinnerware Stack
The key to a luxe stack is contrast. If your charger is bold, keep the plates simpler. If your plates are patterned, keep the charger neutral.
Quick note: Etiquette varies by meal and family, and that is perfectly fine. This is a styling-first approach that still functions for dinner.
Go-to stacking formulas
- Classic: metallic charger + white dinner plate + holiday salad plate
- Modern: black charger + white dinner plate + matte stoneware bowl
- Cozy: woven charger + speckled stoneware dinner plate + shallow pasta bowl
- Vintage: silverplate charger + transferware plate + petite bread plate
Practical note: If your menu includes soup, set the soup bowl on top from the start. If soup is served later, you can style with the salad plate now and bring bowls out when it is time.
Layer 4: Linens
Linens are where a table starts to feel intentionally designed. Napkins, in particular, add height and softness to all that ceramic and metal.
Best Christmas napkin fabrics
- Linen: relaxed, elevated, and easy to re-style
- Cotton: crisp and classic, great for folding
- Velvet: instantly holiday, especially in jewel tones
Three easy napkin styles
- The simple rectangle: fold lengthwise and lay under the cutlery or across the plate
- The casual knot: tie once, tuck the tail, done
- The standing napkin: a loose fan fold tucked into a ring for height
Clara tip: Want that lush layered look without buying new napkins? Add a second layer with a skinny ribbon, twine, or velvet bow around a basic neutral napkin.
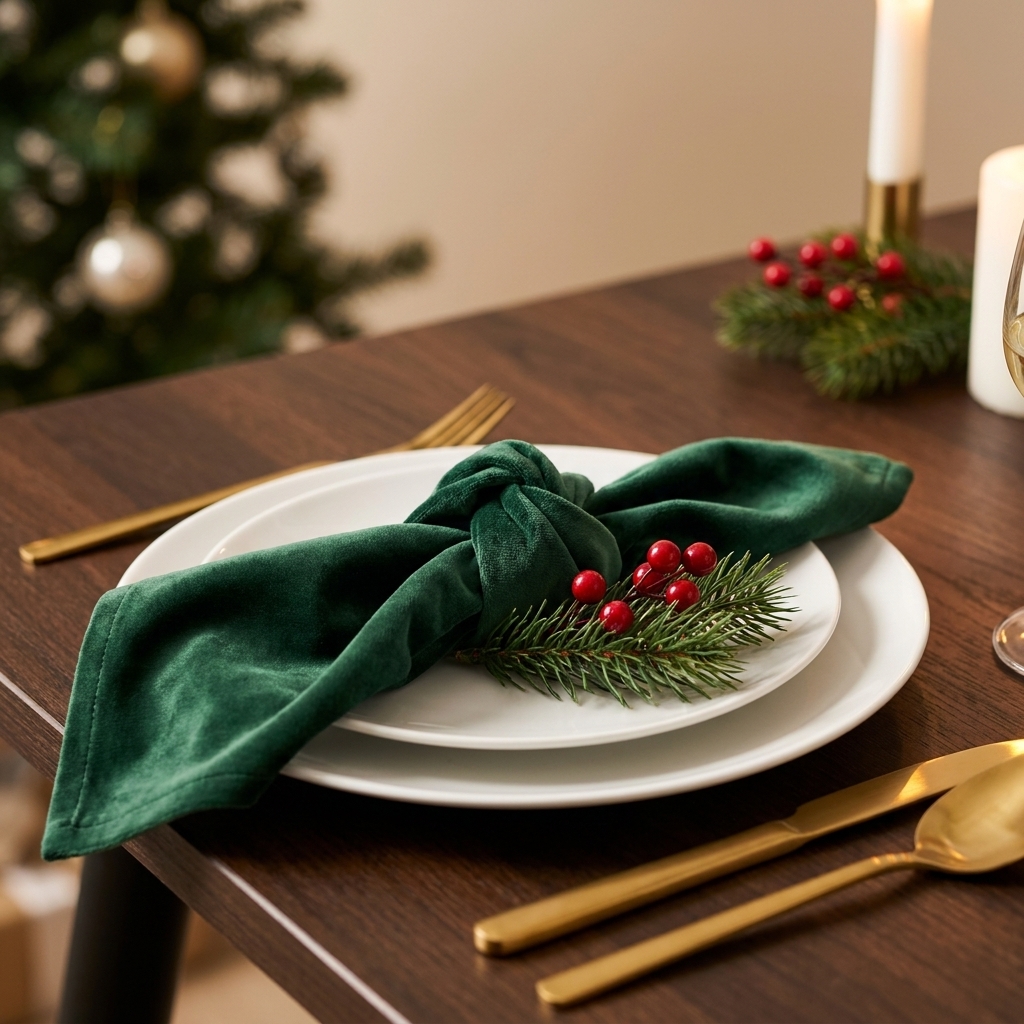
Layer 5: Flatware and Glassware
Flatware and glassware are like the quiet supporting cast. When they are consistent, everything else looks more “designed.”
Flatware tips
- Choose one finish: gold, silver, brass, or black
- Go classic on shapes: ornate flatware is beautiful, but it can clash with patterned plates
- Place with intention: align bottoms of handles for a tidy, restaurant-level look
Glassware tips
- Two-glass minimum (if space allows): water + wine (or sparkling)
- Three-glass holiday set: water + wine + champagne coupe or flute
- Small table workaround: water goblet + one stemless wine glass keeps it pretty and practical
- Mixing is fine: just repeat the same style at every setting
If you only have mismatched glasses, make it look intentional by keeping the shapes similar and repeating a single color, like all clear glass or all smoked glass.
Layer 6: The Centerpiece
A show-stopping centerpiece does not have to be tall, expensive, or complicated. The goal is to create a path down the center of the table that feels abundant while still letting people see each other.
The rule I never break
Keep most elements below eye level. If you want height, use fewer tall pieces and keep them airy.
Three centerpiece formulas
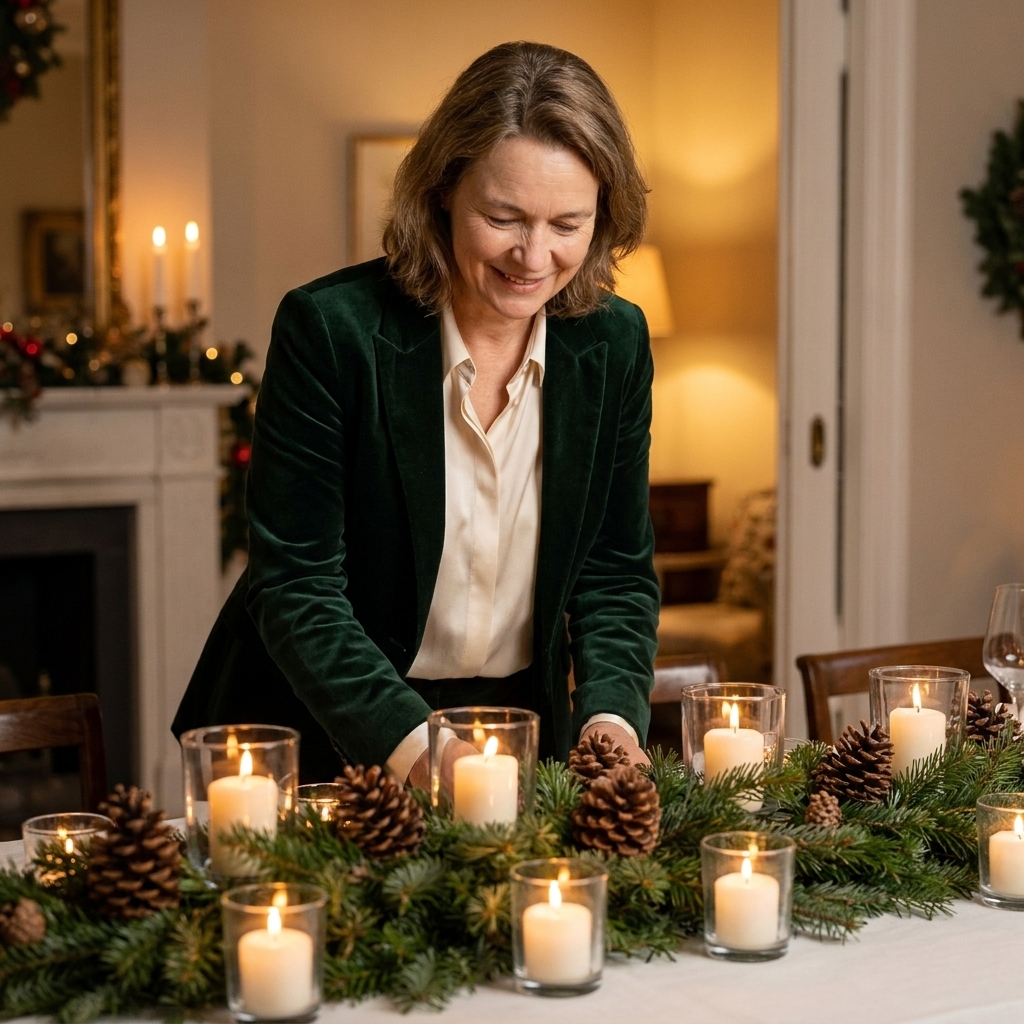
1) Greenery garland + candle clusters
Lay greenery (real or faux) down the center, then add candle groups every 12 to 18 inches. Tuck in ornaments or pinecones for sparkle.
2) One statement arrangement + minis
Place one larger floral or greenery arrangement in the center, then flank it with mini bud vases or small candle holders.
3) A runner of bowls
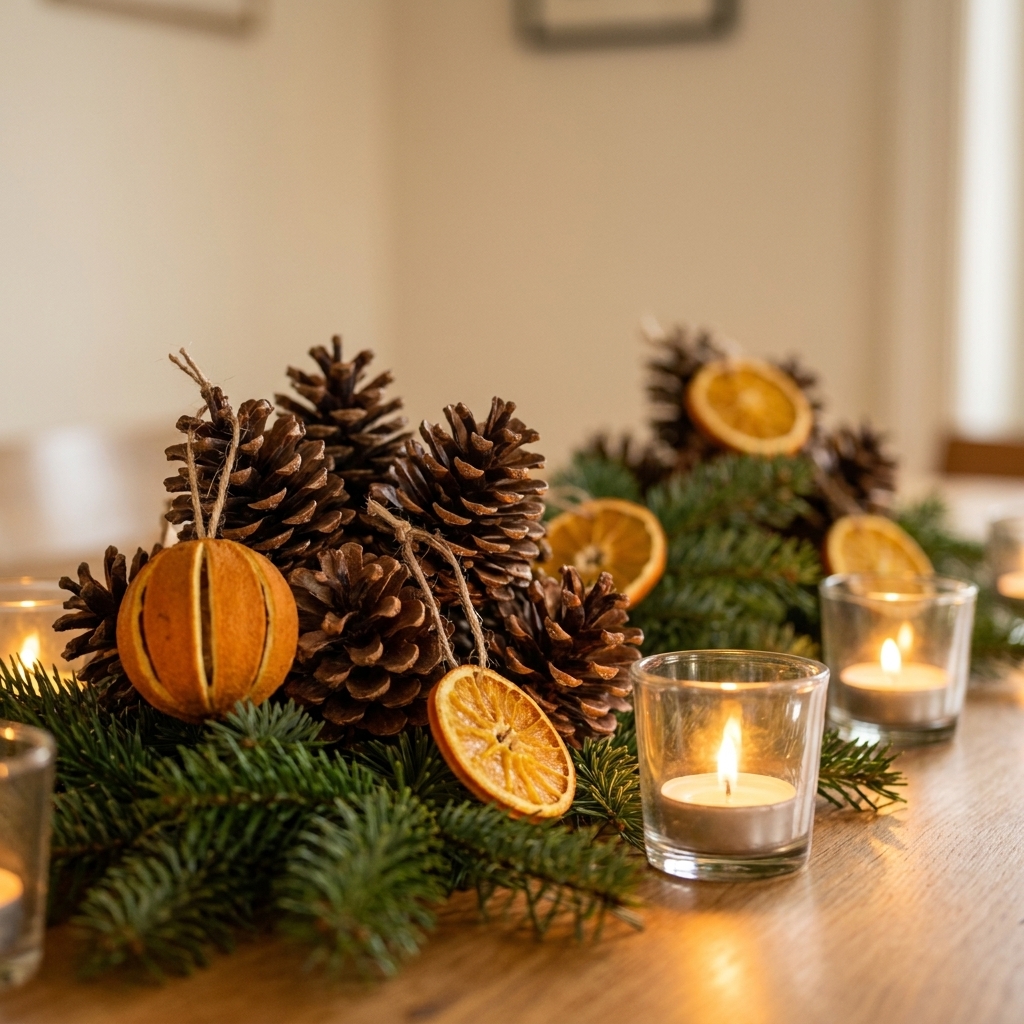
Use 3 to 5 low bowls or compotes, each filled with ornaments, citrus, or pinecones. Add votives between for glow.
Safety note: If you are using real greenery, keep it away from open flames. Aim for several inches of clearance at minimum, use glass hurricanes when you can, and never leave candles unattended. I love the look of taper candles, but I also love not calling the fire department.
Layer 7: Place Cards and Extras
This is where the table goes from pretty to unforgettable. Place cards also prevent that awkward “Where should we sit?” shuffle.
Easy place card ideas
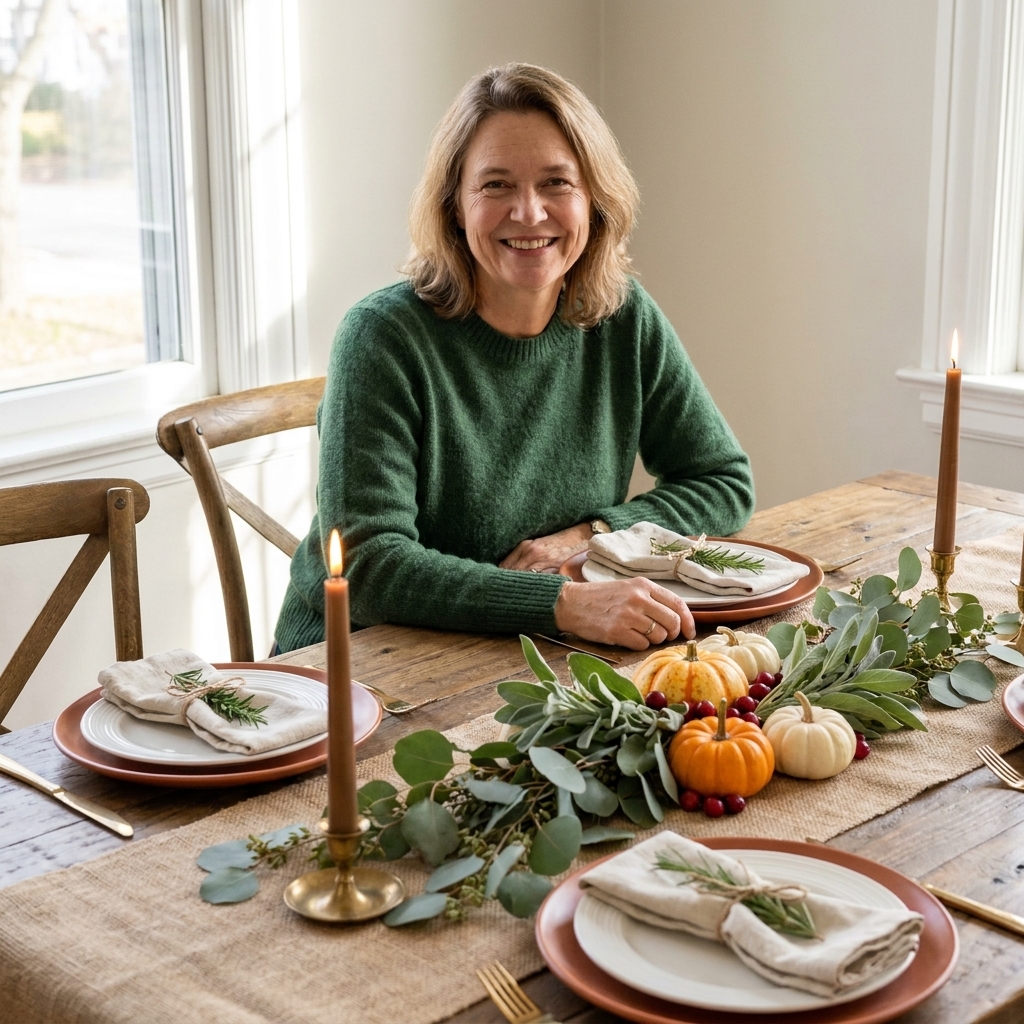
- A kraft tag tied to the napkin with twine and a sprig of rosemary
- A small ornament with the guest’s name written in paint pen and placed on the plate
- A folded card tucked into a mini wreath napkin ring
- A cinnamon stick bundle tied with velvet ribbon and the name tag attached
If you want to add a favor, keep it edible or useful: a chocolate truffle, a tiny jam, or a tealight in a pretty holder.
Putting It Together: Layering Order
When you build in a set order, you avoid the common styling trap of moving things around for an hour and somehow making it worse. Here is my tried-and-true sequence.
Base layer: tablecloth or runner
Center line: greenery or centerpiece anchor
Chargers or placemats: set spacing first
Plates and bowls: stack consistently
Flatware: align and repeat
Glassware: add height and sparkle
Napkins and rings: add softness and color
Candles: place last so you do not knock them over
Place cards: finalize seating and finish the look
Spacing shortcut: Aim for about 22 to 24 inches per person if you can. If your table is tight, reduce centerpiece width and use slimmer glassware to buy back space.
Quick placement cheat sheet
- Plates: centered on each seat
- Forks: left side
- Knife and spoon: right side (knife blade facing the plate)
- Glasses: above the knife area, starting with water closest to the plate
- Napkin: on the plate, under the forks, or in a glass, choose one method and repeat it
Three Looks to Copy
Classic Red and Gold
- Base: ivory tablecloth + plaid runner
- Chargers: gold beaded
- Dinnerware: white plates + red salad plates
- Linens: white napkins with velvet red ribbon
- Centerpiece: greenery garland + gold votives + red ornaments
- Extra: place cards on mini ornaments
Natural Winter Woodland
- Base: bare wood table + oatmeal linen runner
- Chargers: woven seagrass
- Dinnerware: creamy stoneware
- Linens: warm gray napkins, casual knot
- Centerpiece: cedar branches + pinecones + white pillar candles in glass
- Extra: rosemary sprigs tucked into napkins
Modern Green and Black
- Base: white tablecloth + deep green runner
- Chargers: matte black
- Dinnerware: white plates, simple shape
- Linens: black napkins with a gold ring
- Centerpiece: minimal eucalyptus line + tall tapers in black holders
- Extra: single gold ornament at each place
Budget Tricks That Look Expensive
- Shop your house first: brass candlesticks, clear vases, ribbon, small bowls, even pretty hardcover books for height on a buffet
- Use nature as filler: pinecones, evergreen clippings, dried orange slices, rosemary, cinnamon sticks
- Repeat one sparkle element: ornaments in the centerpiece and one at each setting looks coordinated without buying more decor
- Upgrade with a single investment: one set of chargers, one great runner, or a set of candlesticks can carry you for years
- Make mismatched feel intentional: keep color consistent, vary texture
Set-Up Timeline
2 to 3 days before
- Wash and polish glassware and flatware
- Iron or steam linens
- Draft a seating plan and write place cards
1 day before
- Set tablecloth or runner
- Place chargers and plates (leave glassware off if you have curious pets or kids)
- Build centerpiece base with faux greenery or non-perishables
Day of
- Add fresh greenery, florals, and fruit
- Set glassware
- Add candles (light them 10 minutes before guests sit)
- Place napkins, place cards, and any favors
Clara confession: I always do a quick walk-around with a lint roller and a microfiber cloth. Candle wax fingerprints and evergreen bits love to appear at the last second.
Real Greenery Tips
- Protect your linens: if you are using fresh pine, cedar, or fir, run it along a runner or a strip of kraft paper so sap stays off your fabric.
- Expect shedding: keep a small handheld vacuum or a sticky lint roller nearby for quick cleanups.
- Keep fruit away from heat: dried citrus is happiest away from open flames and hot bulbs, and fresh citrus can sweat if it is right next to warmth.
Common Mistakes
Your centerpiece is too tall
Fix: Swap one tall arrangement for several low elements. Use candlelight to add drama without blocking conversation.
It feels cluttered
Fix: Remove one category. Usually it is extra decor scattered around place settings. Let the centerpiece be the decor and keep each setting clean.
The colors feel chaotic
Fix: Pull back to one neutral and one metal. Replace loud napkins with cream or flax. Add cohesion with repeating greenery.
Guests have no elbow room
Fix: Slim down the center. Use bud vases and votives instead of wide arrangements. Move serving platters to a sideboard or kitchen.
FAQ
Do I have to use chargers for a layered look?
No. A placemat, a dinner plate, and a napkin with a pretty ring or ribbon can still read as layered. Chargers just make it faster.
How do I keep the table looking nice during the meal?
Use a centerpiece that is mostly low, keep serving dishes off the table if possible, and choose candles in holders that catch drips. If you are serving family-style, leave a few open parking spots down the center for platters.
Real greenery or faux?
Both work. Faux is reusable and less messy. Real has unbeatable scent and texture. I often do a faux base and tuck in a few real clippings right before guests arrive.
What is the easiest way to make it feel Christmas without going overboard?
Greenery + candlelight + one bold accent color. That trio reads festive every time.
My Last Styling Pep Talk
A layered Christmas table is not about perfection. It is about creating a warm landing place for your people. If the napkins are not folded like a luxury hotel and the centerpiece leans a little to the left, nobody will care once the room is glowing and everyone is laughing.
Start with your foundation, build your layers in order, and let candlelight and greenery do what they do best: make everything feel magical.