Recreate 15 elevated Christmas tree themes with simple shopping lists: color palettes, ornament counts, ribbon lengths, plus step-by-step ribbon and bow tech...
The Festive Dwell
Personalized Salt Dough Christmas Ornaments
Make personalized salt dough ornaments with an easy recipe, clear baking cues, painting ideas, and sealing tips so your keepsake ornaments last for years.

Clara Jenkins
Clara Jenkins is a former visual merchandiser and lifelong holiday enthusiast who believes every season is worth celebrating. She helps readers transform their everyday spaces into magical, welcoming homes through budget-friendly DIYs, elegant tablescapes, and clever styling tricks. When she isn't untangling fairy lights or hot-gluing autumn wreaths, Clara can be found hunting for vintage ornaments at local flea markets.
Published October 17, 2026
Updated October 17, 2026
There is something wildly satisfying about pulling a tray of salt dough ornaments out of the oven and realizing you just made instant family heirlooms with pantry staples. These are the ornaments I reach for when I want the tree to feel personal, not perfect: little handprints, names in wobbly letters, and tiny snowflakes that somehow still make everyone gasp when they go up.
This guide walks you through my go-to salt dough recipe, how to shape and bake without cracking, and my favorite ways to personalize and paint so they last for seasons to come.
What to expect: about 12 to 20 ornaments (depending on size and thickness) and roughly 30 to 45 minutes of hands-on time, plus 2 to 4 hours of baking and cooling.

What you will need
Ingredients (classic salt dough)
- 2 cups all-purpose flour
- 1 cup table salt (fine salt helps the dough feel smoother)
- 3/4 to 1 cup warm water (add gradually)
Tools and supplies
- Mixing bowl and spoon
- Rolling pin (a wine bottle works in a pinch)
- Cookie cutters or a butter knife for freehand shapes
- Drinking straw or skewer (for hanging holes)
- Baking sheet
- Parchment paper or a silicone mat
- Cooling rack
- Acrylic craft paint and small paintbrushes
- Permanent marker or paint pen (optional, for names and dates)
- Ribbon, twine, or ornament hooks
- Sealer: water-based polyurethane, acrylic sealer spray, or Mod Podge (more on this below)
Important: These ornaments are not edible. Salt dough is very high in salt, so keep it away from small kids and pets who might sneak a bite.

Salt dough recipe
Step 1: Mix dry ingredients
In a large bowl, stir together 2 cups flour and 1 cup salt until evenly combined.
Step 2: Add warm water slowly
Pour in 3/4 cup warm water and stir. Add more water, 1 tablespoon at a time, until the dough comes together.
You are aiming for dough that is smooth and pliable, not sticky. If it feels tacky, knead in a sprinkle of flour. If it cracks when you knead, add a few drops of water.
Step 3: Knead until smooth
Knead on a lightly floured surface for 3 to 5 minutes. This helps prevent crumbly edges when you cut shapes.
My tip: If you want a slightly smoother finish for painting, knead an extra minute and roll the dough a touch thicker. Thin ornaments are cute, but they are also the first to warp.
Shape and personalize
Step 4: Roll the dough
Roll the dough to about 1/4 inch thick for sturdy ornaments. If you are doing handprints, go a bit thicker, closer to 3/8 inch.
Try to keep the thickness even across the whole ornament. Uneven spots dry at different speeds, which can lead to warping or puffing.
Step 5: Cut shapes
Use cookie cutters, or cut freehand hearts, tags, gingerbread people, or simple circles. Lift shapes with a thin spatula if they are stretching.
Step 6: Add a hanging hole
Use a straw to punch a clean hole near the top. Make it slightly larger than you think you need, because it can shrink a bit as it dries and bakes.
Step 7: Personalize while the dough is soft
- Names and dates: Use letter stamps, a skewer, or a toothpick to write gently.
- Handprints: Press a small hand firmly and evenly. If the dough sticks, dust the hand with a tiny bit of flour first.
- Paw prints: Press a clean paw for a second, then lift straight up. Have a wipe ready and reward your helper immediately. Salt dough is not pet-safe to eat, so supervise closely and wash paws after.
- Texture: Press lace, a pine sprig, or a small cookie stamp into the surface for beautiful detail.
If you have any rough edges or tiny cracks, smooth them now with a lightly damp fingertip. It makes a bigger difference than you would think.

Bake and dry
Step 8: Bake gently
Preheat oven to 200°F to 250°F (95°C to 120°C). Place ornaments on a parchment-lined baking sheet.
To prevent browning: bake on the middle rack. If you are using convection, consider lowering the temperature slightly and start checking early.
- For 1/4 inch thick ornaments: bake about 2 to 3 hours
- For thicker handprints: bake about 3 to 4 hours
Flip ornaments halfway through for more even drying, especially if they are on the thick side.
Step 9: Cool and check for doneness
Turn off the oven and crack the door for 10 minutes, then remove the tray. Let ornaments cool fully before painting.
Doneness cue: fully baked ornaments should feel hard and dry all the way through. If an ornament feels cool, damp, or slightly soft in the center after cooling, put it back in the oven for another 20 to 30 minutes and check again. Underbaked ornaments are the ones that can develop mold later.
Warm ornaments can trap moisture under paint and sealer, which can lead to bubbling later.
Troubleshooting: quick fixes
- Cracks: You can fill small cracks with a tiny bit of fresh dough, smooth with a damp finger, and re-bake until dry.
- Warping: Rolling too thin is the main culprit. Next time, go thicker. If one warps slightly, paint and ribbon usually hide it once it is hanging.
- Rough edges: Lightly sand cooled ornaments with fine grit sandpaper before painting.
Paint your ornaments
Step 10: Base coat (optional)
If you want crisp colors, paint a quick base coat of white acrylic and let it dry. This is especially helpful if your dough baked a little golden.
Step 11: Add color
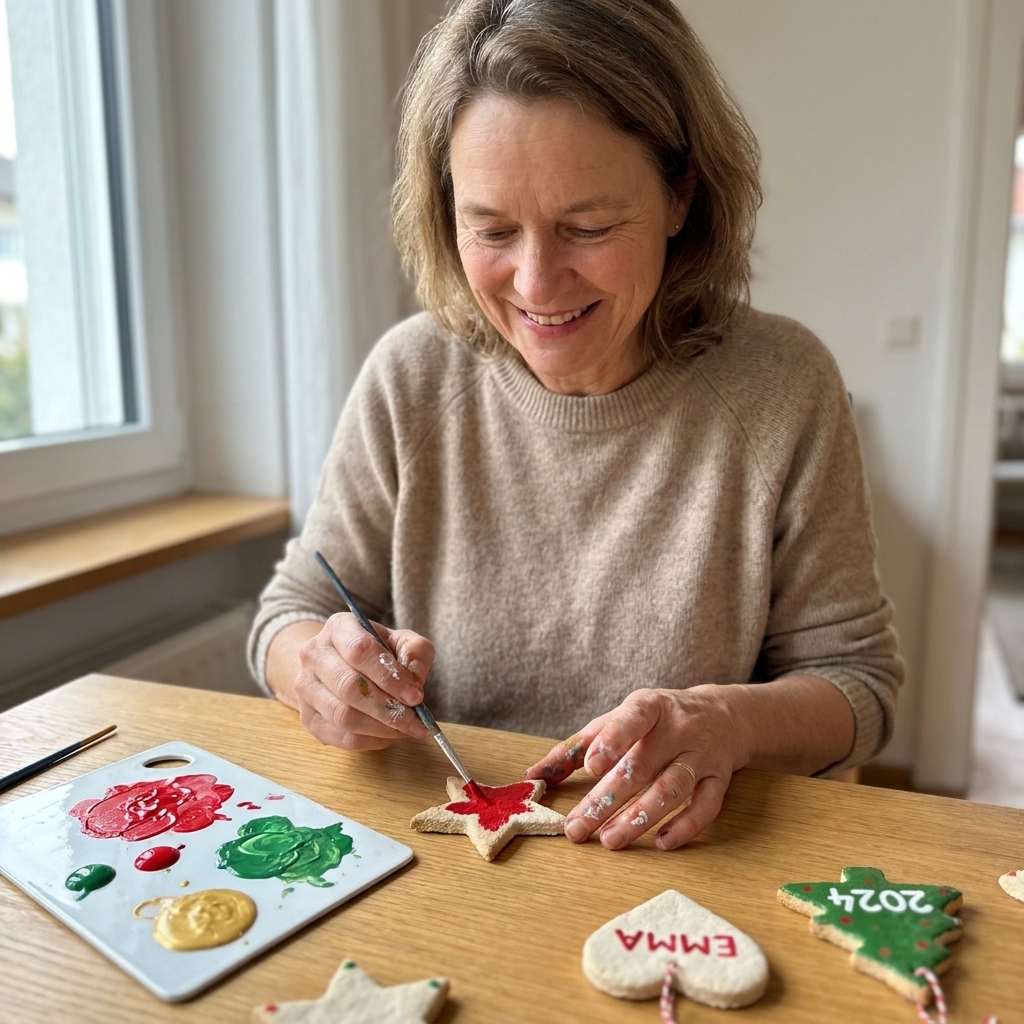
Use acrylic craft paint. Two thin coats look smoother than one thick coat. Let each coat dry before adding the next.
Step 12: Add names and dates
- Paint pen: My favorite for clean names and tiny dates.
- Permanent marker: Works well on a sealed base coat, but test first since some markers bleed on porous surfaces.
- Classic handwritten look: Use a tiny brush and slightly watered-down paint for a sweet, homemade vibe.
Easy designs that always work
- Minimalist: One solid color plus a name in white or gold.
- Vintage: Cream base, muted greens and reds, tiny dots or holly sprigs.
- Scandi: White base with simple black line art (stars, trees, hearts).
- Glam: Add a dusting of fine glitter while paint is tacky, or dry-brush metallic gold on raised texture.
Seal for durability
Salt dough ornaments are naturally porous. Sealing helps protect them from humidity and fingerprints, and it keeps the paint from scuffing when they are stored.
Best sealers
- Water-based polyurethane (brush-on): Very durable and my top pick for ornaments you want to keep for years. Choose matte, satin, or gloss.
- Acrylic sealer spray: Fast and even coverage, great if you made a big batch. Spray outdoors or in a well-ventilated area and follow label instructions.
- Mod Podge: Easy and accessible, but can feel tacky in humid climates. If you use it, let ornaments cure for several days before stacking for storage.
Seal both sides and the edges. Let the first side dry completely before flipping.
Humidity note: In very humid homes, even some clear sealers can feel slightly tacky. A second coat, longer cure time, and storing ornaments with parchment between layers helps a lot.
Ribbon and hanging
Once sealed and fully dry, thread ribbon or twine through the hole.
- For a classic look: natural jute twine and a simple bow.
- For a polished tree: velvet ribbon in one consistent color across all your salt dough ornaments.
- For kid ornaments: bright ribbon makes them easy to spot and extra joyful.
My tip: If the hole feels tight after baking, gently twist a skewer through it rather than forcing ribbon and risking a crack.
How to store them
- Make sure ornaments are fully cured (especially if you used Mod Podge) before boxing them up.
- Layer in a sturdy container with tissue paper or parchment between ornaments.
- Avoid damp basements or hot attics. A closet shelf indoors is ideal.
- If you made handprints or thicker pieces, store them so nothing heavy presses on top.
FAQ
How long do salt dough ornaments last?
When baked thoroughly and sealed well, salt dough ornaments can last for years. The biggest threats are moisture and rough storage, so focus on sealing all surfaces and storing them in a dry spot.
Can I air-dry instead of baking?
You can, but it takes much longer and can increase warping. I recommend baking at a low temperature for the most consistent results.
Why did my ornaments puff up?
Oven temperature is often too high, but puffing can also happen if the dough thickness is uneven, there is trapped air, or the dough is a bit too wet. Keep your thickness consistent, press out air pockets as you roll, and bake gently.
Can I make them ahead of time?
Absolutely. I like to bake one day, paint the next, and seal on day three. It turns the project into a cozy little holiday rhythm instead of a marathon craft session.
A sweet finishing touch
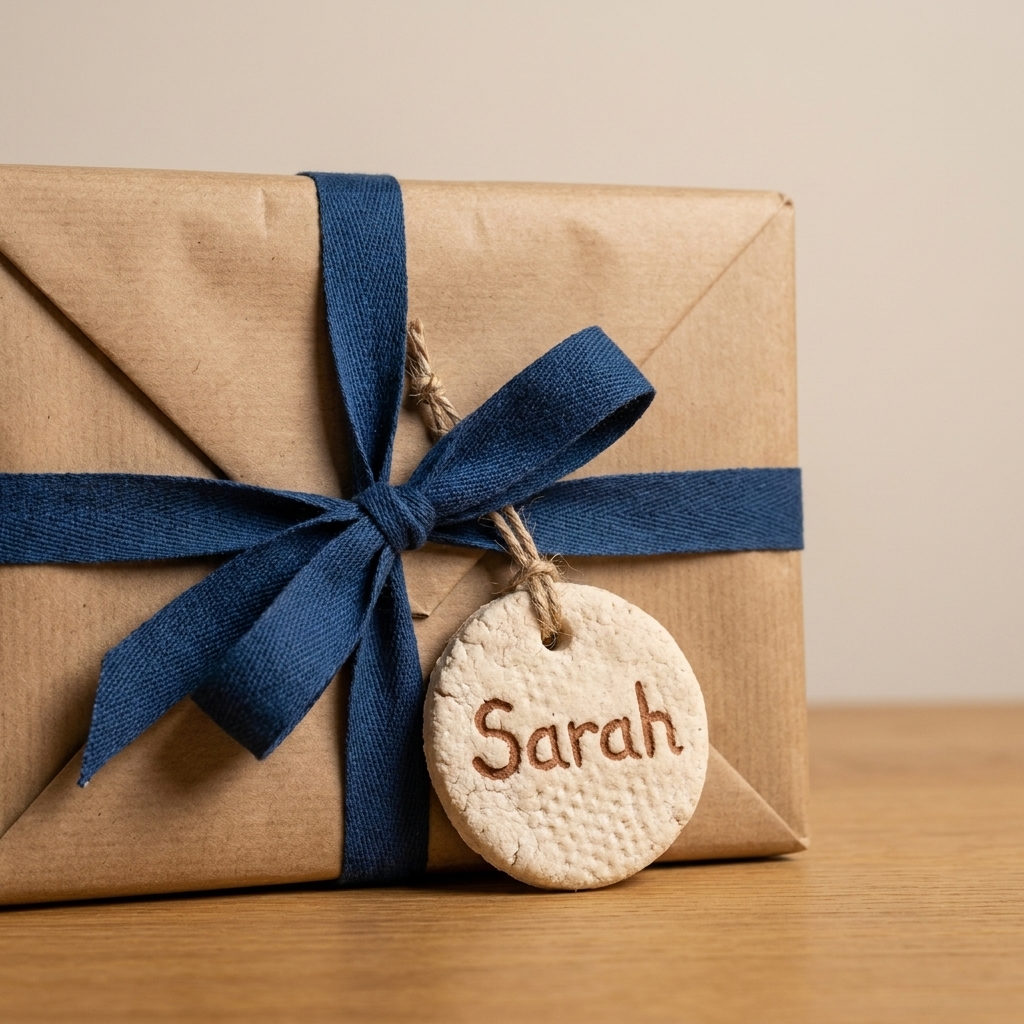
If you want to turn these into instant gifts, tie each ornament onto a wrapped present as a tag. Add the year, and you have a built-in tradition: the ornament goes on the recipient’s tree next December, and suddenly your gift becomes part of their holiday story.
Now go clear a tiny corner of your kitchen table, put on a holiday playlist, and embrace the perfectly imperfect charm. Those are always the ornaments everyone fights over later.