Plan the layout, pick the right lights, and install them safely. Get my favorite backyard string light patterns, spacing tips, and weatherproofing details fo...
The Festive Dwell
How to Hang Christmas Lights on Gutters and Rooflines
Learn how to hang Christmas lights on gutters, shingles, and roof peaks with straight lines and minimal hassle. Includes measuring, clip spacing guidance, electrical safety, ladder tips, and timers.

Clara Jenkins
Clara Jenkins is a former visual merchandiser and lifelong holiday enthusiast who believes every season is worth celebrating. She helps readers transform their everyday spaces into magical, welcoming homes through budget-friendly DIYs, elegant tablescapes, and clever styling tricks. When she isn't untangling fairy lights or hot-gluing autumn wreaths, Clara can be found hunting for vintage ornaments at local flea markets.
Published November 16, 2026
I learned this the hard way as a visual merchandiser: the difference between “pretty from the street” and “why does that line look wavy?” is almost always prep. Rooflines are basically long, unforgiving runways. When you measure first, use the right clips, and keep your spacing consistent, your lights read crisp and intentional, without having to bend metal.
Below is my go-to method for hanging Christmas lights along gutters, shingles, and roof peaks so they stay straight, secure, and easy to take down later.
Before you start: pick the right day and the right lights
Exterior installs are much easier when you are not fighting wind, wet leaves, or icy rungs. I aim for a dry day with low wind and daylight to spare.
Quick checklist
- Lights rated for outdoor use (look for an outdoor rating on the tag or packaging).
- Clips made for your surface: gutter clips, shingle clips, or universal style clips that grip without nails.
- A sturdy extension ladder that reaches past the roof edge.
- Outdoor extension cord if needed, plus a weather-resistant outlet cover if your setup requires it.
- GFCI-protected outdoor outlet (or a portable GFCI adapter) for safer power outside.
- Timer (outdoor rated) so you are not flipping switches in the dark all season.
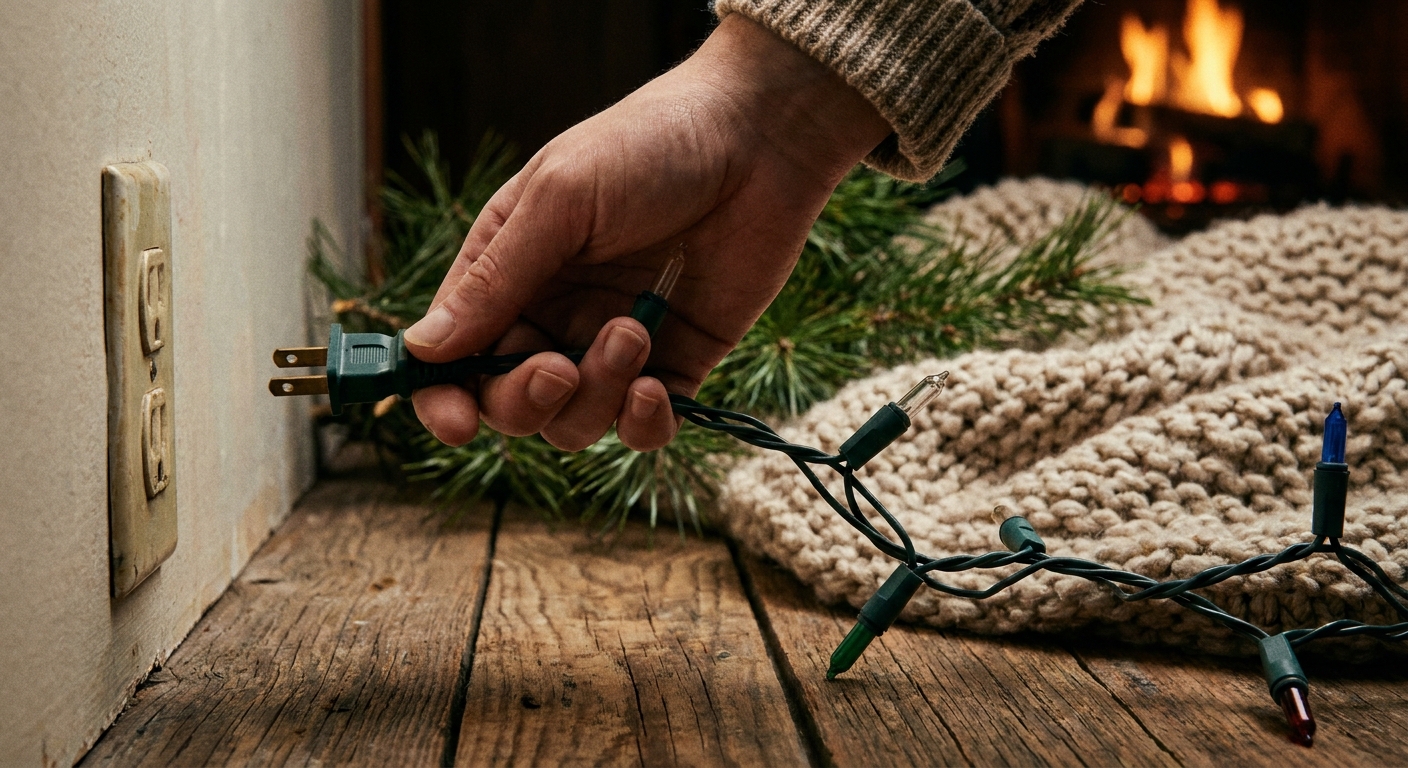
Quick safety check: Before anything goes up, I do a fast inspection pass. If a cord is nicked, cracked, stiff, or has a loose plug, it is out. Outdoors is not the place to “it’s probably fine” a wire.
My visual tip: Decide up front if you want bulbs to point out for maximum curb appeal, or down for a softer glow on the siding. Then choose clips that hold that orientation consistently.
Measure your roofline run (so you do not run out mid-peak)
Measuring is the unglamorous step that makes everything else smoother. The goal is to map your “runs” so you know how many strands you need and where connections will land.
How I measure
- Sketch your roofline in a few simple lines: front gutter, any peaks, garage line, porch, dormers.
- Measure each straight section with a tape measure. If it is hard to reach, pace it out at ground level and confirm with a second method, or use a measuring wheel.
- Add a little slack for corners and dips: I usually add 1 to 2 feet per corner and 2 to 4 feet for any awkward jogs.
- Plan your power start point: pick the outlet you will use, then measure from that outlet to where the first lights begin.
Pro move: Plan strand connections to land near downspouts, corners, or other visual breaks. Your eye forgives seams more easily there.
Choose the right clips for gutters, shingles, and peaks
Clips are what keep your lights straight without bending gutters or tucking wire under shingles. Match the clip type to where the strand will sit, and follow the clip maker’s directions for your exact style.
Gutter clips
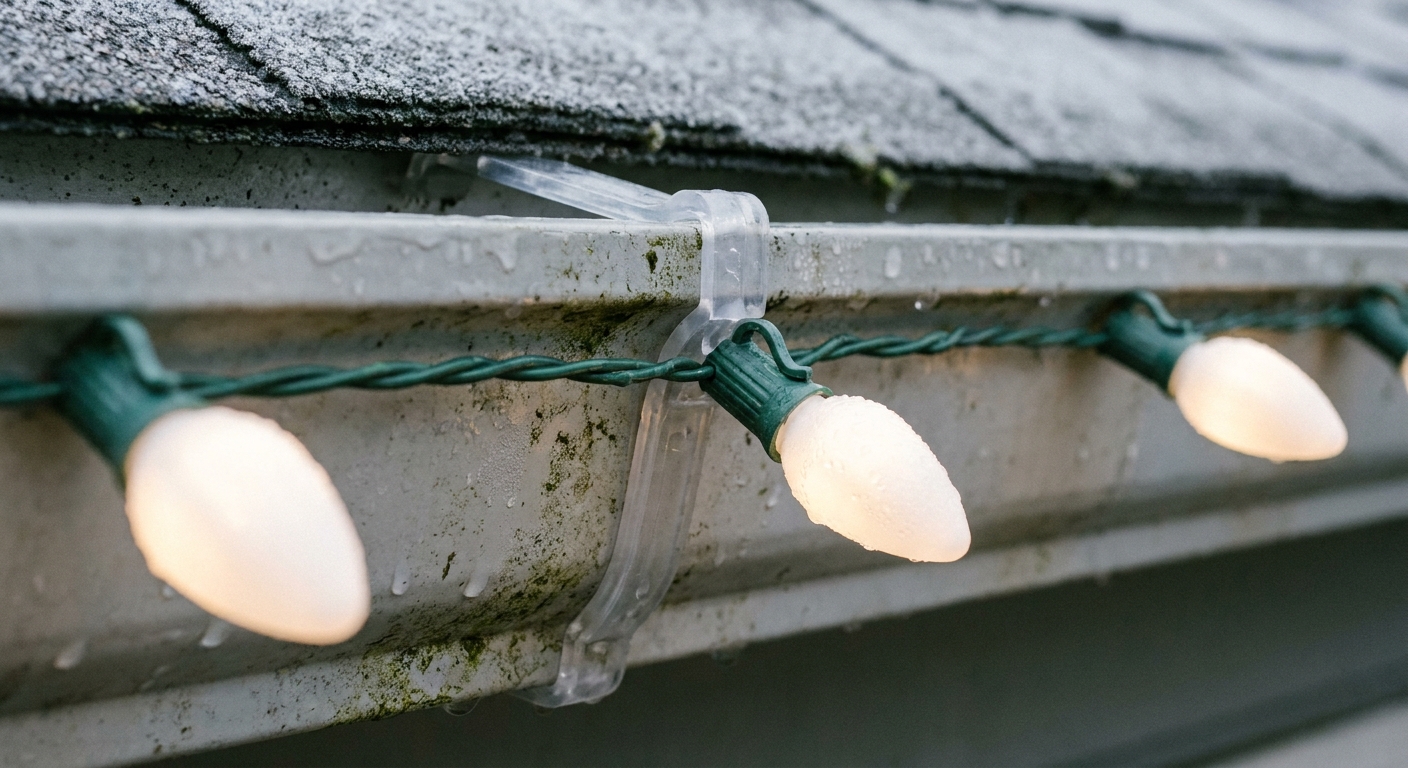
Use these when your lights will run along the outer edge of the gutter. Look for clips that snap onto the gutter lip and hold either the wire or the socket.
- Best for: clean, straight lines along eaves.
- Watch out for: thick gutter guards. Some clips will not grab well if the guard is bulky.
Shingle and roofline clips
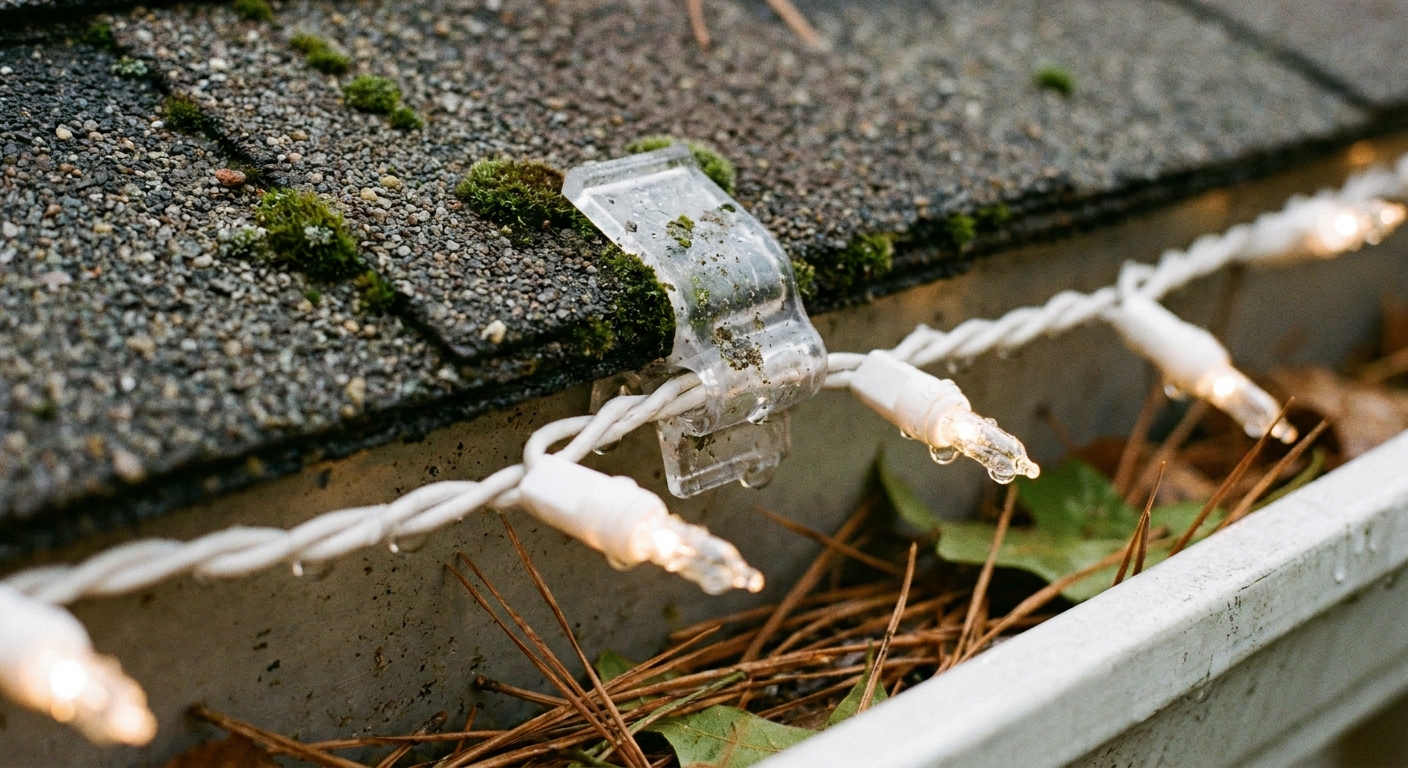
These clips are meant to grip at the roof edge without puncturing. Some styles tuck at the shingle edge, some hug the drip edge, and some catch the shingle lip. The safest path is using the clip as designed, not improvising with pressure.
- Best for: roof edges, rake lines, and spots where gutters are missing or set back.
- Warranty-friendly caution: Avoid breaking the shingle seal strip or lifting shingles more than necessary. If your roof is newer, older, or touchy in cold weather, check your roof warranty guidance and stick to the clip manufacturer’s instructions.
Peak and ridge clips
For roof peaks, you want a clip that can straddle or grip at the ridge cap area and keep the strand centered so it does not slide down one side.
- Best for: symmetrical “A-frame” peaks and dramatic gables.
- Styling tip: Keep bulb direction consistent up the peak and back down for a polished look.
Plan your layout on the ground first
This is my sanity-saving step. Before any ladder comes out, I lay strands on the driveway and confirm:
- Where each strand starts and ends
- Where connections will sit
- Which direction plugs face
- That every strand actually lights up
If you are mixing strand lengths or bulb styles, do that puzzle-solving on the ground, not while balancing at the eaves.
Capacity reality check: LEDs usually let you connect more strands end-to-end than incandescents, but there is no universal number. I follow the tag on the light set for the maximum connected strings, and I plan runs around that limit.
Keep it tidy: If your strands have a “female” end and a “male” end, mark your start point with a small piece of painter’s tape so you do not flip the whole run by accident.
How to hang lights on gutters (straight, secure, no bent metal)
Step-by-step
- Start near the power source and work outward. I prefer to start at the outlet side so I am not stretching cords at the end.
- Use your clip the way it was designed. Some clip styles let you load the wire or socket into the clip first, then snap the clip onto the gutter. Others work best snapped to the gutter first, then the strand clicks in. Either is fine. The goal is even spacing and a calm, straight line.
- Keep gentle tension on the wire. Think “smooth line,” not “pulled tight.” Tight wire can pop clips off in wind or cold.
- Face bulbs consistently (out or down). Your eye catches inconsistency right away at night.
- Handle corners with intention: add one extra clip close to each corner so the strand does not droop.
How far apart should gutter clips be?
A common starting point is a clip about every 12 to 18 inches, then adjust based on your setup and your clip or light manufacturer’s guidance. I tighten spacing if:
- It is a windy area
- You are using heavier C9 or C7 bulbs
- Your temperature swings are big (sag happens)
- Your gutter edge is slick (painted metal can be like ice once it is cold)
At corners, downspouts, and the last 2 to 3 feet of a run, I go closer so the line stays crisp.
Where should the lights sit on the gutter?
I like the strand to sit just below the top edge of the gutter, with bulbs visible from the street. If the strand is too far back, the fascia can shadow your glow. If it is too far forward, it can look droopy.
How to hang lights on shingles and roof edges (without lifting shingles)
If you need lights along a rake edge or you do not have gutters, roofline and shingle clips are usually the cleanest option.
Step-by-step
- Find a spot that naturally has a little give at the roof edge. Do not pry.
- Set the clip gently so it grips without forcing the shingle up or breaking a seal strip.
- Seat the strand with bulbs pointing consistently.
- Step back every few clips and check the line. Tiny adjustments early prevent a wavy look later.
Cold-weather reality: Shingles can get brittle in freezing temps. If it is very cold, stay on gutter lines when possible or wait for a warmer afternoon.
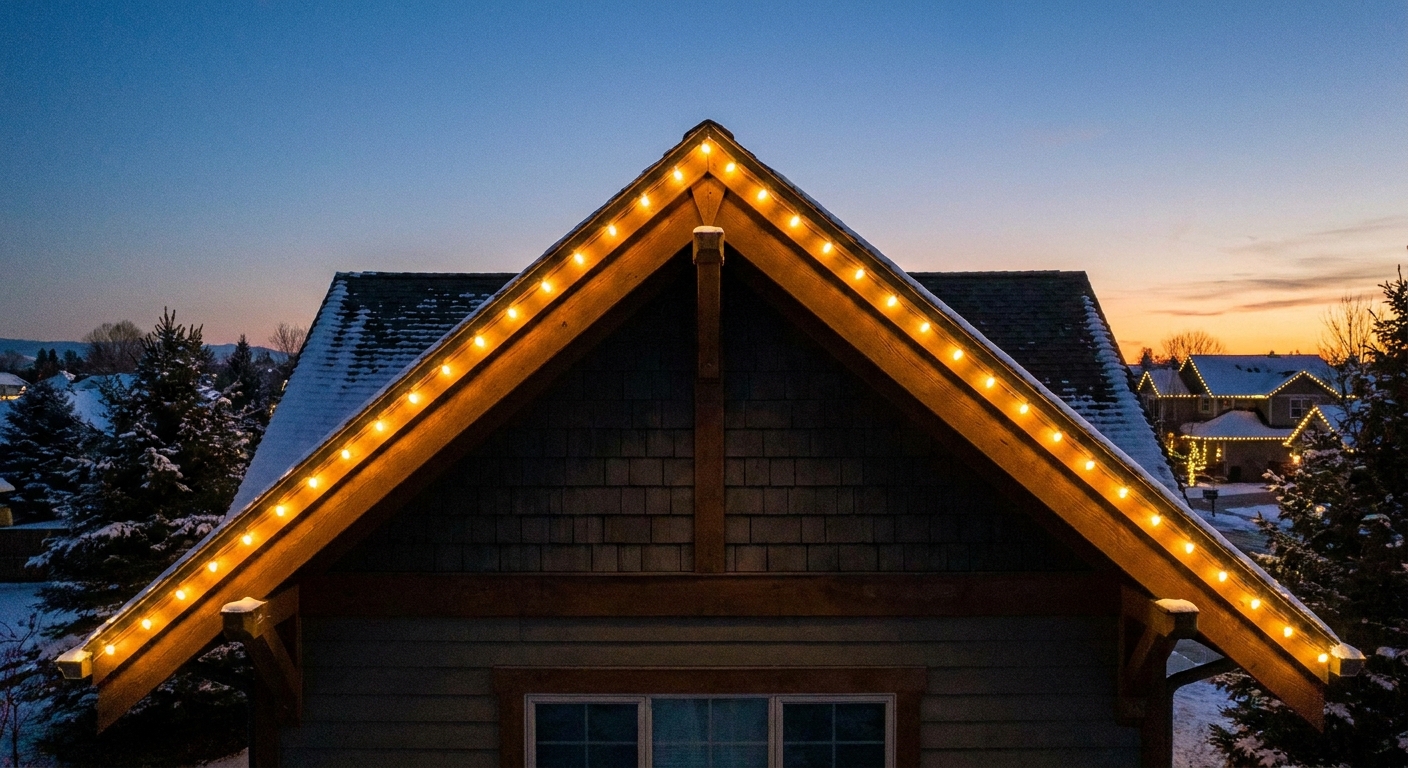
How to do roof peaks and gables
Roof peaks are where a simple outline starts looking like a full-on holiday moment. They are also where strands love to slip if they are not anchored well.
My peak method
- Find the center of the peak and place a secure clip there first.
- Run one side down, clipping as you go, keeping tension even.
- Return to the peak and run the other side down, mirroring clip spacing.
- Secure the last 2 to 3 feet with closer clip spacing so the end does not sag.
Visual merchandiser trick: Stand in your main viewing spot (usually the sidewalk or street) and check symmetry before you fully commit. A peak that is off by even a bulb or two reads lopsided from far away.
Connecting strands neatly (and safely) along the roofline
Connections are where installs can start looking messy. The goal is to keep plugs protected and keep extra cord from drooping like a little holiday mustache.
Connection tips I swear by
- Land connections at corners or near downspouts when you can.
- Support the connection point with a nearby clip so the weight of the plug is not pulling on the sockets.
- Avoid hanging connectors mid-air between clips. If the wire dips, add a clip.
- Keep connections protected under an eave when possible, or use a manufacturer-rated weatherproof connection cover if you have one.
- Use only outdoor-rated extension cords and route them so they do not create a tripping hazard.
Important: Do not overload circuits or daisy chain beyond what the light manufacturer recommends. If you are unsure, use fewer strands per run and add a second power source or consult an electrician.
Ladder safety (non-negotiable, friend)
I am all for festive hustle, but rooflines are not the place for risky shortcuts. A clean install is never worth a fall.
My basic ladder rules
- Use the 4:1 setup: for every 4 feet of ladder height, keep the base 1 foot out from the wall.
- Keep three points of contact whenever you climb.
- Never overreach. Climb down and move the ladder instead.
- Have a spotter if possible, especially when you are moving the ladder.
- Stay clear of power lines. If your roofline is near overhead lines, consider hiring a pro for that section.
- Wear grippy shoes and avoid working in wet or icy conditions.
Gutter-saving tip: If your ladder is pressing on the gutter edge, add a ladder stabilizer or standoff so the ladder sits on the wall or fascia instead of crushing the gutter. Your future self will thank you.
If any section feels sketchy, it is okay to simplify the design to what you can reach safely. A shorter, straighter run looks better than a complicated plan installed in a panic.
Set a timer (and make your future self very happy)
An outdoor timer is the unsung hero of exterior lights. It protects your sanity and keeps your display consistent night after night.
Simple timer setup
- Choose an outdoor-rated timer (mechanical or digital).
- Set your on time about 15 to 30 minutes before dusk in your area.
- Set your off time for when you actually want the house dark. Many families like 10:30 pm to midnight.
- Do a one-night test before you put ladders away, just to confirm everything turns on smoothly.
Clara confession: The number of times I have proudly finished a roofline only to realize the timer is still in my junk drawer is too many. Put the timer on your prep list.
Finishing touches for a straighter look
- Step back often and check the line. Your eyes catch waves from a distance.
- Match bulb direction across all runs, especially at peaks.
- Keep spacing steady. Consistency reads “professional.”
- Hide excess cord by routing it along a downspout or tucking it neatly behind trim, without pinching it.
- Clean the gutter lip first if it is dusty or full of debris. Clips grip better on clean surfaces.
Takedown and storage
When you take everything down, do yourself a favor and label strands by run. A tiny piece of painter’s tape that says “front gutter left” saves so much time next year. I coil each run separately, keep the clips with that run, and store them together so setup feels like a repeat performance, not a brand-new show.
Quick FAQs
Do I need to hang lights from the gutter or the shingles?
If you have gutters, they are usually the easiest and most uniform line. Use roofline or shingle clips for rake edges, no-gutter sections, or when you want the strand slightly higher than the gutter edge.
Will clips damage my gutters or roof?
Quality plastic clips designed for gutters and rooflines should not damage surfaces when used correctly. Avoid anything that requires nails, staples, or forcing material under shingles. If you are unsure, check your roof warranty guidance and follow the clip manufacturer’s instructions.
How do I keep lights from sagging between clips?
Add more clips. Most sag is just too-wide spacing, especially near corners or where plugs add weight. Tighten spacing in those spots, and use the clip maker’s guidance if it specifies a spacing range.
Should bulbs point up, out, or down?
Pointing out gives the brightest street-facing sparkle. Pointing down gives a softer wash on siding. Pick one direction and stick with it across the whole roofline.
My best advice if you only remember one thing
Measure your runs, choose clips that match your surface, and keep your spacing steady. Roofline lights are like a good hemline: when they are straight, everything looks more expensive.