A step-by-step guide to stringing outdoor bistro lights safely, plus easy styling ideas with lanterns for a glowing summer-night backyard setup.
The Festive Dwell
How to Hang Outdoor String Lights
A step-by-step guide to planning, choosing, and safely hanging outdoor string lights for a magical summer backyard. Plus layouts, spacing tips, and weatherproofing tricks.

Clara Jenkins
Clara Jenkins is a former visual merchandiser and lifelong holiday enthusiast who believes every season is worth celebrating. She helps readers transform their everyday spaces into magical, welcoming homes through budget-friendly DIYs, elegant tablescapes, and clever styling tricks. When she isn't untangling fairy lights or hot-gluing autumn wreaths, Clara can be found hunting for vintage ornaments at local flea markets.
Published October 17, 2026
Updated October 17, 2026
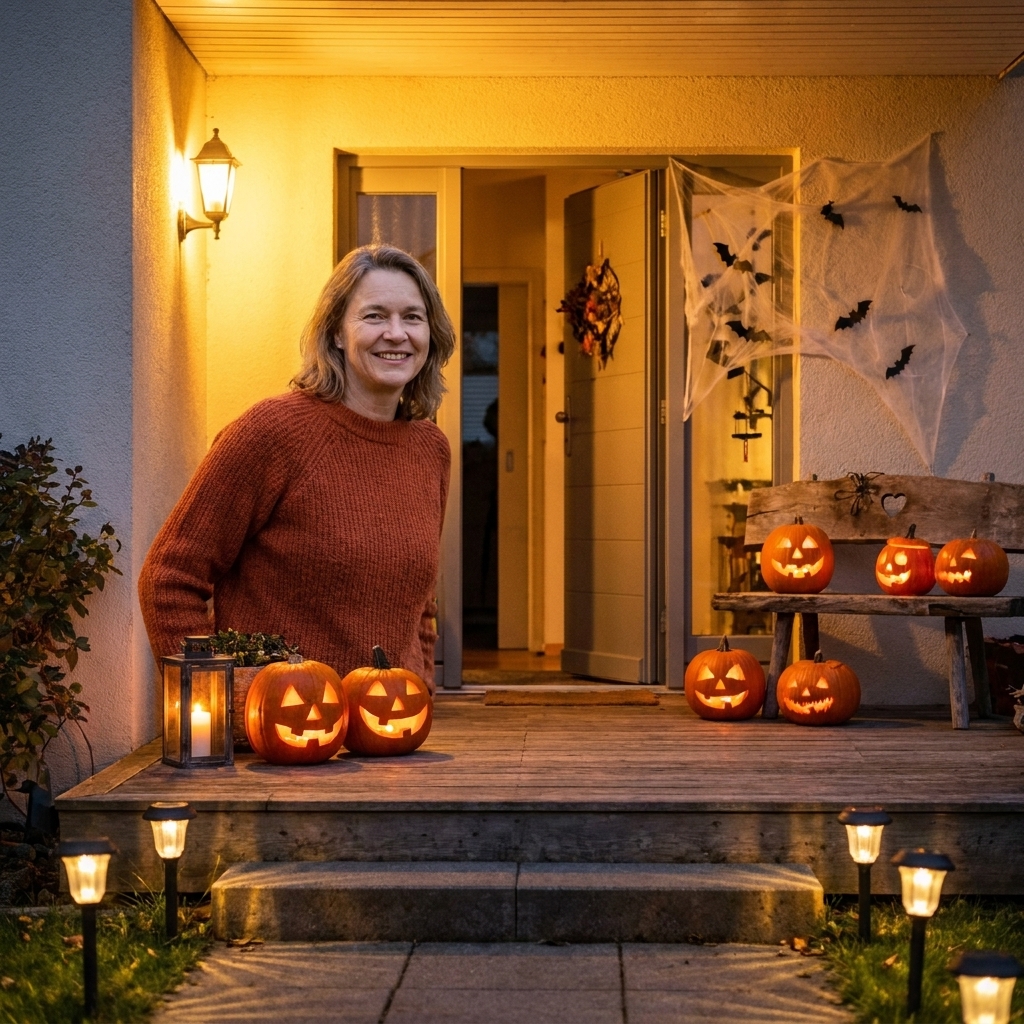
There is something instantly celebratory about flipping on backyard string lights as the sun drops. It is the fastest way I know to make a weeknight patio feel like a summer party, and it is one of those upgrades you can absolutely DIY with a little planning.
Below is my start-to-finish method: how to choose the right lights, map your layout, hang them with the right tension, and keep everything safe in real outdoor weather.
Before you buy anything: plan the glow
I learned this as a visual merchandiser: lighting looks effortless when it is planned. Grab a tape measure, a notepad, and do a quick sketch of your outdoor space.
Step 1: Decide what you want the lights to do
- Dining focus: Bright enough to see the food, warm enough to feel intimate.
- Lounge focus: Softer, twinkly, more atmosphere than task lighting.
- Path and perimeter: Defines the space and helps guests move around safely.
Step 2: Pick your anchor points
Look for sturdy attachment spots like a house fascia board, deck posts, pergola beams, mature trees, or dedicated poles you install yourself. String lights should not rely on gutters, flimsy trim, or anything that flexes in wind.
Step 3: Measure like a pro
Measure the distance between anchor points and add extra length for:
- Sag: A gentle swoop looks magical and reduces strain.
- Routing: Getting to the outlet, turning corners, and wrapping around hooks.
- Connections: Slack for coupling strands and for seasonal adjustments.
My rule: buy about 10 to 15 percent more length than your straight-line measurement. It is much easier to hide a little extra than to come up short mid-install.
Choosing the right outdoor string lights
Not all string lights are created equal, and the outdoors is where bargain sets tend to quit early. Here is what I look for.
Ratings, listings, and durability
- Look for a safety listing: UL or ETL listed is a great baseline for outdoor electrical products.
- Check location rating: Damp Location is often fine for a covered patio. Wet Location is the safer pick for fully exposed installs.
- Heavy-duty cord: Thicker cable usually means better longevity and less stretching.
- Shatter-resistant bulbs: I prefer UV-resistant shatterproof plastic for entertaining areas. Not all plastics age the same, so check specs and reviews if your patio gets strong sun.
LED vs incandescent
- LED: Cooler to the touch, lower energy use, typically longer lifespan. Best choice for most backyards.
- Incandescent: Beautiful warmth, but runs hotter and uses more power. If you love the look, keep them away from fabric canopies and dry leaves.
Color temperature: the summer party sweet spot
If you want that golden, welcoming glow, aim for warm white (often labeled around 2200K to 2700K). Cool white can feel a bit like a parking lot, unless you are deliberately going for a modern look.
Brightness: a quick way to estimate the glow
For patios, most people want cozy, not stadium lighting. Two easy ways to gauge brightness before you click “add to cart”:
- Bulb count and spacing: More bulbs per foot reads brighter and more “event-like.” Wider spacing reads softer and more ambient.
- Lumens (when listed): Use it as a comparison tool between sets. If one strand is roughly double the lumens, it will look noticeably brighter in the same space.
If your goal is dinner-table visibility, plan for slightly denser strands over the table, then let the rest of the patio fall off into softer light.
Bulb shape and vibe
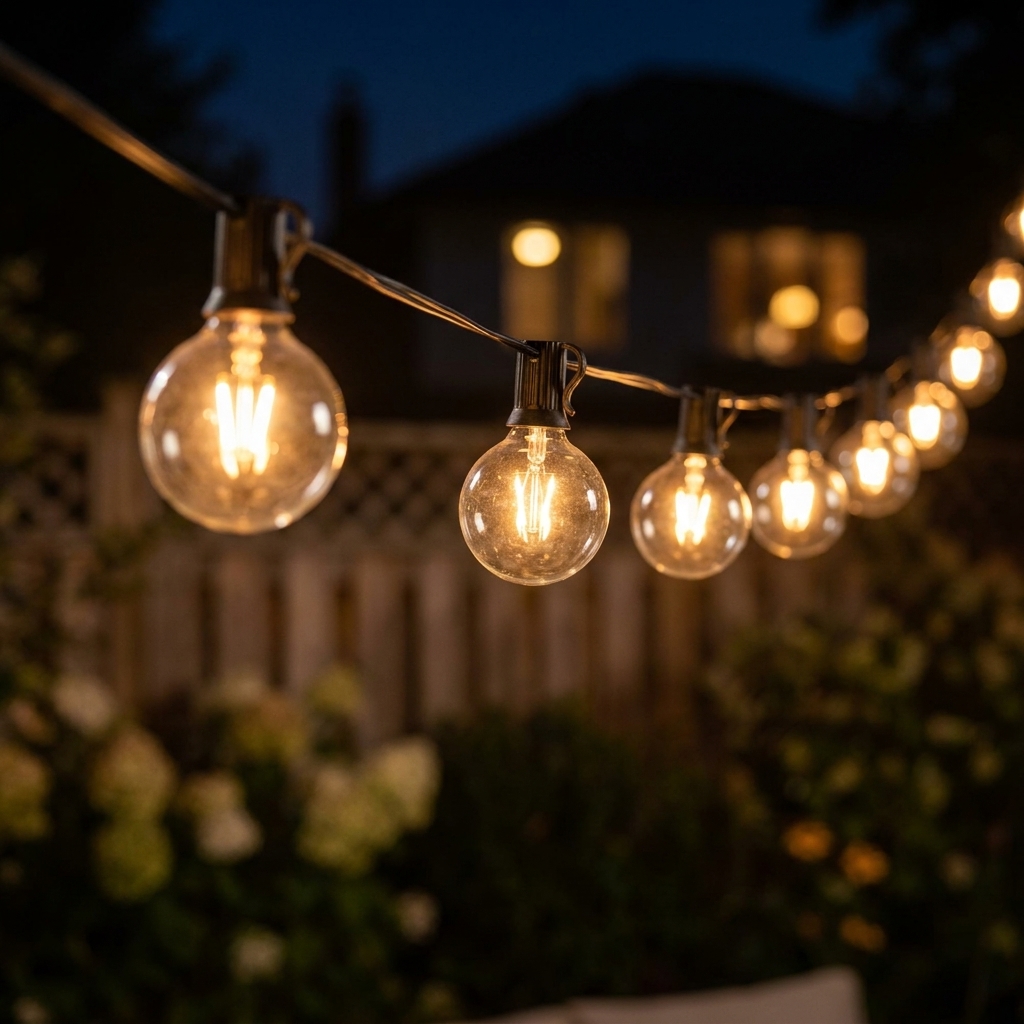
- Globe bulbs (G40): Classic patio party look.
- Edison style: A little more vintage and romantic.
- Fairy lights: Best for wrapping trees, railings, or layering with larger strands.
Tools and supplies checklist
Gather everything before you start. It keeps the process fun and avoids the classic up-and-down-the-ladder marathon.
- Outdoor-rated string lights (and spare bulbs if replaceable)
- Tape measure
- Pencil and paper for a quick sketch
- Ladder
- Mounting hardware: screw hooks, eye bolts, or outdoor-rated cup hooks
- Support line (recommended): stainless steel guide wire (aka wire rope) plus appropriate clamps or a cable kit
- Turnbuckle (optional but amazing for tensioning a guide wire)
- Zip ties or outdoor-rated light clips
- Outdoor extension cord (if needed)
- GFCI outlet access (or a plug-in GFCI adapter)
- Outdoor-rated timer or smart plug (optional)
- Drill and appropriate drill bits (if mounting into wood)
If you are tempted to use rope: I save outdoor-rated rope for short spans only. Rope can stretch and degrade in sun and weather, which usually means saggy lights by mid-season.
3 backyard layouts that always look good
If you are staring at your patio thinking, “Where do I even begin?”, pick one of these tried-and-true patterns.
1) The classic zigzag canopy
Best for: rectangular patios and decks. Run strands back and forth between two long sides. It creates an even ceiling of light and feels like an instant event.
2) The starburst
Best for: firepit seating or a central dining table. Choose one high center anchor (a pergola beam or a pole) and run strands outward like spokes.
3) The perimeter outline
Best for: defining a large yard zone. Trace the outer edges of your entertaining space, then add one or two cross strands if you want more brightness.
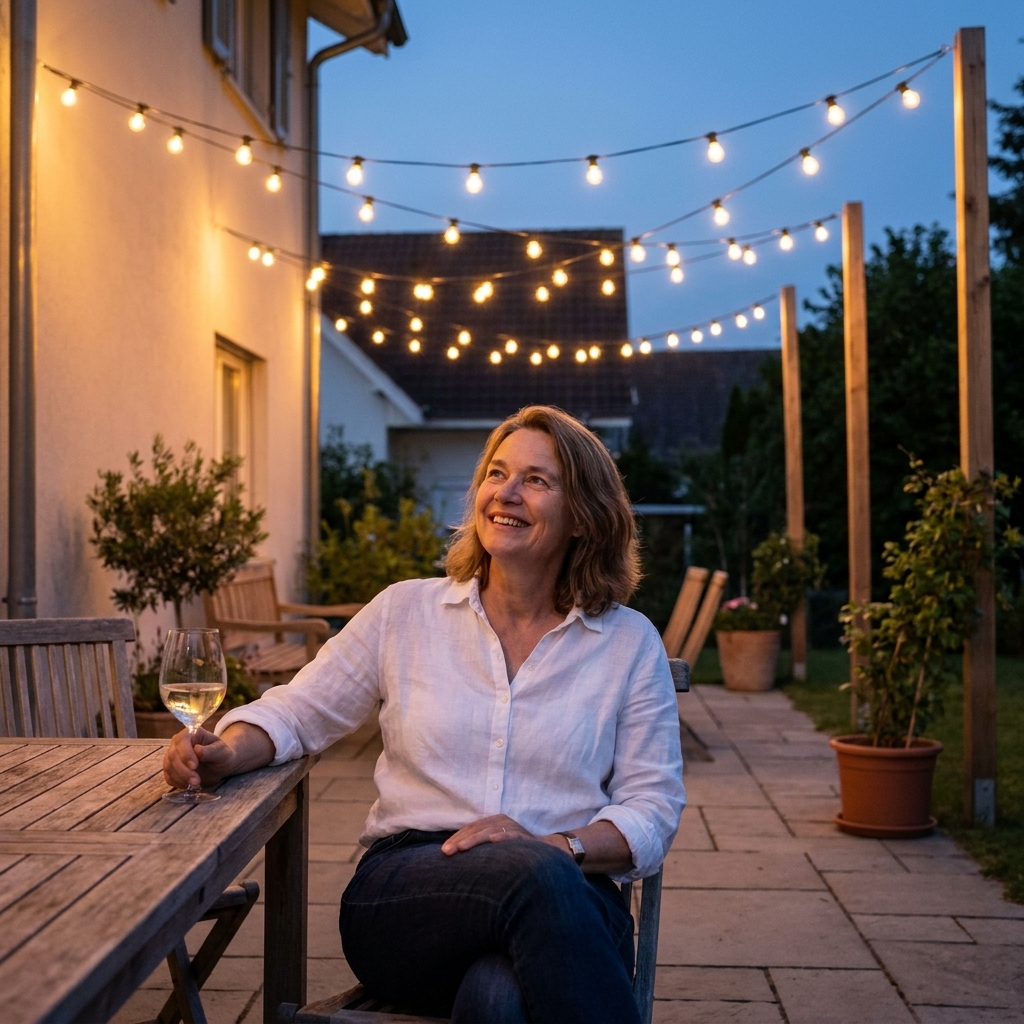
How to hang outdoor string lights step by step
Step 1: Check power and safety basics
- Use a GFCI-protected outlet. Many outdoor outlets are already GFCI. If you are unsure, use a plug-in GFCI adapter.
- Confirm wattage and connection limits. If your strands are connectable, follow the manufacturer “connect up to” limit and do not exceed it.
- Keep plugs off the ground. Use a mounting block, hook, or weatherproof in-use cover where possible.
- Look up before you lift a ladder. Keep clear of overhead utility lines and avoid routing lights anywhere near them.
Step 2: Install your anchor hardware
For wood surfaces like pergolas, fences, or posts, screw hooks or eye bolts are my go-to.
If you are attaching to masonry or stucco, use hardware made for that surface and take it slow. In general, you will want to drill a pilot hole with a masonry bit, then use masonry screws or appropriate anchors rated for the load and the material. Aim for solid backing whenever possible, and avoid cranking fasteners so hard that you crack the surface.
Placement tip: Hang lights high enough that tall friends will not clothesline themselves, and keep them clear of door swings and main traffic paths. I usually aim for about 8 feet or more of clearance in walkways when possible, but adjust for your space and follow any local requirements.
Step 3: Add a support line
If you want clean lines and less strain on the light cord, run a stainless steel guide wire first. Attach it to eye bolts and use a turnbuckle to make it taut. Then zip-tie or clip the lights to the guide wire.
This matters most for:
- Long spans
- Windy yards
- Heavier globe bulb strands
Step 4: Hang the lights (do not pull them tight)
Start near your power source and work outward. Let the strand drape naturally with a gentle sag. Too-tight lights look tense, and they can increase strain at connections over time.
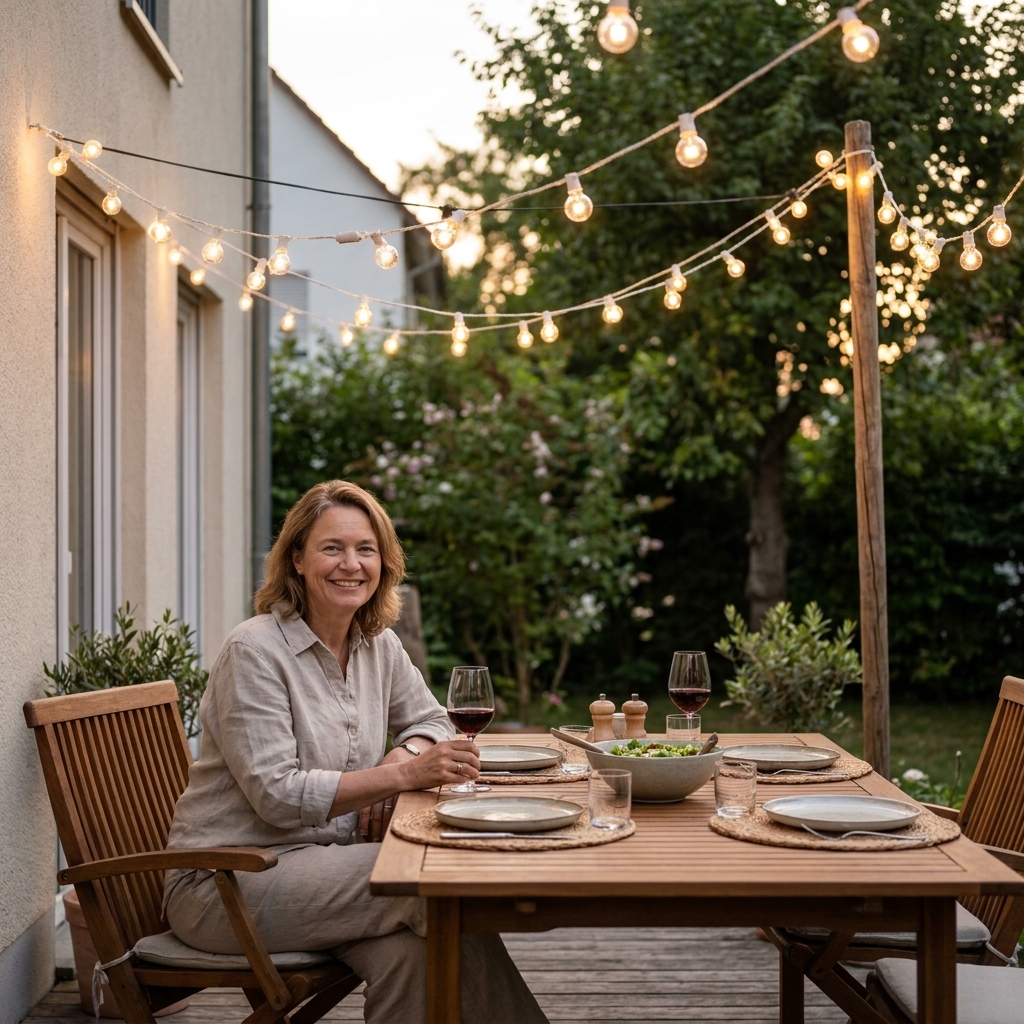
Quick spacing guide: For a cozy canopy, many patios look best with strands about 12 to 24 inches apart. Go closer for brighter dining areas, wider for subtle ambiance.
Step 5: Secure and weatherproof the connections
- Use outdoor-rated zip ties or clips at regular intervals, especially at corners and near hooks.
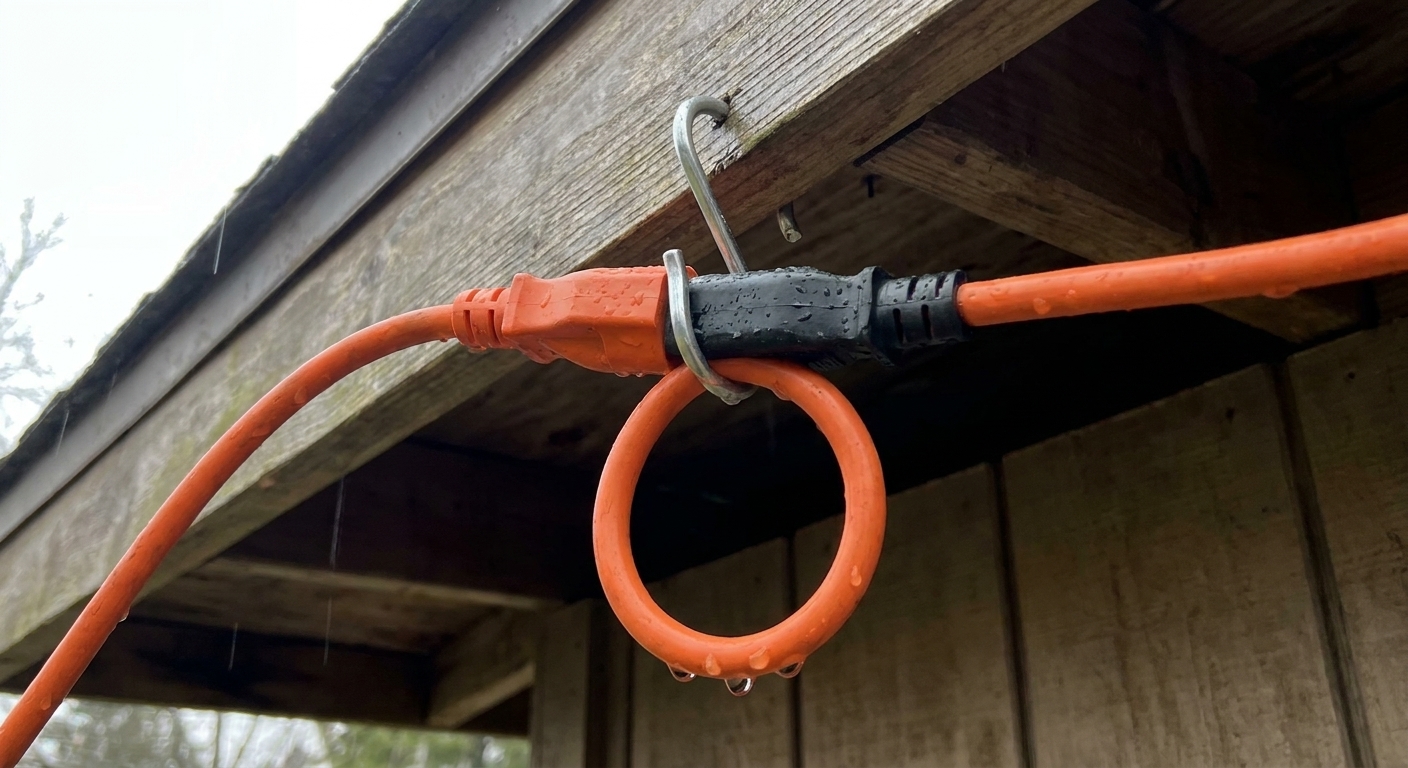
- Make a drip loop in the cord before the plug so rainwater runs down and off instead of into the connection.
- If your plug connection is exposed, use a weatherproof connection box or an in-use outlet cover to protect it. Skip the “wrap it in electrical tape” approach. It rarely stays sealed outdoors.
Step 6: Test at dusk and fine-tune
Turn them on before the party. Walk the space and check:
- Is the dining area bright enough?
- Are there dark gaps where guests will move?
- Do any strands sag too low?
- Are cords creating trip hazards?
Where to hang lights without a pergola
No pergola, no problem. Some of my favorite backyards are held together by a few smart anchors and a little creativity.
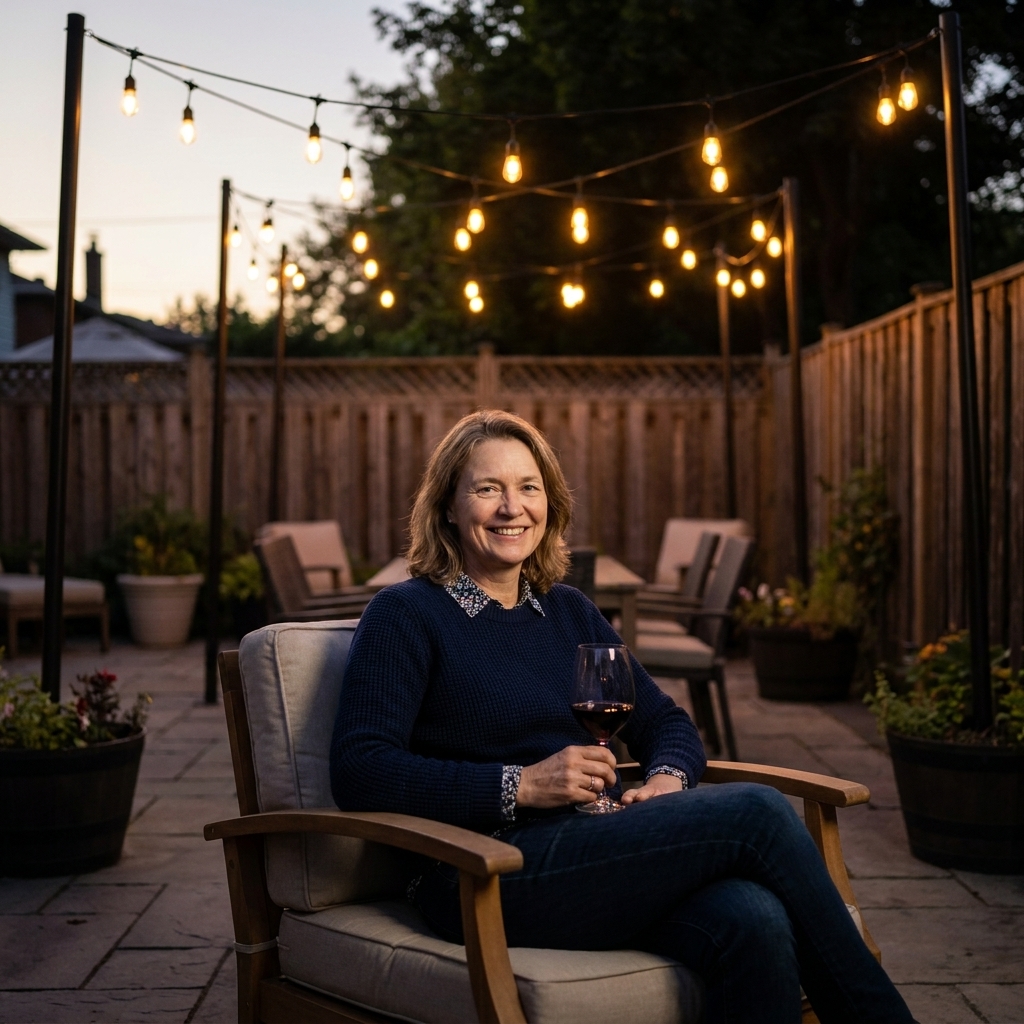
Use poles
Outdoor string light poles can be purchased, or you can DIY using sturdy posts set into planters or secured in the ground. Place them at the corners of your entertaining area, then run strands between them.
Attach to a fence, but only if it is solid
A sturdy privacy fence can work as one side of your layout, especially paired with posts or the house on the other side. Avoid weak panels that sway.
Trees are romantic, but be gentle
Use wide straps or tree-friendly hardware designed not to cut into bark. Leave room for growth, and avoid wrapping cords tightly around branches. Trees move in wind, and that motion can stress the strand.
Safety notes I never skip
- Never staple through cords. Use clips, hooks, or zip ties made for outdoor use.
- Keep cords away from heat sources. Grills, firepits, patio heaters, and tiki torches need clearance.
- Do not overload circuits. If lights dim, trip breakers, or feel hot at the plug, stop and reassess.
- Keep clear of utility lines. Do not install lights near overhead power lines, and do not mount hardware to electrical conduit.
- Use the right ladder habits. Stable surface, three points of contact, and do not overreach. Move the ladder instead.
- Wind and storms: If severe weather is common where you live, consider lowering removable strands or choosing a guide wire system that makes seasonal removal easy.
Make it feel like a party
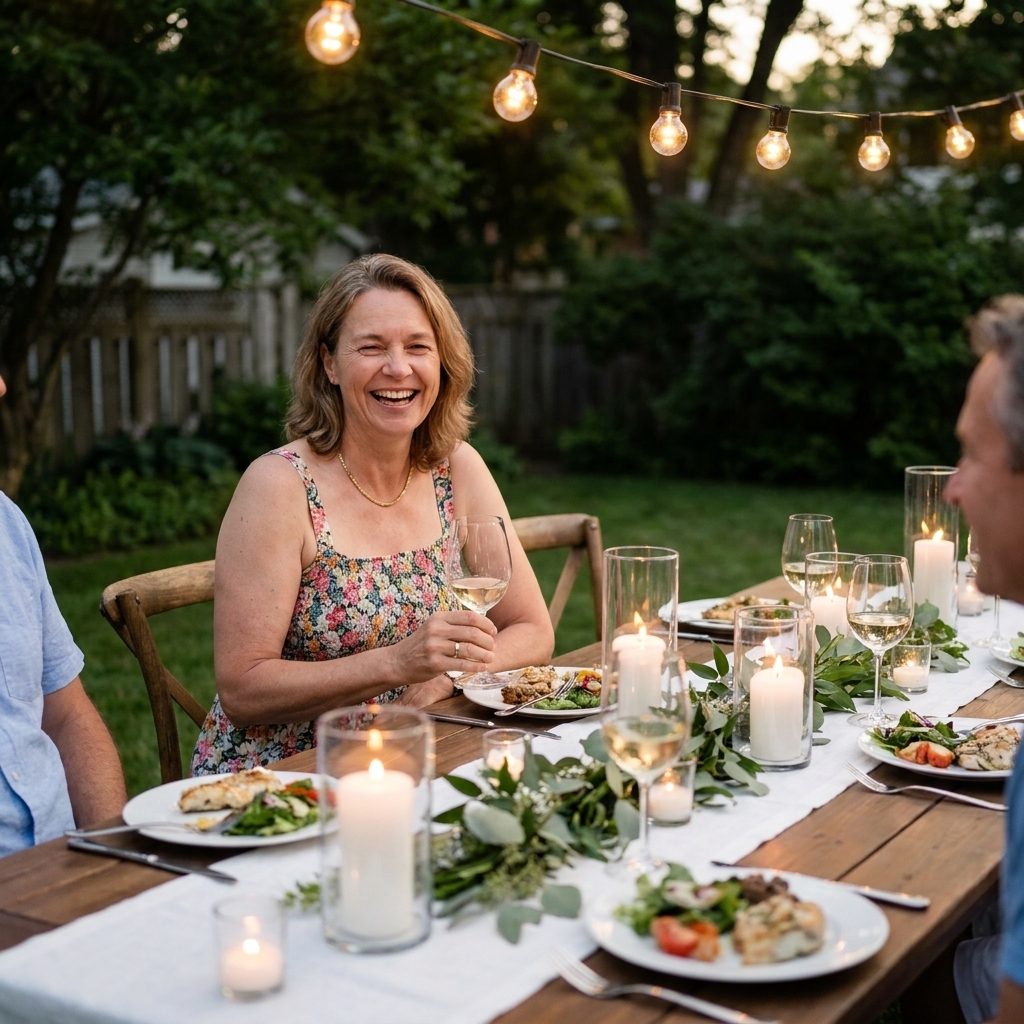
Once your overhead glow is handled, the magic is in layering. This is where you get that “backyard bistro” feeling.
Layer your light sources
- Overhead string lights: your main ambiance.
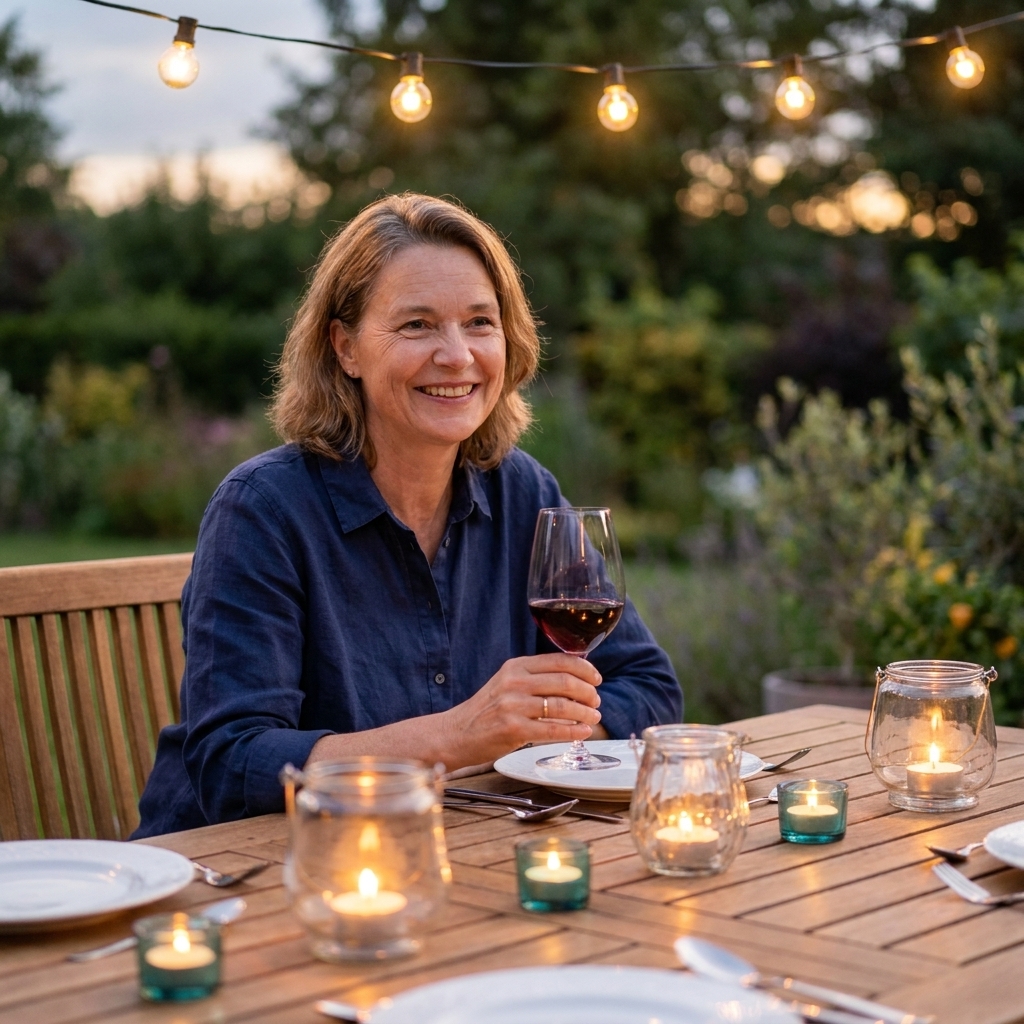
- Tabletop glow: hurricane candles, LED pillar candles, or small lanterns.
- Ground-level sparkle: solar stake lights along paths or fairy lights tucked into planters.
Pick one hero spot
Choose the area you want people to naturally gather, like the dining table or firepit, and make it slightly brighter and more styled than everything else. It subtly guides the flow of the night.
Troubleshooting
The lights sag too much
- Add a guide wire.
- Add an extra mid-point anchor if your layout allows it.
- Reduce span distance by repositioning poles or using taller posts.
The lights look uneven or messy
- Use consistent attachment heights on both sides.
- Measure strand spacing instead of eyeballing it.
- Hide excess cord near the power source using a hook and a neat loop.
Half the strand is out
- Check the plug connection first.
- If bulbs are replaceable, swap one bulb at a time starting near the dead section.
- Look for a tripped GFCI outlet and reset it.
FAQ
How high should outdoor string lights be?
Aim for about 8 to 10 feet over walkways when possible, and high enough above seating that people can stand without touching the strand. The exact height depends on your anchor points and yard layout. Also keep clearance for doors, gates, and any high-traffic routes through the space.
Do I need a guide wire?
Not always, but it is the best upgrade for long runs or heavy strands. It reduces strain on the cord, helps prevent sagging over time, and makes the whole installation look crisp.
Can I leave outdoor string lights up all year?
If they are outdoor-rated and installed securely, many people do. I still recommend checking them seasonally for wear, tightening loose hardware, and taking them down before major storms if your area gets severe weather.
How many strands can I connect together?
Always follow the manufacturer “connect up to” limit and do not exceed it. Because LEDs use less power, they often allow more end-to-end connections than incandescent sets, but the packaging is the rule that matters.
My quick party-ready checklist
- Lights tested at dusk
- No low-hanging strands in walkways
- Cords secured, no tripping hazards
- Plugs protected and off the ground
- Timer or smart plug set so you are not hunting for switches mid-sunset
- One extra layer of table lighting for glow and photos
Once your lights are up, you will find yourself using your backyard so much more. It is the kind of simple setup that turns “Should we just eat inside?” into “Let’s make a night of it.”