A practical, festive comparison of fresh greenery and artificial garlands for mantel styling, including budget, maintenance, longevity, safety, and the “wo...
The Festive Dwell
7 Pro Tips for Faux Spring Florals That Look Real
Make artificial spring florals look freshly cut with stem-shaping tricks, smart vase choices, realistic layering, and simple styling tweaks that fool the eye.

Clara Jenkins
Clara Jenkins is a former visual merchandiser and lifelong holiday enthusiast who believes every season is worth celebrating. She helps readers transform their everyday spaces into magical, welcoming homes through budget-friendly DIYs, elegant tablescapes, and clever styling tricks. When she isn't untangling fairy lights or hot-gluing autumn wreaths, Clara can be found hunting for vintage ornaments at local flea markets.
Published October 17, 2026
Updated October 17, 2026
I love a fresh spring bouquet as much as the next seasonal-softie, but I also love an arrangement that still looks perfect on day ten. Faux florals can look completely convincing when you style them like you would the real thing, meaning with a little messiness, a little gravity, and a lot less “straight-from-the-bag.”
Below are my seven go-to tips from years of visual merchandising and far too many Saturday afternoons spent rearranging tulips on my dining table “just one more time.”
1) Start with better stems
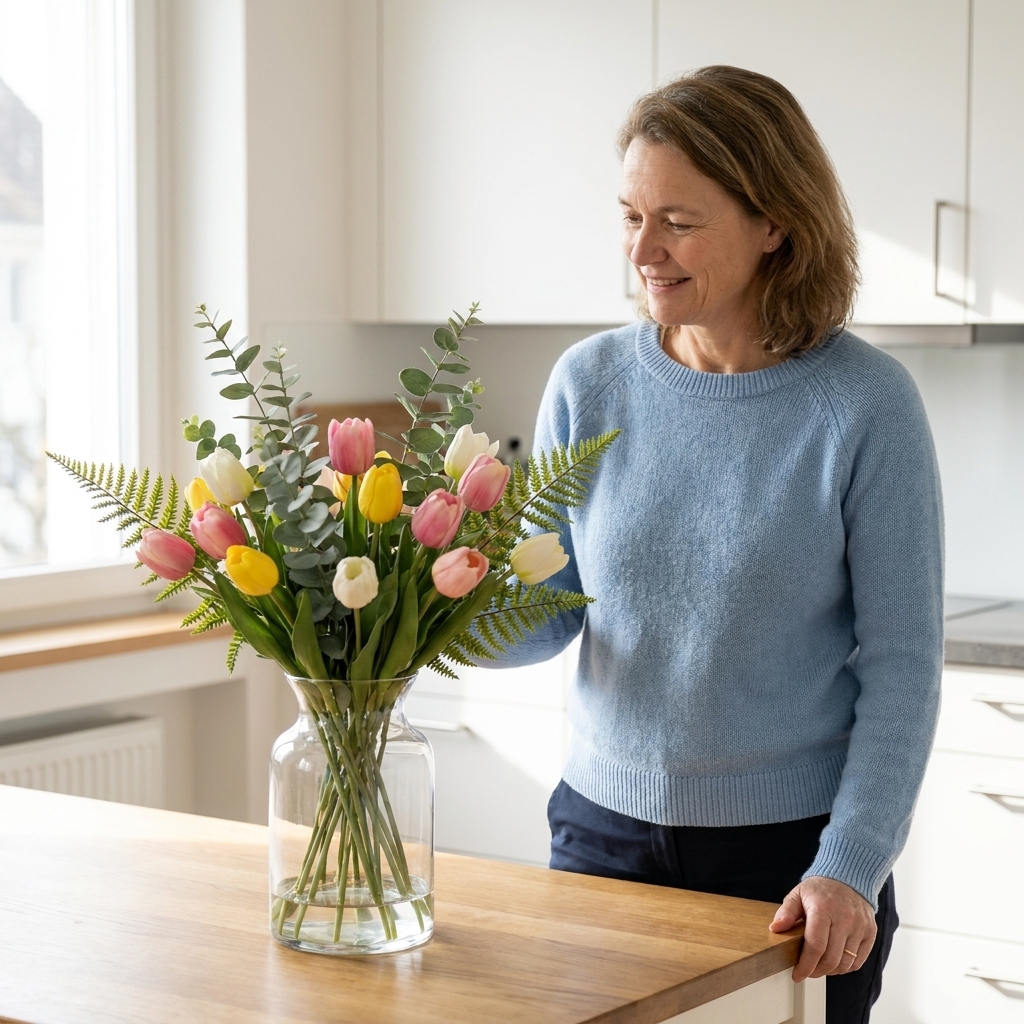
The quickest giveaway with artificial florals is volume without variation. Real bouquets have a mix of hero blooms, supporting blooms, buds, and greenery. Faux bunches often come with flowers all at the same height and all at peak bloom, which reads a little too perfect.
What to look for when buying faux
- Multiple stages of bloom: a few tighter buds plus a couple fully open blooms looks instantly more natural.
- “Imperfect” petals: slightly ruffled edges and irregular shapes mimic real flowers.
- Matte finishes: avoid shiny petals and shiny leaves whenever possible.
- Wired stems: these are your best friend for shaping and droop.
My rule: choose fewer, nicer stems and let negative space do some of the work. A relaxed arrangement with breathing room looks far more real than a packed dome.
2) Shape the stems
If your faux florals are standing straight up like they are at attention, they will look faux. Real stems arc, lean, and respond to gravity. The pro move is to shape every stem intentionally before it goes in the vase. (When I say “break the perfection,” I mean gentle bends and soft curves, not snapping anything in half.)
Quick shaping routine (2 minutes per bunch)
- Curve the neck: gently bend the stem just below the bloom so the head tilts slightly forward, not straight up.
- Add subtle bends: create 1 to 2 soft angles down the stem so it looks like it grew that way.
- Vary the direction: make some blooms face outward, a couple inward, and a few slightly down.
If a stem is stubborn, warm it slightly with your hands as you bend it. Go slow. You want “natural swoop,” not “sharp kink.”
Also: if your stems have wire inside (most decent ones do), use wire cutters, not your good kitchen scissors. Your tools and your countertops will thank you.
3) Match the vase
In store displays, we matched vessel shape to how a flower behaves in nature. That same trick makes faux arrangements instantly believable at home.
Easy vase pairings that look right
- Tulips: tall cylinder or gently flared glass vase. They like to lean and crisscross.
- Hydrangeas: shorter, wider vase or footed bowl. Big heads need a stable base.
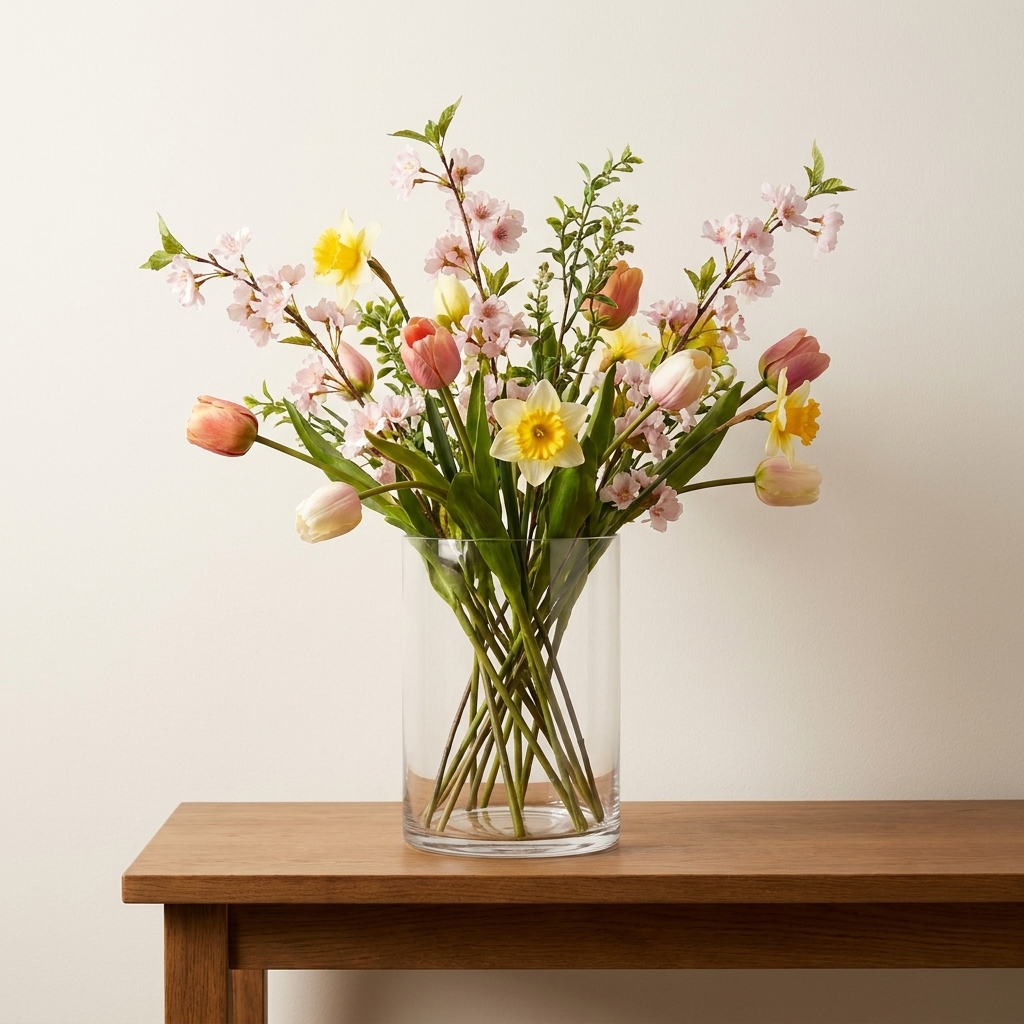
- Cherry blossoms or forsythia: taller vase with a narrow opening so branches can stand and fan.
- Daffodils: medium-height vase, slightly gathered at the neck to keep them upright.
Quick proportion check: a finished arrangement usually looks most natural when it is about 1.5 to 2 times the height of the vase. Not a law, just a cheat code.
One of my favorite “faux looks real” tricks is a clear glass vase with visible stems. If the stems are plastic-looking, keep scrolling down because we are fixing that next.
4) Handle clear vases
Clear vases are gorgeous, but they are also a truth serum. If the stems look like shiny green drinking straws, the illusion breaks.
Three ways to make clear glass work
- Option A: Skip the clear vase. If you want zero upkeep, choose an opaque vase and call it a day. Easiest win.
- Option B: Hide the mechanics. Add river stones, faux moss, or preserved sheet moss to camouflage the lower stems.
- Option C: Add water, carefully. If you like the look of real water, use distilled water to reduce cloudiness, and change it occasionally. A tiny drop of dish soap can help reduce surface bubbles. Some people also add a couple drops of glycerin, which can help with bubbles, but it can attract dust over time. If maintenance is not your thing, Option A or B will look better longer.
Also, trim any long plastic tags or obvious seams near the base. Little details matter more than people realize.
5) Mix greenery
Greenery is where faux can look most fake, especially if it is overly glossy or the leaves are identical. Florists layer different textures and tones, and you can too.
My favorite realistic greenery combos
- Soft + structured: eucalyptus with a few firmer leaves like ruscus.
- Small leaf + large leaf: a delicate vine paired with a broader leaf creates scale like nature.
- Cool green + warm green: mixing undertones keeps things from looking flat.
If your faux greenery is too shiny, a light dusting of matte clear spray (test on one leaf first) can knock back the plastic sheen. You are not trying to “coat” it, just mute the glare.
And yes, dust matters. A quick pass with a microfiber cloth or a cool hair dryer setting every couple weeks makes a bigger difference than you would think.
6) Build in layers
When I train friends to style faux florals, I always start with structure. The easiest structure to remember is a loose triangle. Viewed from the front, aim for an uneven triangle silhouette: one taller point, two shorter points, and a relaxed center.
Layering order that works every time
- Step 1: Greenery base. Add 3 to 6 stems of greenery first to create shape and movement.
- Step 2: Line stems. Add a couple taller elements like branches or longer blooms to set the height.
- Step 3: Focal blooms. Place your prettiest blooms slightly off-center, not dead middle.
- Step 4: Fill blooms and buds. Tuck smaller flowers and buds into gaps, especially near the rim.
- Step 5: Final “messy” pass. Turn the vase and adjust angles so nothing looks too evenly spaced.
Leave a little asymmetry. The goal is charming, not cloned.
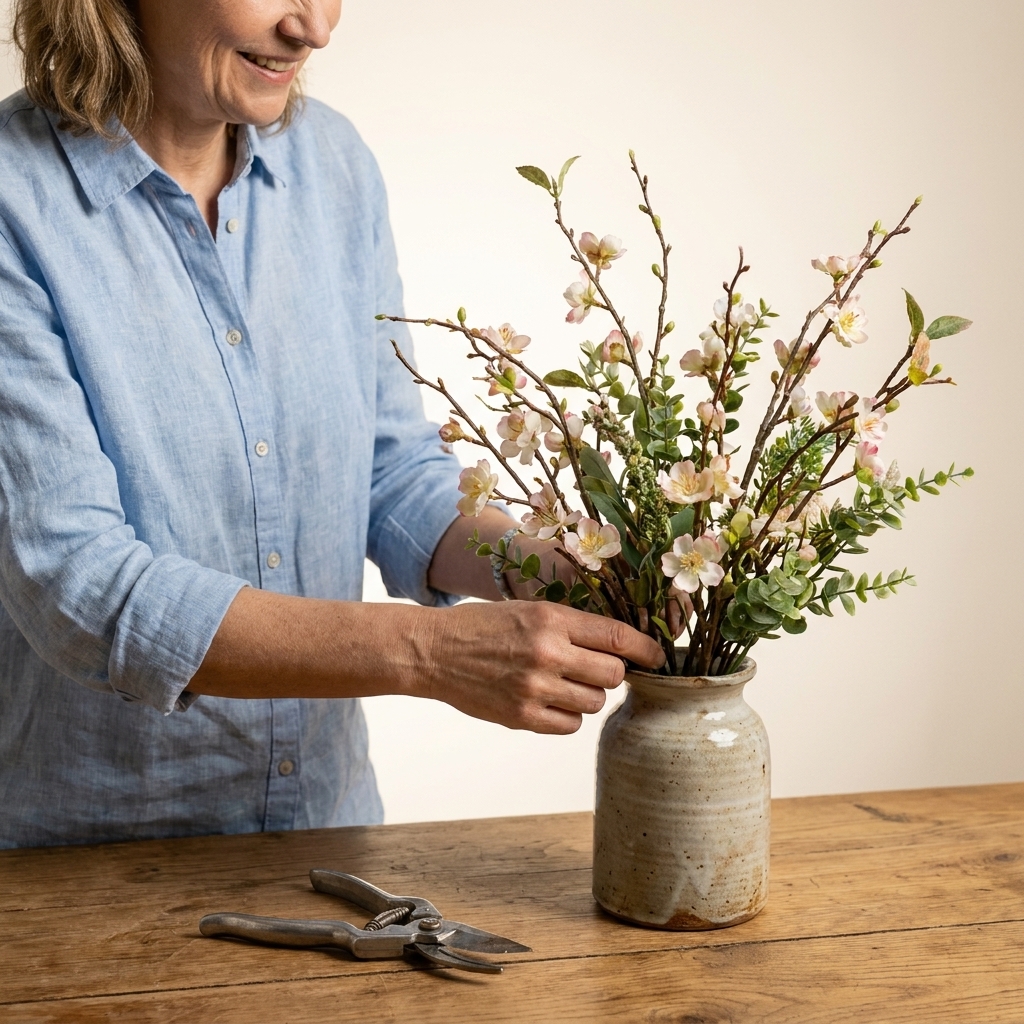
7) Add one real touch
If you want the arrangement to pass the “is that real?” test, sneak in something natural. It does not have to be expensive or fussy.
Easy real add-ins that play well with faux
- Foraged branches: flowering quince, cherry branch, or even fresh twigs with buds in early spring. Just be mindful of local rules and permissions, and keep unknown plants away from curious pets and kids.
- Fresh greenery: a few sprigs of rosemary or olive. They can dry beautifully, although results vary by humidity and how fresh the stems are when you start.
- Seasonal produce: lemons on the counter beside the vase, or a bowl of pears nearby. It reads “fresh,” even if the flowers are faux.
One note: if you add anything fresh with moisture, keep it separate from materials that might stain, and swap it out as it fades. Faux is low-maintenance, not no-maintenance, and that is okay.
If you want guests to stop and sniff, I will not tell you to spray perfume on faux petals. Do place the arrangement near something naturally fragrant (rosemary, citrus, a subtle candle nearby) and let the vibe do the work.
My quick checklist
- Are at least a few blooms facing slightly down or to the side?
- Do the heights vary by at least 3 to 6 inches?
- Is there negative space so it does not look stuffed?
- Is the vase style right for the flower type?
- Is the overall height about 1.5 to 2 times the vase height?
- Do the leaves look matte and varied?
- Can you spot any plastic seams, tags, or uniform loops that need trimming?
- Do they look clean, not dusty?
If you can answer yes to most of these, your faux florals are going to look so convincing your guests will lean in for a sniff. And honestly, that is the goal.
FAQ
How do you make faux flowers look less shiny?
Choose matte stems when you can, then reduce shine by dusting them off first and lightly muting glare with a matte clear spray. Always test on one leaf to be sure the finish looks natural.
Should faux florals be in odd numbers?
Often, yes. Odd groupings tend to look more organic. That said, structure matters more than the number, so focus on varied heights and angles first.
What are the most realistic faux spring flowers?
Tulips, ranunculus, peonies, and hydrangeas are typically very convincing when the petal material is soft and the stems are wired. Look for buds and slight imperfections for the most realistic effect.
How do you store faux flowers so they do not get crushed?
Store them in a roomy bin where blooms are not pressed flat, and keep them out of direct sunlight to prevent fading. If you save the original boxes with plastic sleeves, this is their moment.