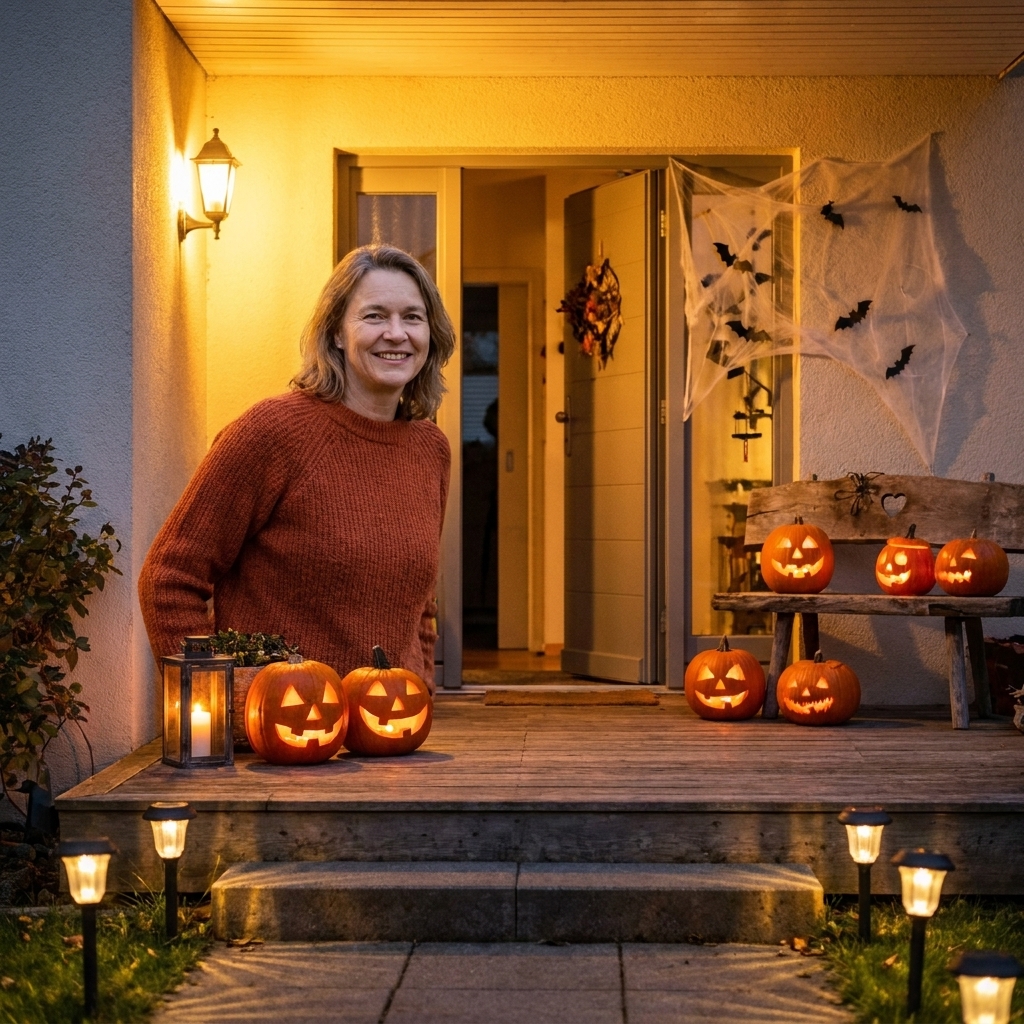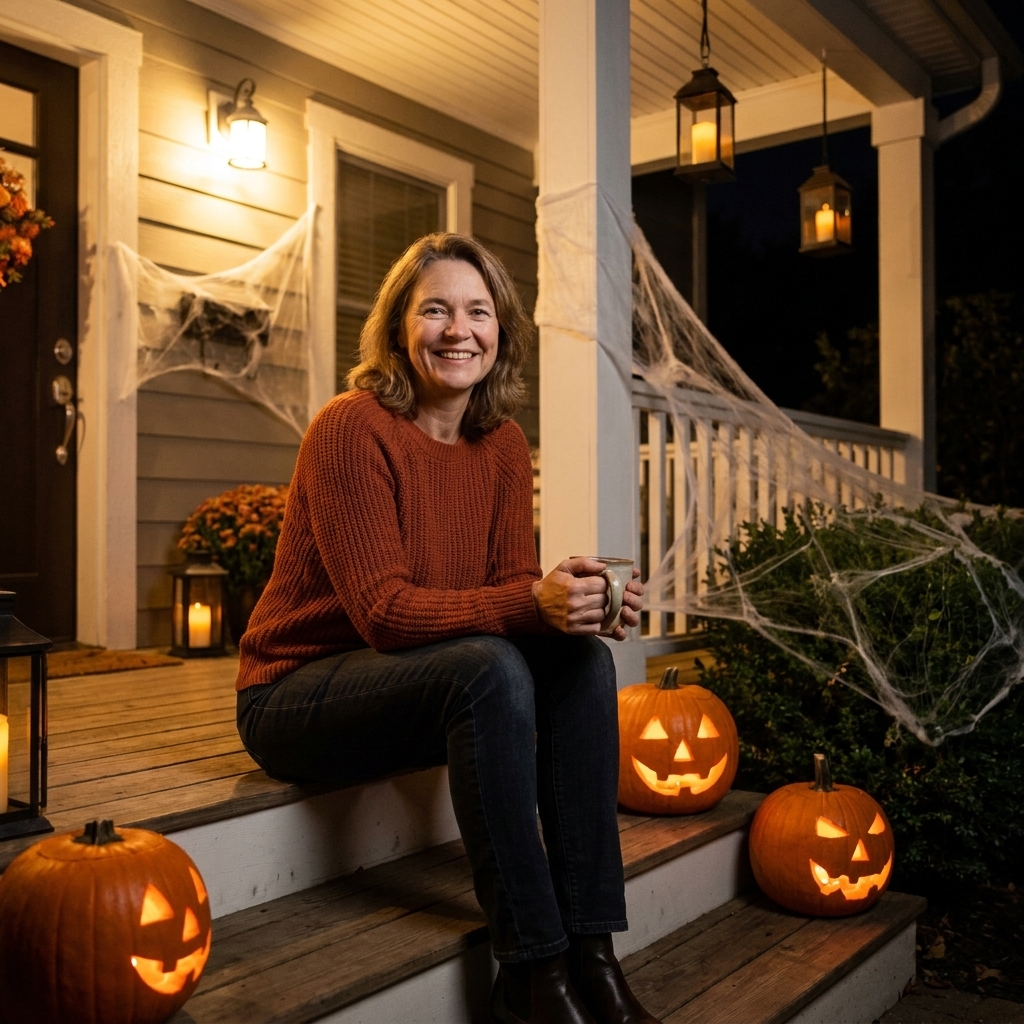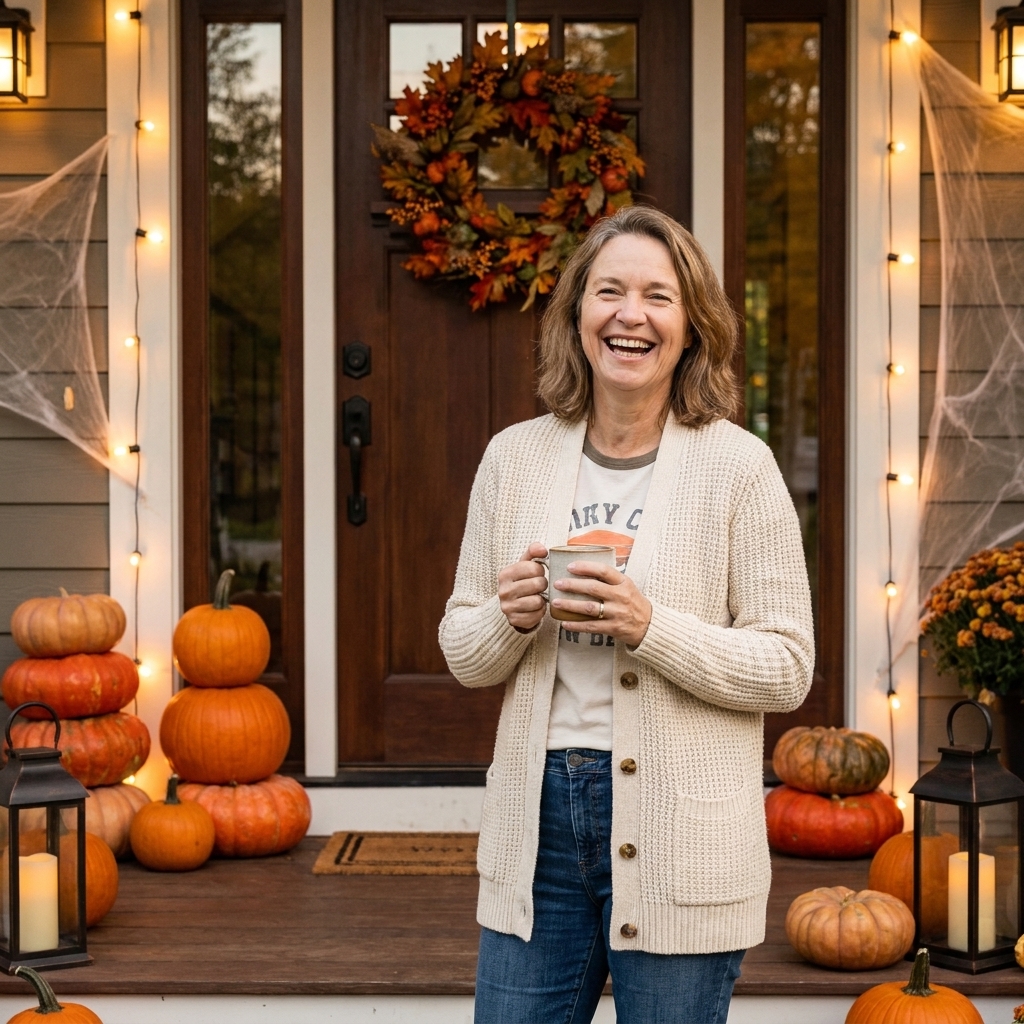
A step-by-step, mix-and-match guide to building a cozy spooky front porch with pumpkins, lighting, height, and Halloween accents that look intentional, not c...
The Festive Dwell
7 No-Carve Pumpkin Decorating Crafts for a Mess-Free Autumn
Skip the slime and still get that wow factor. Try 7 chic no-carve pumpkin crafts like decoupage, metallic paint, fabric wrapping, and more, with easy steps and styling tips.

Clara Jenkins
Clara Jenkins is a former visual merchandiser and lifelong holiday enthusiast who believes every season is worth celebrating. She helps readers transform their everyday spaces into magical, welcoming homes through budget-friendly DIYs, elegant tablescapes, and clever styling tricks. When she isn't untangling fairy lights or hot-gluing autumn wreaths, Clara can be found hunting for vintage ornaments at local flea markets.
Published October 17, 2026
Updated October 17, 2026
There is a special kind of chaos that comes with pumpkin carving. The stringy insides, the slippery knife, the scramble to clean up before someone steps on a rogue seed. I love a classic jack-o’-lantern, but if you want maximum autumn charm with minimum mess, no-carve pumpkins are the way to go.
These seven crafts are my go-to options for front porches, mantels, tablescapes, and cozy corners. Many can be finished in under an hour (not counting drying time), and several are kid-friendly with almost no cleanup.
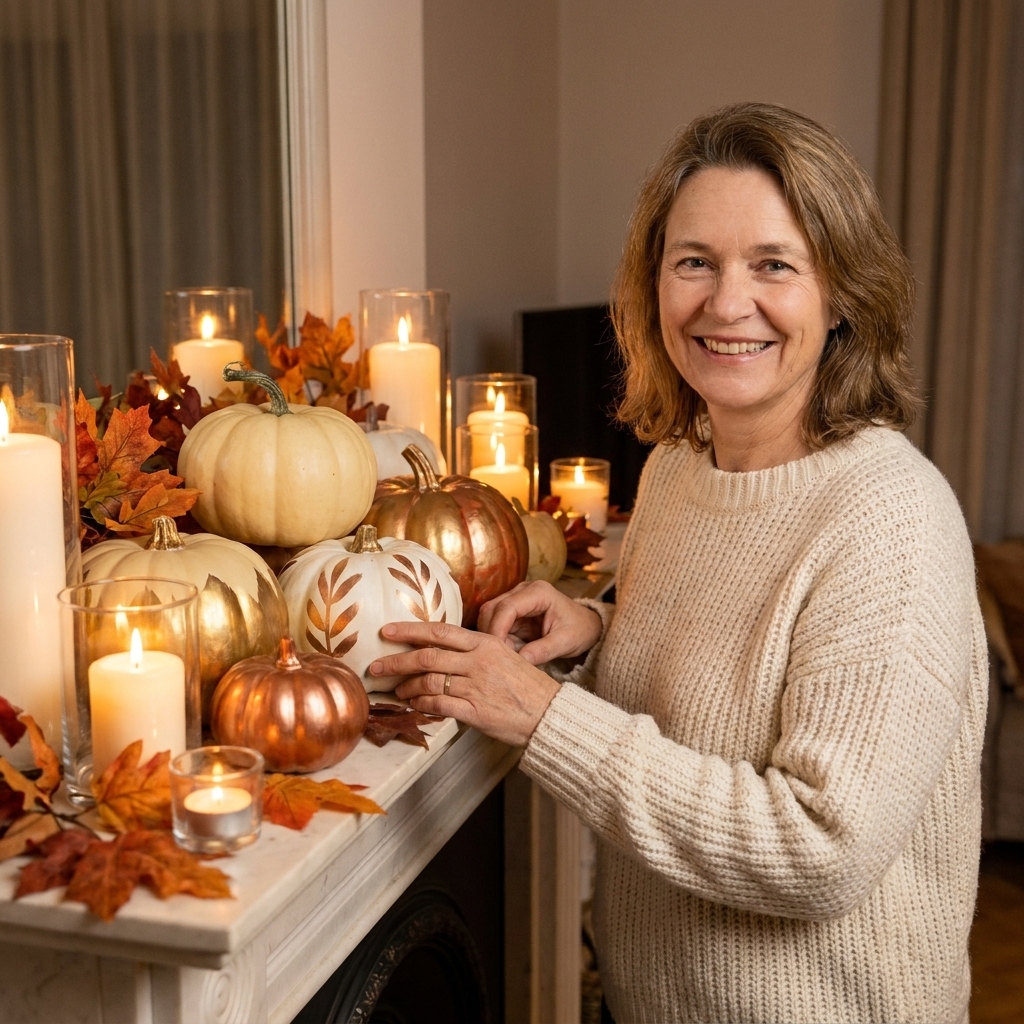
Before you start: my no-mess setup
A little prep makes these projects feel like a relaxing craft night instead of a household event.
- Pick the right pumpkin: Real pumpkins are lovely for short-term displays, but craft pumpkins (foam) are perfect for paint, decoupage, and anything you want to store and reuse.
- Wipe it down: Dust and moisture can keep glue and paint from sticking. For real pumpkins, wipe with a dry cloth and let them air-dry for a few minutes before you start.
- Protect your surface: Use kraft paper or an old shower curtain liner. It is my favorite crafting trick because many water-based glues peel right off once dry.
- Seal for durability: If your pumpkin will sit outside or be handled a lot, finish with a clear sealer that matches your look (matte for modern, satin for a gentle glow). Just know that rain, hard freezes, and real-pumpkin decay will still win eventually.
1) Decoupage pumpkins
Decoupage is my secret weapon for a high-end look on a very normal budget. You can go romantic with florals, vintage with old book pages, or playful with autumn motifs.
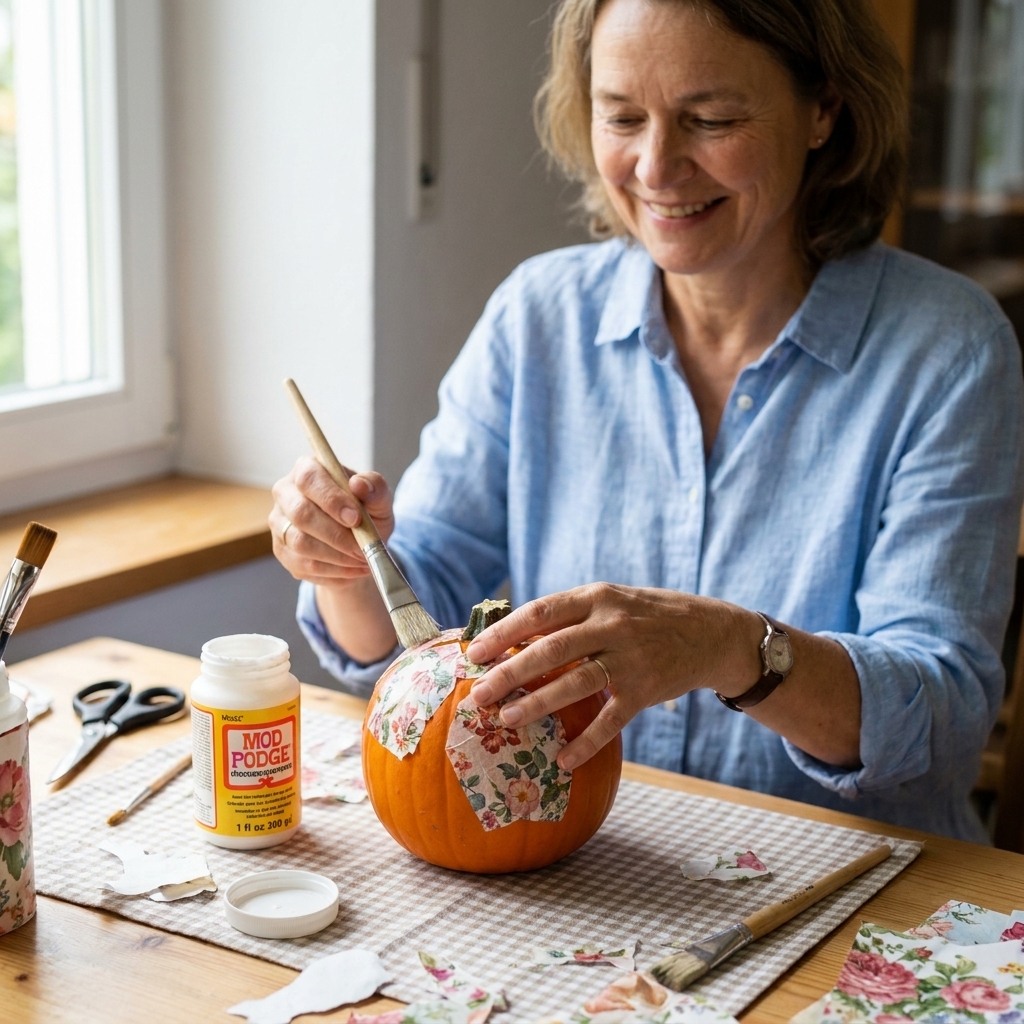
What you need
- Pumpkin (real or craft)
- Decorative paper: napkins, tissue paper, scrapbook paper, or book pages
- Decoupage medium (or diluted white glue)
- Foam brush
- Scissors
How to do it
- Cut or tear paper into manageable pieces. Tearing gives softer edges.
- Brush on a light coat of decoupage medium.
- Lay paper down gently, smoothing with your fingers from the center outward.
- Brush another light coat over the top to seal.
- Let dry completely, then add a second coat if needed.
Clara tip: If you are using napkins, separate the layers and use only the printed top layer. It looks more seamless and wrinkles less.
Real pumpkin note: Decoupage works on real pumpkins too, but if the surface is damp or “sweaty,” adhesion can get finicky. A dry pumpkin and thin coats help a lot.
2) Metallic spray paint pumpkins
If you want your decor to look intentional in about 10 minutes of active time, metallic spray paint is it. Gold reads glam, copper feels classic fall, and matte black is moody and modern. Drying and curing take longer, so plan a little waiting time.
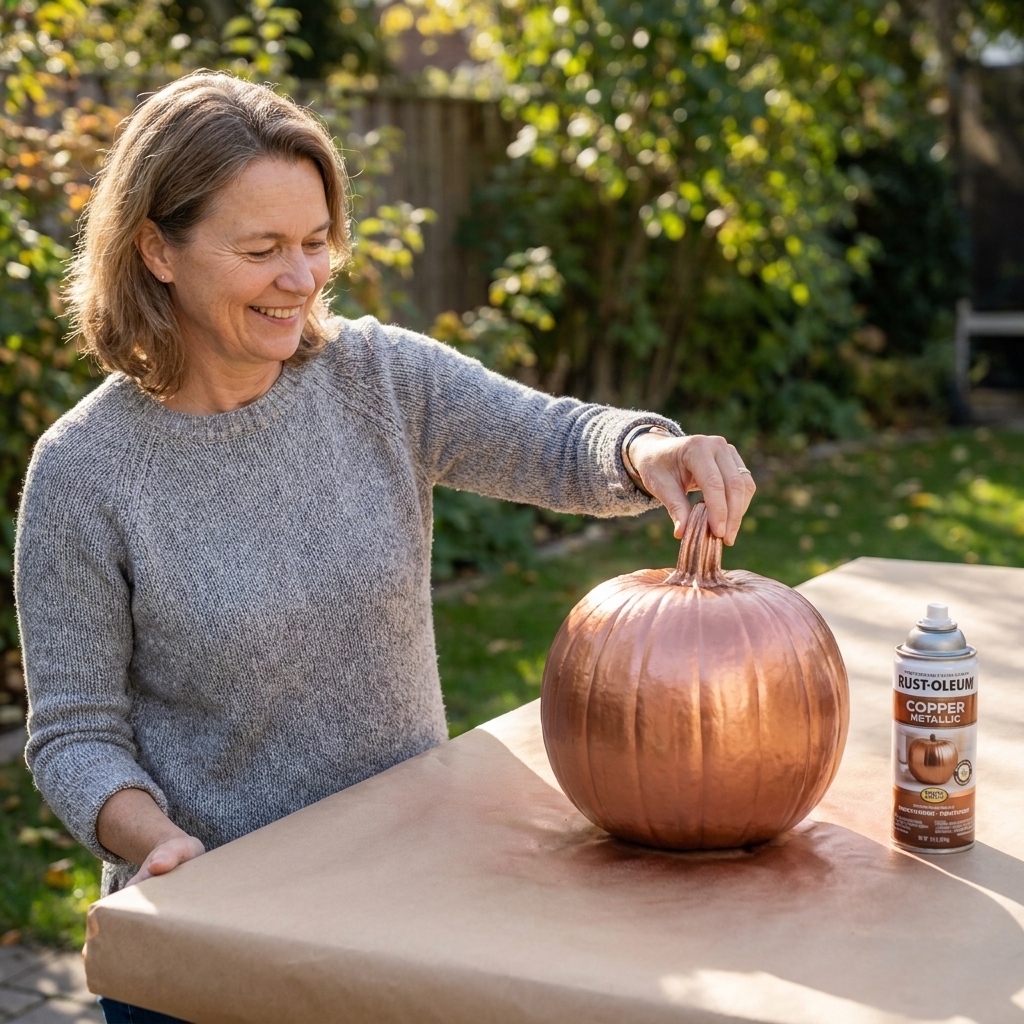
What you need
- Pumpkin (craft is easiest, real works too)
- Metallic spray paint
- Primer (optional but helpful for craft foam)
- Clear sealer (optional)
How to do it
- Spray in a well-ventilated area. Outdoors is best, and a mask is a smart idea.
- Apply light coats, rotating the pumpkin between passes.
- Let dry fully before adding another coat.
- Seal if your pumpkin will be handled or displayed outside.
Clara tip: For a softer, boutique look, finish with a matte clear sealer instead of glossy.
3) Fabric-wrapped pumpkins
Fabric-wrapped pumpkins feel like autumn comfort in decor form. Think plaid flannel, velvet, chunky knit, or even a thrifted scarf. They are perfect for neutral homes because you can choose a fabric that matches your palette.

What you need
- Craft pumpkin (recommended)
- Fabric (fat quarter, scarf, or knit sweater sleeve)
- Hot glue gun or fabric glue
- Twine or ribbon
- Optional: cinnamon sticks, faux stem, or real twig for the top
How to do it
- Cut fabric large enough to cover the pumpkin with extra at the top and bottom.
- Center the pumpkin on the fabric and pull it snug around the sides.
- Glue the fabric in pleats around the top opening area, keeping everything tight.
- Gather and glue at the bottom, trimming excess if needed.
- Finish the top with twine and add a stem.
Clara tip: Velvet looks gorgeous with brass candlesticks. Plaid looks adorable in a basket by the entryway with a cozy throw.
Safety note: Hot glue is fast, but it is also spicy. If kids are helping, let them do the fabric pulling and twine tying while an adult handles the glue.
4) Pressed flower pumpkins
Pressed flowers instantly romanticize a pumpkin. It feels like something you would spot in a boutique window display, but it is truly beginner-friendly.
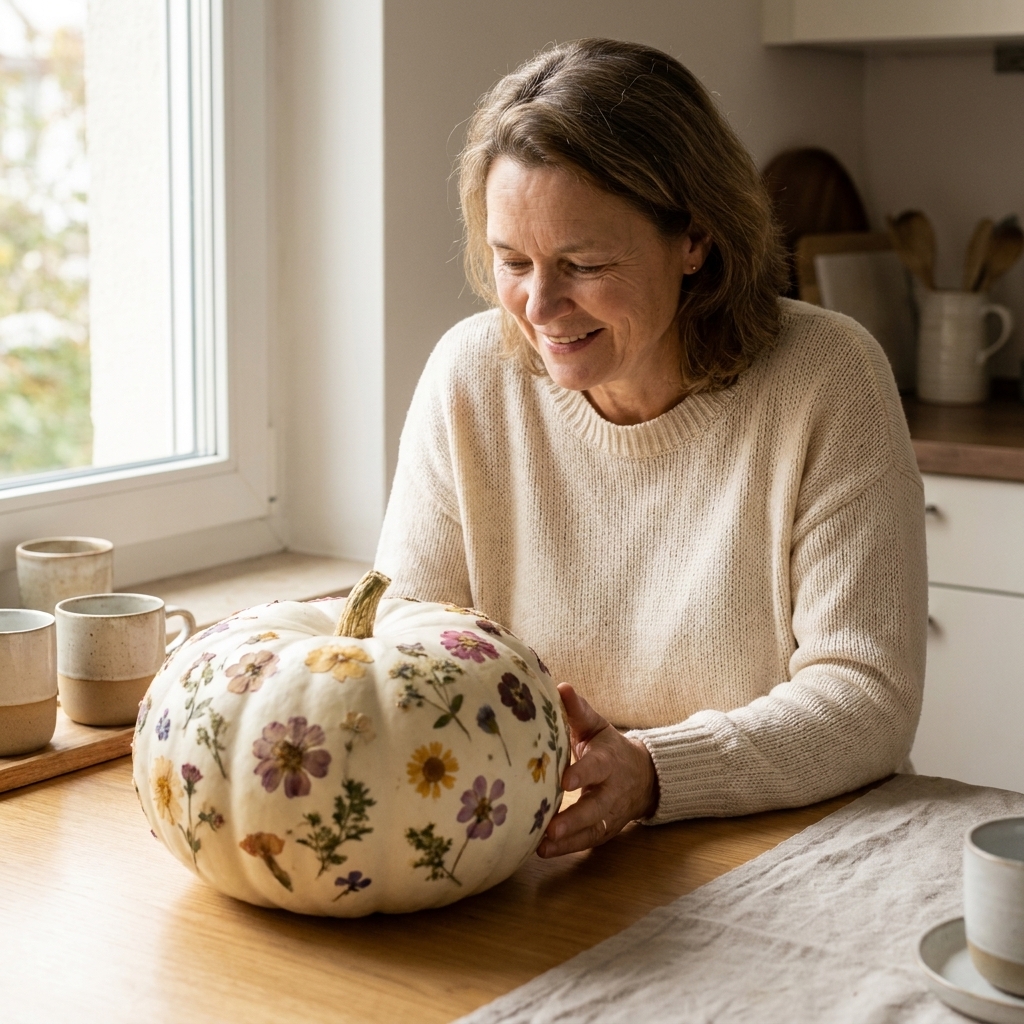
What you need
- Light-colored pumpkin (white or pale green looks best)
- Pressed flowers or flat faux florals
- Decoupage medium or clear-drying craft glue
- Small paintbrush
- Optional: clear sealer
How to do it
- Plan your layout before gluing. A simple vine shape is very forgiving.
- Brush a light coat of medium where the flower will go.
- Place the flower gently and tap it down with a clean finger.
- Brush a light coat over the top to seal, then let dry.
Clara tip: Keep flowers away from the pumpkin bottom if it will sit outside. Moisture and pressed petals are not best friends.
Real pumpkin note: This works best on a dry, firm pumpkin. If your pumpkin starts to soften, the florals can lift as the surface changes.
5) Glitter drip pumpkins
I love glitter, but I do not love finding glitter in my sock drawer in March. A controlled drip effect gives you the sparkle moment without coating your entire life.
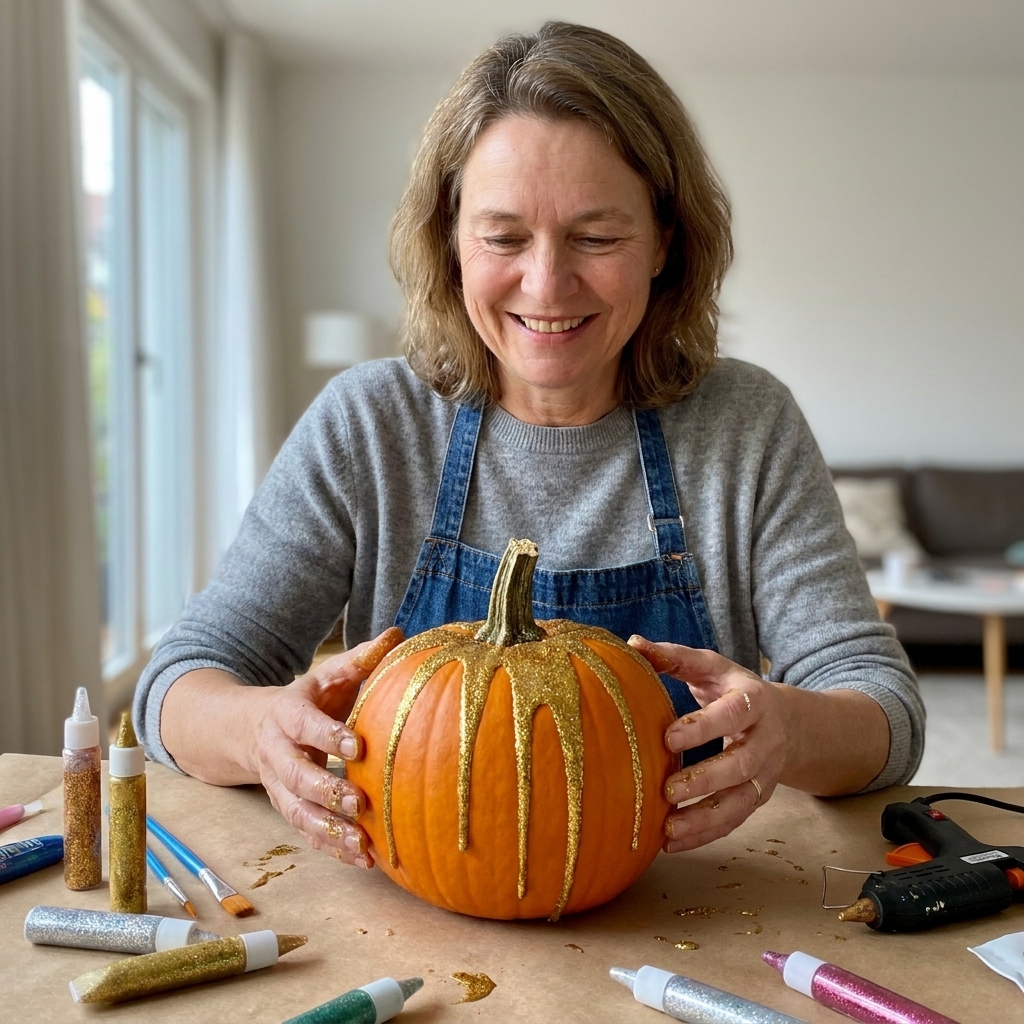
What you need
- Pumpkin (craft preferred)
- Craft glue or Mod Podge
- Glitter
- Disposable plate or bowl
- Optional: painter's tape
How to do it
- Optional: tape off the area below where you want the drips to end.
- Starting at the top, paint glue in drip shapes running down the sides.
- Pour glitter over the glued areas and gently tap off excess onto a plate.
- Let dry, then seal with a spray sealer designed for glitter if desired.
Clara tip: Use chunky glitter for dramatic sparkle, fine glitter for a more sophisticated sheen.
Real pumpkin note: Glitter drips can work on real pumpkins, but humidity and condensation can soften the glue. If it is going outdoors, sealing helps, and keeping it out of rain helps even more.
6) Washi tape pattern pumpkins
Washi tape is the MVP for decorating with kids or for renters who want something temporary. Stripes, chevrons, gingham-ish grids, little geometric bands. It all works.
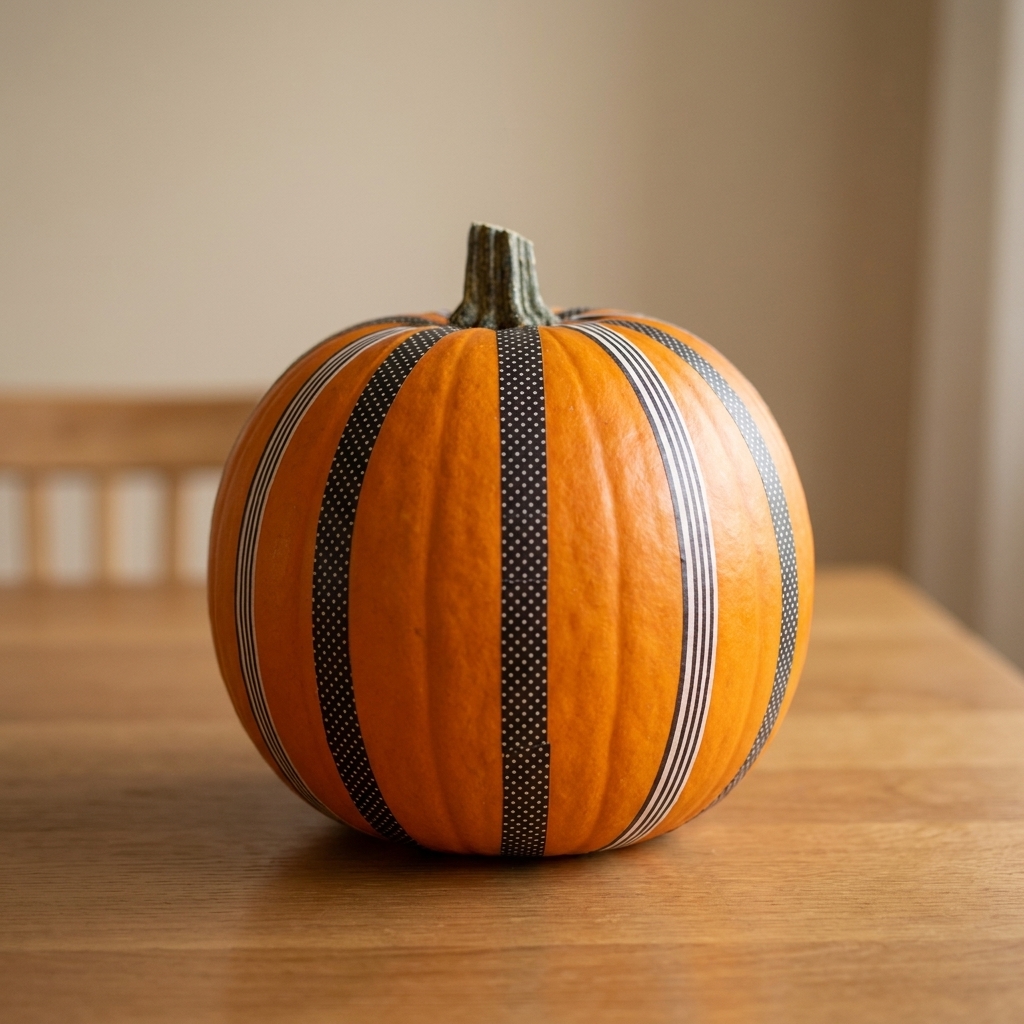
What you need
- Pumpkin (real or craft)
- Washi tape in a few coordinating patterns
- Scissors
How to do it
- Wipe the pumpkin so the tape sticks well, and let it fully dry.
- Lay tape in your chosen pattern. Press down firmly, especially over grooves.
- Trim clean edges with scissors.
Clara tip: If the tape lifts in the grooves, warm it with your hands and press again. The gentle heat helps adhesion.
7) Studded tack pumpkins
This is my favorite “looks expensive” trick for a modern entry table or a moody Halloween dinner. You can do a simple monogram, a dotted gradient, or a full studded pumpkin.

What you need
- Craft pumpkin (best for easy pushing)
- Thumbtacks, upholstery tacks, or decorative brads
- Pencil (optional for sketching a pattern)
How to do it
- Optional: lightly sketch a pattern with pencil.
- Press in tacks one at a time. Space evenly for a polished look.
- Style with soft light so the texture shines.
Clara tip: If you are using a real pumpkin, choose shorter brads so you do not puncture too deeply.
Safety note: This one is not little-kid-friendly. If kids are crafting nearby, keep tacks in a dish and do the pressing yourself.
How to style no-carve pumpkins
My visual merchandiser brain cannot resist a quick styling moment. Here is how to make even simple pumpkins look put together.
- Group in odd numbers: Three or five pumpkins reads collected, not cluttered.
- Mix finishes: Try one metallic, one soft neutral, one textured (fabric or studs).
- Add height: Stack two coffee table books under a pumpkin, or tuck one into a footed bowl.
- Repeat a color: Echo your pumpkin accent color in a candle, ribbon, or a throw pillow nearby.
- Use nature as filler: Foraged branches, faux fall stems, pinecones, and dried hydrangeas make the whole vignette feel lush.
Keeping pumpkins fresh
If you are decorating real pumpkins, a little care goes a long way.
- Keep them cool: Heat speeds up soft spots. Shade is your friend.
- Avoid puddles: Place outside pumpkins on a tray or thin riser so they are not sitting in dampness.
- Handle gently: Any deep puncture can shorten lifespan, so keep adhesives and embellishments on the surface.
- Choose craft pumpkins for longevity: If you want to bring these back year after year, foam is the easiest investment.
Quick FAQ
Can I do these on real pumpkins?
Yes, with a small caveat. Decoupage, washi tape, pressed flowers, and glitter drips can all work on real pumpkins, but moisture and outdoor humidity can affect how well things stick. For anything with lots of pokes (tacks) or heavy paint layering, craft pumpkins tend to hold up better and store beautifully.
How do I make paint stick to craft pumpkins?
Use light coats and consider a quick primer coat first. Let everything dry fully between coats, and seal if you want a tougher finish. If your craft pumpkin feels slick, a quick wipe with rubbing alcohol can help remove residue so paint grips better.
What is the least messy option for kids?
Washi tape and sticker-style decorating are the cleanest. Fabric wrapping is also surprisingly tidy if an adult handles the hot glue.
If you try one of these, my biggest encouragement is to keep it perfectly imperfect. A little wrinkle in decoupage or a slightly offbeat tape stripe is part of the handmade charm. Pour a warm drink, put on a fall playlist, and give yourself permission to decorate just because it is October.