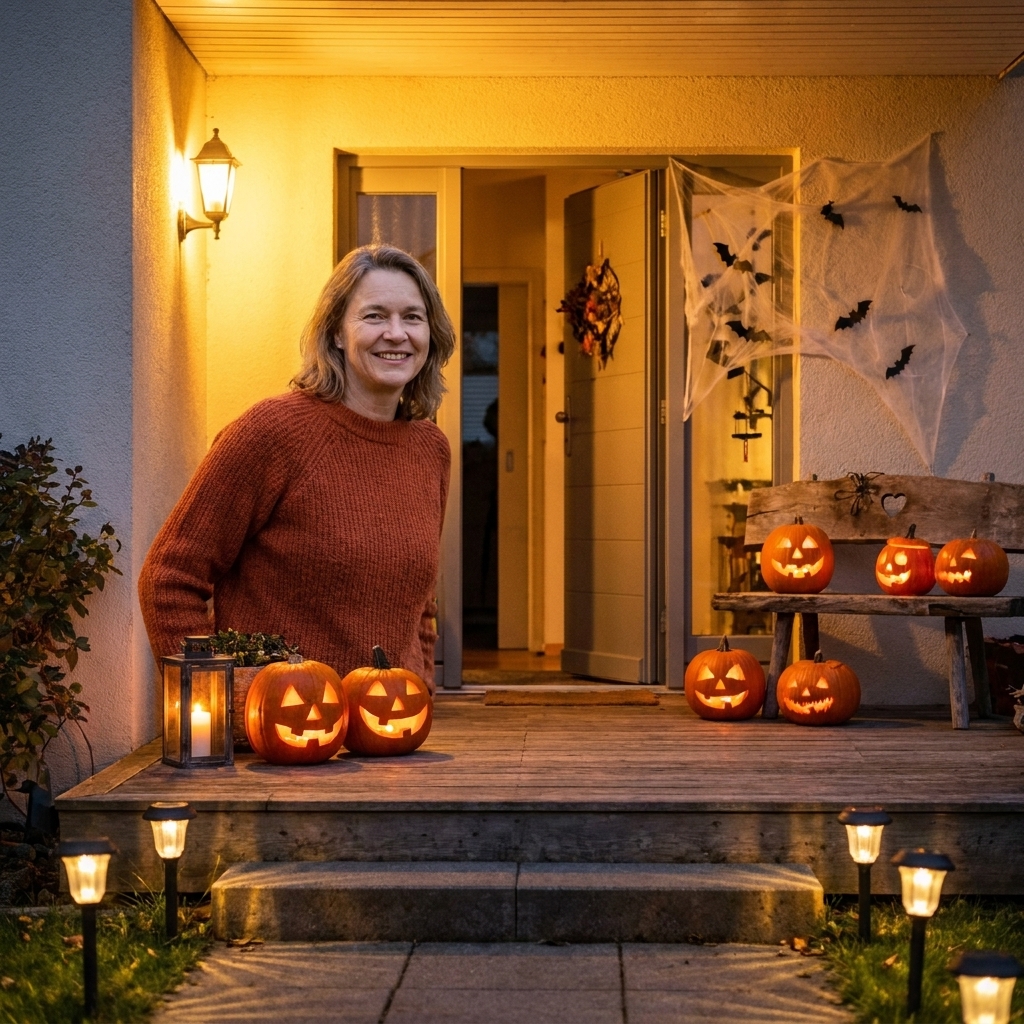
Spooky atmosphere, safer steps. A practical porch plan for lighting paths, placing pumpkins, hiding cords, anchoring props, and keeping trick-or-treaters mov...
The Festive Dwell
Layered Halloween Front Porch Decor
Learn how to layer pumpkins, lighting, doormats, and spooky accents for a Halloween front porch that feels festive, welcoming, and pulled together from curb to door.

Clara Jenkins
Clara Jenkins is a former visual merchandiser and lifelong holiday enthusiast who believes every season is worth celebrating. She helps readers transform their everyday spaces into magical, welcoming homes through budget-friendly DIYs, elegant tablescapes, and clever styling tricks. When she isn't untangling fairy lights or hot-gluing autumn wreaths, Clara can be found hunting for vintage ornaments at local flea markets.
Published October 17, 2026
Updated October 17, 2026
If your Halloween porch always starts strong and then somehow turns into a random pile of pumpkins and a lonely skeleton, you are not alone. The trick is not buying more stuff. It is layering with intention, the same way you would style a mantel or a coffee table. Start with a base, add height, warm it up with light, then sprinkle in the spooky details.
I spent years as a visual merchandiser styling store entrances, and the same principles tend to translate beautifully to a front porch. You want a clear focal point, a few repeat colors, and layers that make the space feel full without feeling crowded.
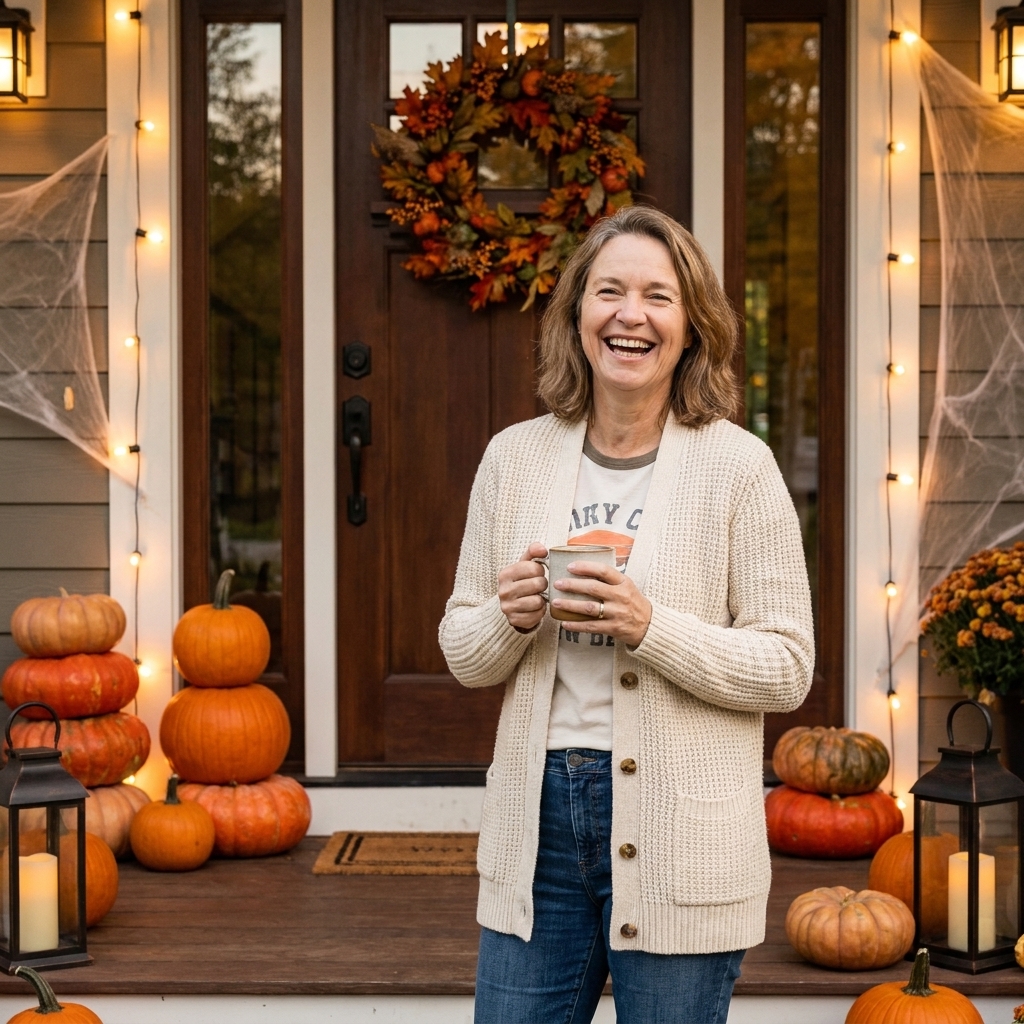
The layering formula
When you are standing on your porch with a bag of mini pumpkins and zero plan, use this simple order:
- Ground layer: rugs, mats, and a “path” for the eye
- Anchor layer: big items that hold the corners (planters, tall lanterns, hay bales, crates)
- Mid layer: medium pumpkins, florals, signs, baskets
- Detail layer: minis, candles, spiders, subtle spooky props
- Glow layer: lighting that makes everything look magical at night
Once you think in layers, you stop second-guessing every single item. And as you move through the steps, pause after each layer and take a quick look from the street. That is where the “too empty” and “too much” issues show up fast.
Step 1: Start at the ground
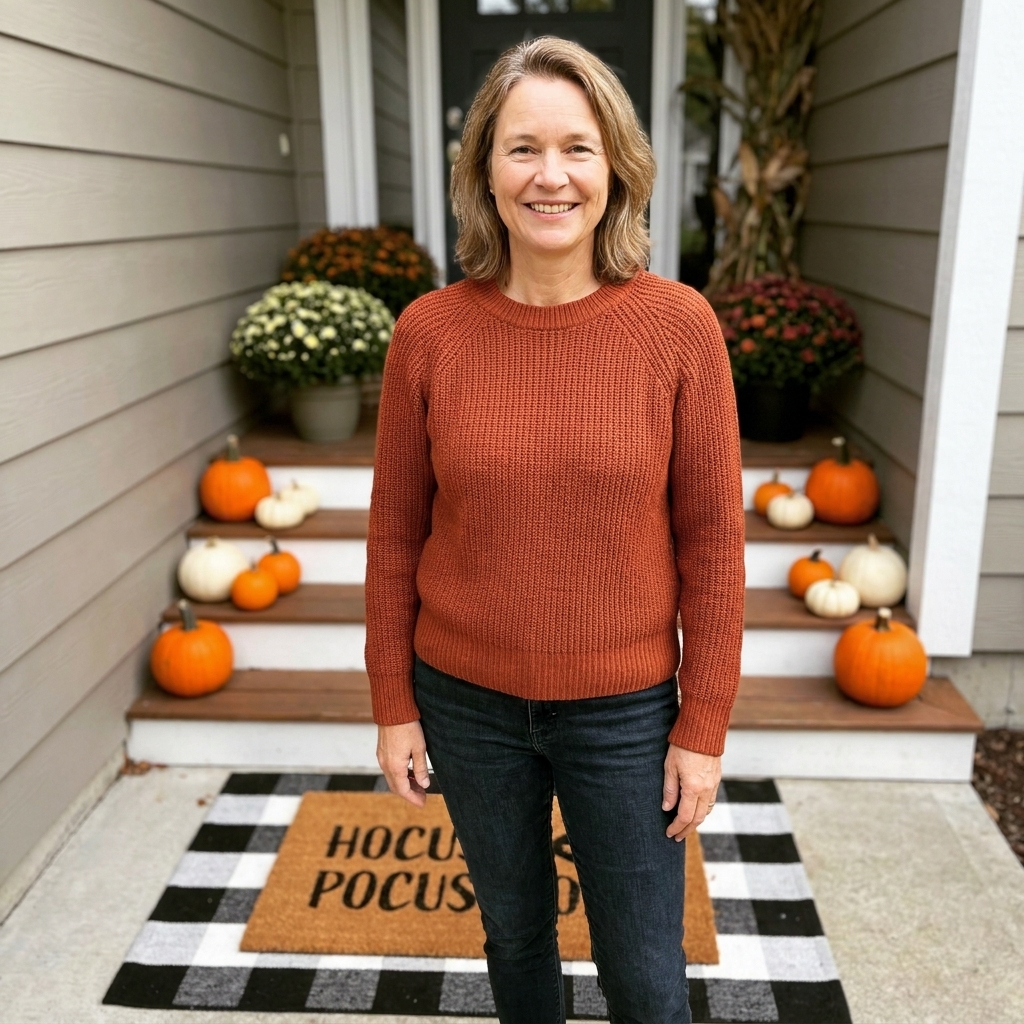
Double up your doormat setup
This is one of the fastest “styled” shortcuts I know. Layer a larger outdoor rug under a smaller Halloween doormat. It makes the entry feel designed, and it buys you visual coverage even if your porch is tiny.
- Best combo: a neutral or buffalo check outdoor rug underneath plus a themed mat on top
- Color tip: choose one main neutral (black, natural, gray) and let pumpkins do the color work
Create a simple walking line
If you have steps or a short walkway, sprinkle a few mini pumpkins, faux leaves, or lanterns along one side only. One-sided styling looks intentional and keeps the path clear for trick-or-treaters. Keep steps fully visible, and avoid loose items on stair edges where they can shift underfoot.
Step 2: Add door anchors
Anchors are your “big rocks.” They make everything else look like it belongs. Choose two main anchors, usually one for each side of the door. If your porch only has room for one, place it slightly off-center and balance with a smaller cluster on the other side.
Anchor options to try
- Tall planters: fill with mums, ornamental cabbage, or faux branches you reuse yearly
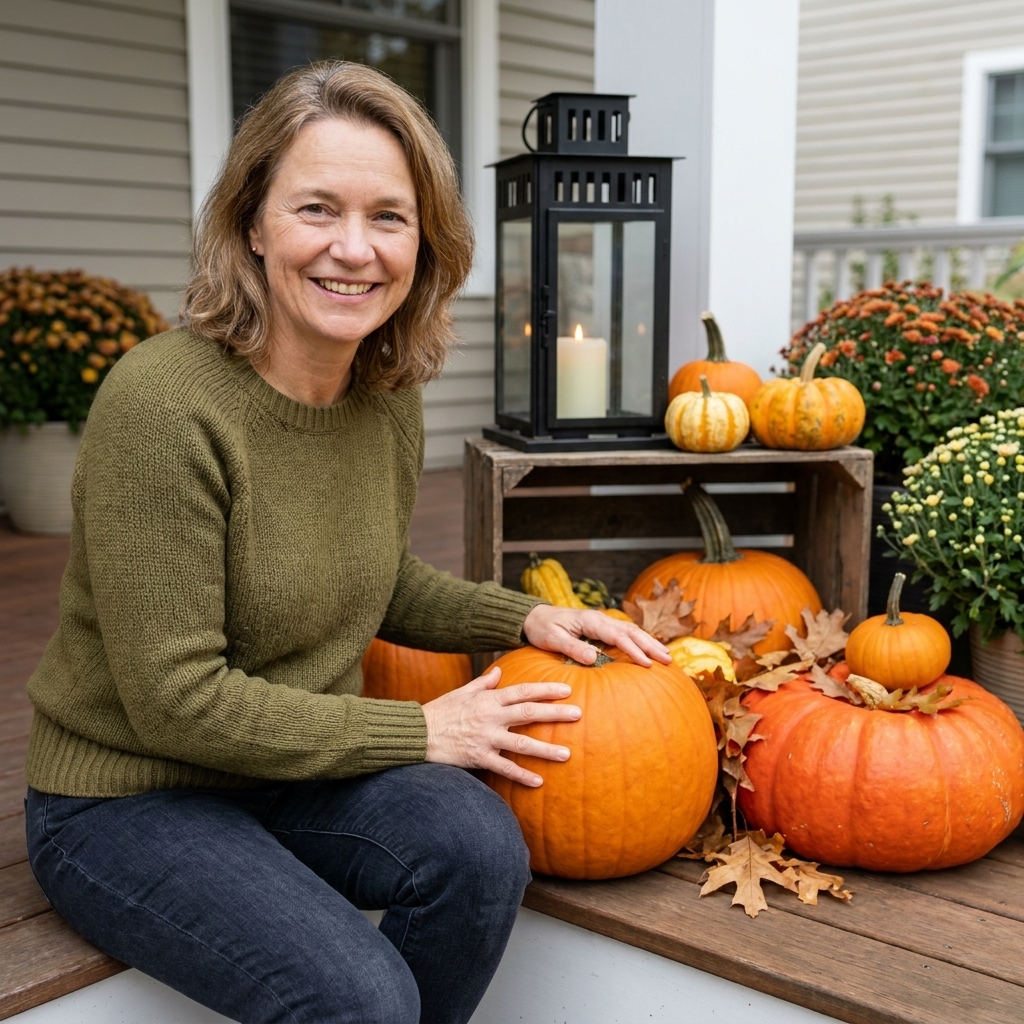
- Lanterns: tall floor lanterns add height and glow (battery candles are your best friend)
- Crates or wood stools: instant height for pumpkin stacks
- Hay bales: cozy, rustic, and great for building tiers (keep dry and covered). Hay is highly flammable, so keep it well away from candles, heaters, hot bulbs, and any electrical heat source.
My merchandiser rule: if you can see straight under everything, it will look skimpy. If there is air under lanterns, crates, and planters, the whole setup tends to feel like it is floating. Anchors help visually “fill” the doorway zone.
Step 3: Layer pumpkins
Pumpkins are the easiest way to get that abundant Halloween feel, but they need structure. Once the anchors are in, building the pumpkin layer gets a lot easier.
Pick a pumpkin palette
Limiting your colors makes the whole porch look more expensive and more cohesive.
- Classic spooky: orange + black + a touch of white
- Moody neutral: white + tan + sage + a few deep green pumpkins
- Witchy glam: white + black + metallic (gold or copper)
Use the “big, medium, mini” method
- Big pumpkins go on the ground near anchors
- Medium pumpkins sit on crates, hay, or steps
- Mini pumpkins sprinkle in last, like confetti, kept to small clusters
Cluster in odd numbers
Groups of 3, 5, or 7 look natural. Keep clusters tight enough that they read as one moment, not scattered groceries.
Make it look fuller with fewer pumpkins
Two tricks I swear by:
- Turn pumpkins sideways. A few side-lying pumpkins instantly add volume.
- Use fillers. Tuck in faux leaves, pinecones, or branches between pumpkins so you need fewer actual gourds.
Step 4: Add door height
Your front door is the star, so give it one strong statement. When everything competes, nothing wins.
Pick one door focal point
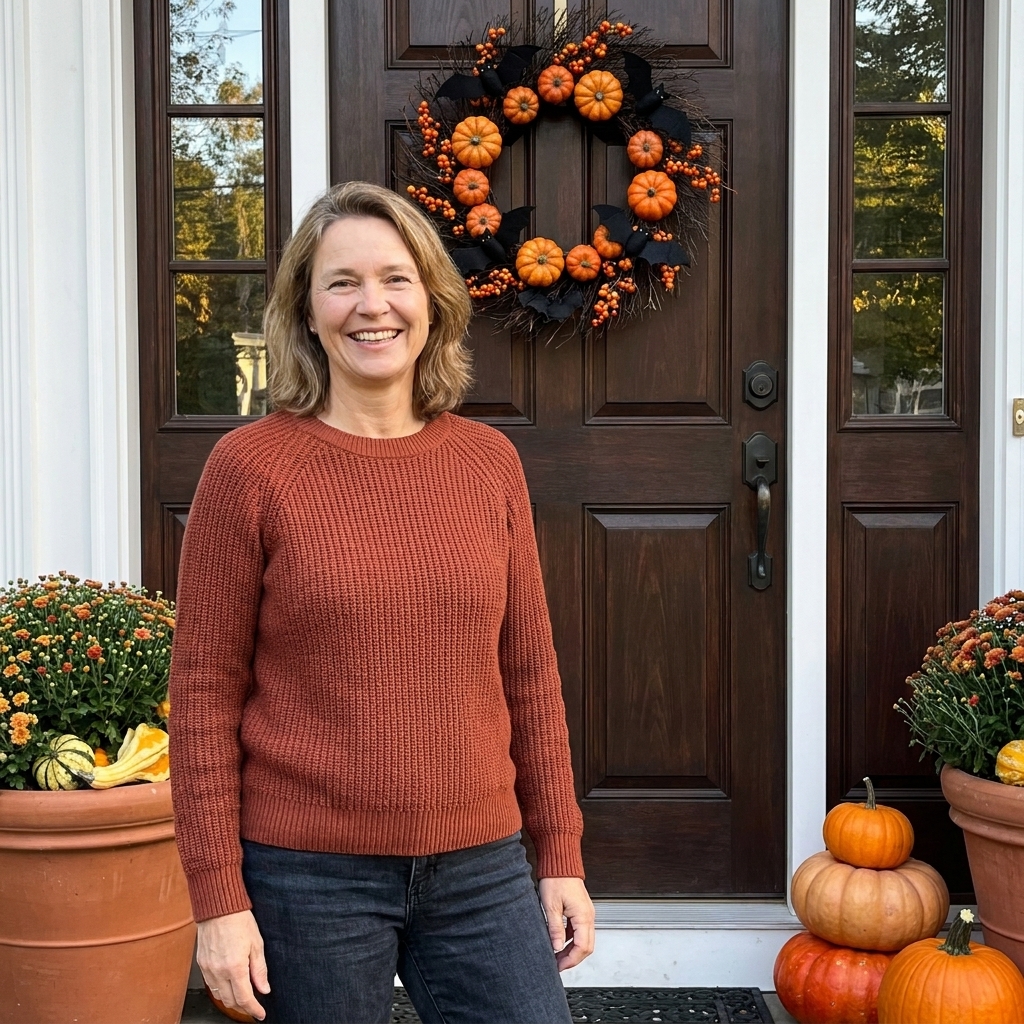
- Wreath: easiest and classic, especially with a bow or ribbon tails
- Swag: draped over the top corner of the door frame for an old-house feel
- Hanging accents: a simple broom, a single oversized spider, or subtle black feathers
Proportion check: as a rule of thumb, your wreath looks balanced when it fills roughly one-third to one-half of the door’s width. Adjust based on your door style, sidelights, and hardware.
Use vertical elements to lift the scene
If your porch decor feels squat, add something tall: corn stalks, tall branches in urns, or a broom leaning near the door. Height makes the porch look styled from top to bottom, not just at ankle level.
Quick safety check: keep railings usable, leave room for storm or screen doors to swing, make sure nothing blocks the door handle, and keep steps and landings clear.
Step 5: Add warm light
Halloween lighting should feel spooky, yes, but still safe and inviting. The goal is warm pools of light, not an interrogation spotlight.
My favorite lighting layers
- Overhead: your porch light with a warm bulb (aim for soft warm white)
- Mid-level: string lights along railing or ceiling edge (warm white looks cozy, purple or orange feels playful)
- Ground-level glow: lanterns with flameless candles, or small spotlights aimed at pumpkins
Safety note: keep cords taped down or tucked, use outdoor-rated lights, and avoid placing anything flammable (like hay or dried leaves) too close to bulbs or fixtures. If you need an extension cord, use an outdoor-rated one and plug into a GFCI-protected outlet when available. Flameless candles are especially great when kids are running up and down steps.

Step 6: Add spooky details
This is where most porches go off the rails. Spooky accents are like seasoning. You want enough to say “Halloween,” not so much that it looks like a costume shop exploded.
Spooky accents that stay tasteful
- One statement figure: a seated skeleton, a raven, or a witch hat topiary
- Texture: faux cobwebs used lightly in corners, not stretched across the walkway
- Small creatures: a few black spiders climbing a planter, or bats near the door
- Moody florals: deep burgundy stems mixed into mums or garlands
A simple rule of three
Choose three categories total, such as: bats + one raven + cobweb texture. Repeat those three choices in two places on the porch and call it done.
Three porch looks
1) Cozy classic
- Layered rug + Halloween doormat
- Two mum planters by the door
- Orange pumpkins + a few white
- Two lanterns with warm flameless candles
- Friendly sign or a cute ghost accent
2) Moody witchy
- Black and natural rug layer
- White pumpkins mixed with dark green or gray
- Tall branches (real or faux) in urns
- Warm string lights + a couple of taper-style flameless candles in lanterns
- Raven accent and subtle cobwebs in upper corners
3) Vintage harvest
- Natural coir mat layered over a warm-toned rug
- Wood crates stacked as a tiered stand
- Heirloom pumpkins and gourds (bonus if they look a little lumpy)
- Old-school metal lanterns
- A grapevine wreath with dried stems and a velvet bow
Quick fixes
“My porch is tiny.”
Go vertical. Use a tall lantern or planter, a narrow pumpkin stack, and a wreath. Keep the ground clear so it feels welcoming, not cramped.
“It looks cluttered.”
Edit by category. Remove one type of item completely (all signs, all cobwebs, or all minis). Clutter usually comes from too many different themes, not too many objects.
“Everything keeps rolling or blowing away.”
Use discreet museum putty under small decor, but test it first and remove it carefully. It can perform differently outdoors depending on temperature, moisture, and the surface (especially dusty or porous materials). You can also tuck minis into baskets and consider faux pumpkins for high-wind areas. For real pumpkins, choose flatter-bottom varieties for steps.
“My display looks flat.”
Add one raised surface (crate, stool, inverted planter) and one light source (lantern). Height plus glow usually goes a long way.
Weather and durability
A porch can look perfect at 4 p.m. and chaotic by the next morning if the weather turns. A few small choices help your layers last.
- Rain plan: choose outdoor-rated rugs when possible, bring in textile pieces during heavy rain, and keep pumpkins off wet ground with a thin riser (crate slats, plant stand, or even a couple flat pavers).
- Wind plan: use zip ties or floral wire to secure lightweight garlands to railings, and outdoor-rated hooks for hanging accents. Keep anything light (like faux cobwebs) to corners and sheltered areas.
- Moisture and pests: avoid leaving hay bales or real gourds sitting in damp spots for long periods. Swap to crates or planters if your porch stays wet.
Buy vs. DIY
I love a good splurge, but Halloween is also the season of brilliant shortcuts.
Worth investing in
- Two sturdy outdoor lanterns
- A good quality wreath base you can refresh each year
- Warm outdoor string lights
Easy DIY upgrades
- Painted faux pumpkins: matte black, creamy white, or muted sage
- Branch bundles: foraged branches sprayed black and placed in a thrifted vase or urn
- Velvet ribbon bow: tied onto a wreath, lantern, or broom
If you are choosing where to put your effort, do the lighting and the door focal point first. Those deliver some of the biggest impact for the time you spend.
Last look checklist
- Is the walkway clear and safe?
- Are steps and edges fully visible and free of loose decor?
- Is the railing still usable and the door swing clear?
- Do I have at least one tall item and one low item on each side (or one balanced cluster if space is tight)?
- Are my pumpkin colors repeating, not competing?
- Do I have glow at two levels (porch light plus lanterns or string lights)?
- Is there one obvious focal point at the door?
Do this quick audit at dusk, turn on all the lights, and adjust from the street view. That final street-view check is a great way to catch what your porch is missing.
FAQ
How early can I put out Halloween porch decor?
I like to start with fall-friendly layers in late September (mums, lanterns, neutral pumpkins), then add overtly Halloween pieces in early October. That way it feels festive longer without looking out of season.
How do I keep real pumpkins looking good longer?
Choose unblemished pumpkins, keep them out of harsh direct sun if possible, and keep them off hot concrete. If you plan to carve, wait until closer to Halloween and use LED lights instead of real flames. If your porch runs warm, mix in faux pumpkins so the display stays pretty.
Should I use orange or warm white lights?
Warm white is the most flattering for pumpkins and faces. If you want color, use orange or purple as an accent layer (like one strand or one spotlight), not the only light source.