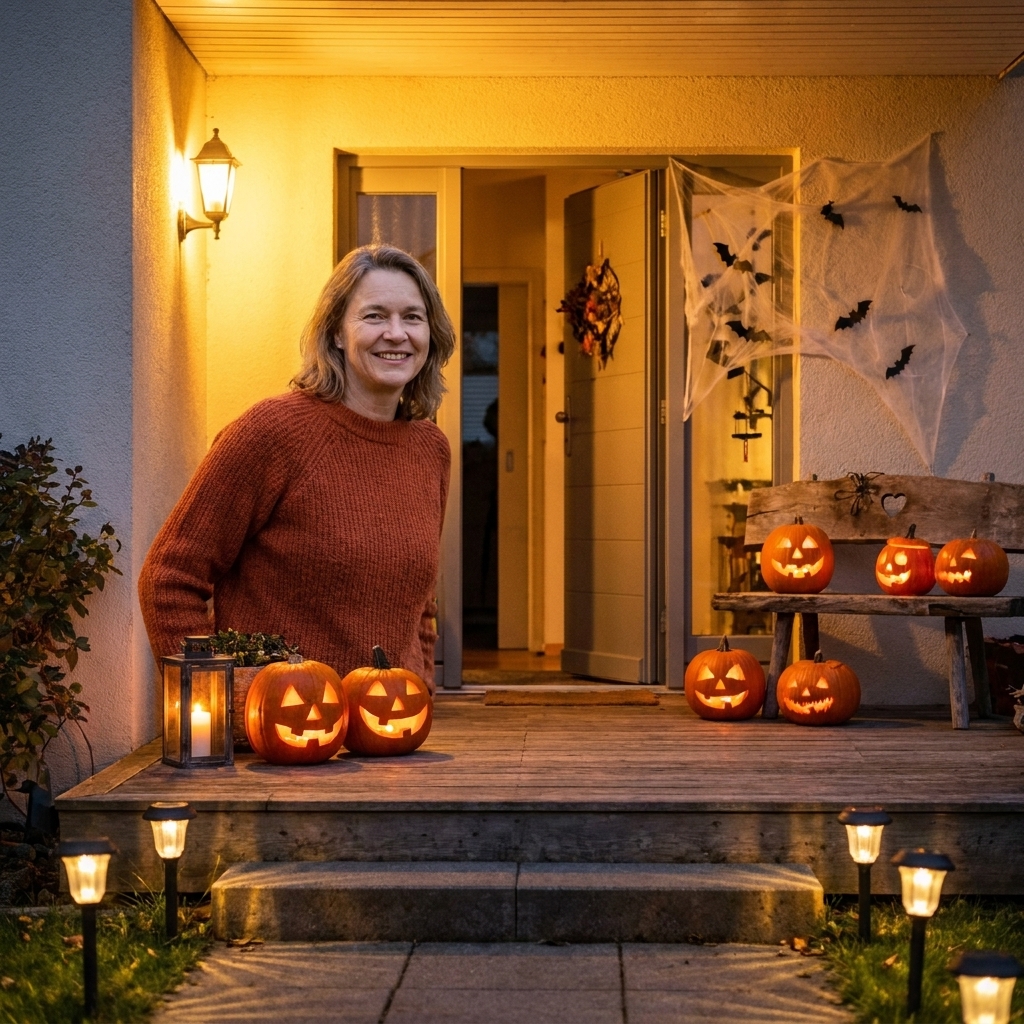
15 quick and affordable porch DIYs that look high-impact: floating witch hats, pallet tombstones, glowing eyes, creepy lanterns, and more.
The Festive Dwell
Life-Sized DIY Tomato Cage Ghosts
Make glowing, life-sized Halloween ghosts for your yard using tomato cages, foam balls, cheesecloth, and LED fairy lights. A budget-friendly DIY with step-by-step tips.

Clara Jenkins
Clara Jenkins is a former visual merchandiser and lifelong holiday enthusiast who believes every season is worth celebrating. She helps readers transform their everyday spaces into magical, welcoming homes through budget-friendly DIYs, elegant tablescapes, and clever styling tricks. When she isn't untangling fairy lights or hot-gluing autumn wreaths, Clara can be found hunting for vintage ornaments at local flea markets.
Published October 17, 2026
Updated October 17, 2026
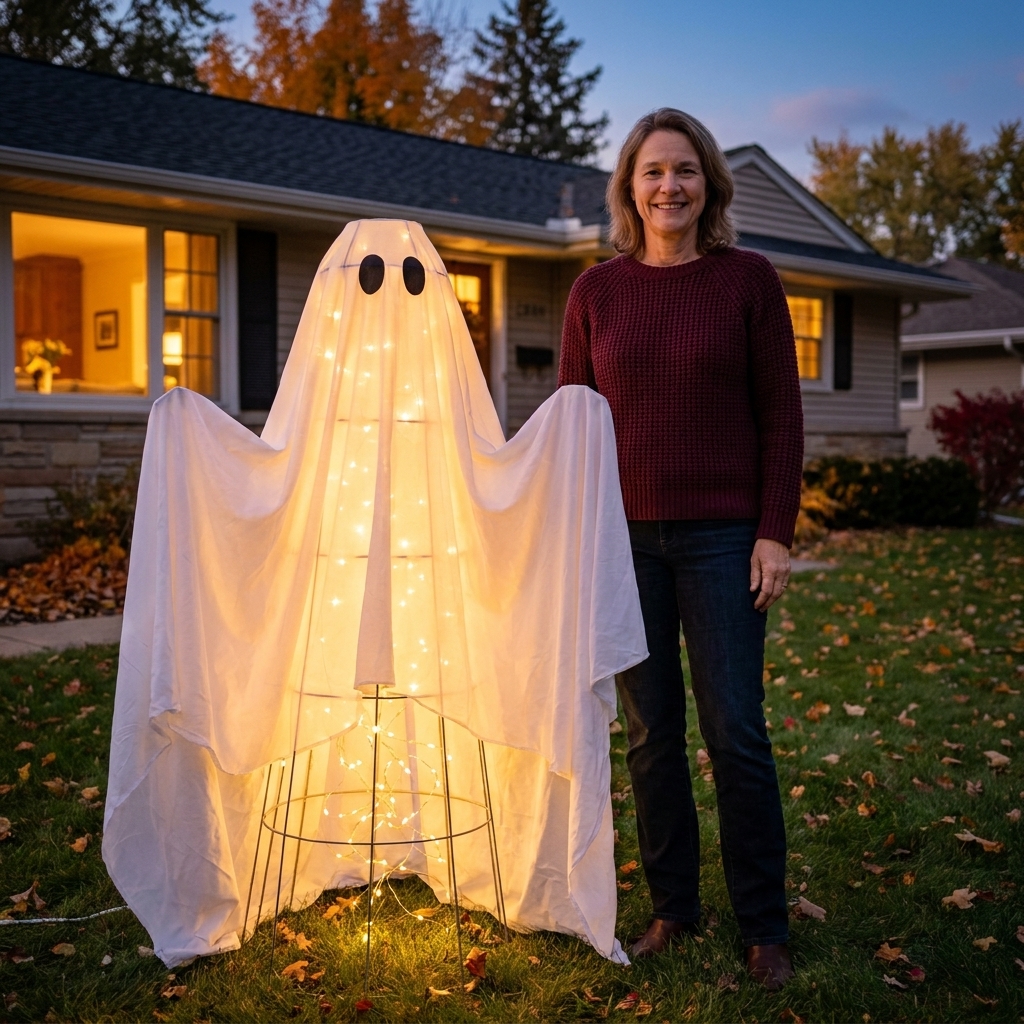
If you love the kind of Halloween yard moment that makes neighbors slow down their cars a little, tomato cage ghosts are your new best friend. They are tall, floaty, and wonderfully eerie at night, especially when you tuck warm fairy lights inside. Best part: they look high-effort, but they are totally doable in an afternoon with basic supplies.
What you will need
I am all about a DIY that uses what you already have, so scan your garage before you shop. These are the basics, plus a few optional upgrades.
- Tomato cage (one per ghost). Common sizes are around 36 to 54 inches and make a great “body.”
- Foam ball (one per ghost), 4 to 6 inches is ideal for a head.
- White cheesecloth (traditional spooky look) or lightweight white fabric like gauze, muslin, or an old white sheet. For long outdoor runs, synthetic gauze or a sturdier outdoor-safe fabric tends to hold up better in wet weather.
- Fairy lights (battery-powered recommended), warm white or cool white. Stick with LED lights, and if they will be exposed to weather, choose lights rated for outdoor use.
- Zip ties or floral wire.
- Hot glue gun and glue sticks (optional but handy).
- Black felt or black fabric (for eyes and mouth), or black electrical tape.
- Wooden dowel or sturdy stick (optional, for extra stability in windy yards).
- Outdoor stakes or landscape staples (optional, for anchoring fabric and cage).
- Scissors

Before you start: pick a style
You can take these in a few directions depending on your vibe and how much time you want to spend.
- Classic sheet-ghost: Big drape, simple face, lots of movement in the fabric.
- Glowing specter: More snug fabric wrap around the cage so the light reads brighter.
- Weathered graveyard ghost: Tea-stained cheesecloth with ragged edges for an aged look.
My personal favorite is the glowing specter because it looks dramatic at night, even from the street.
Step-by-step: how to build it
1) Flip and shape the tomato cage
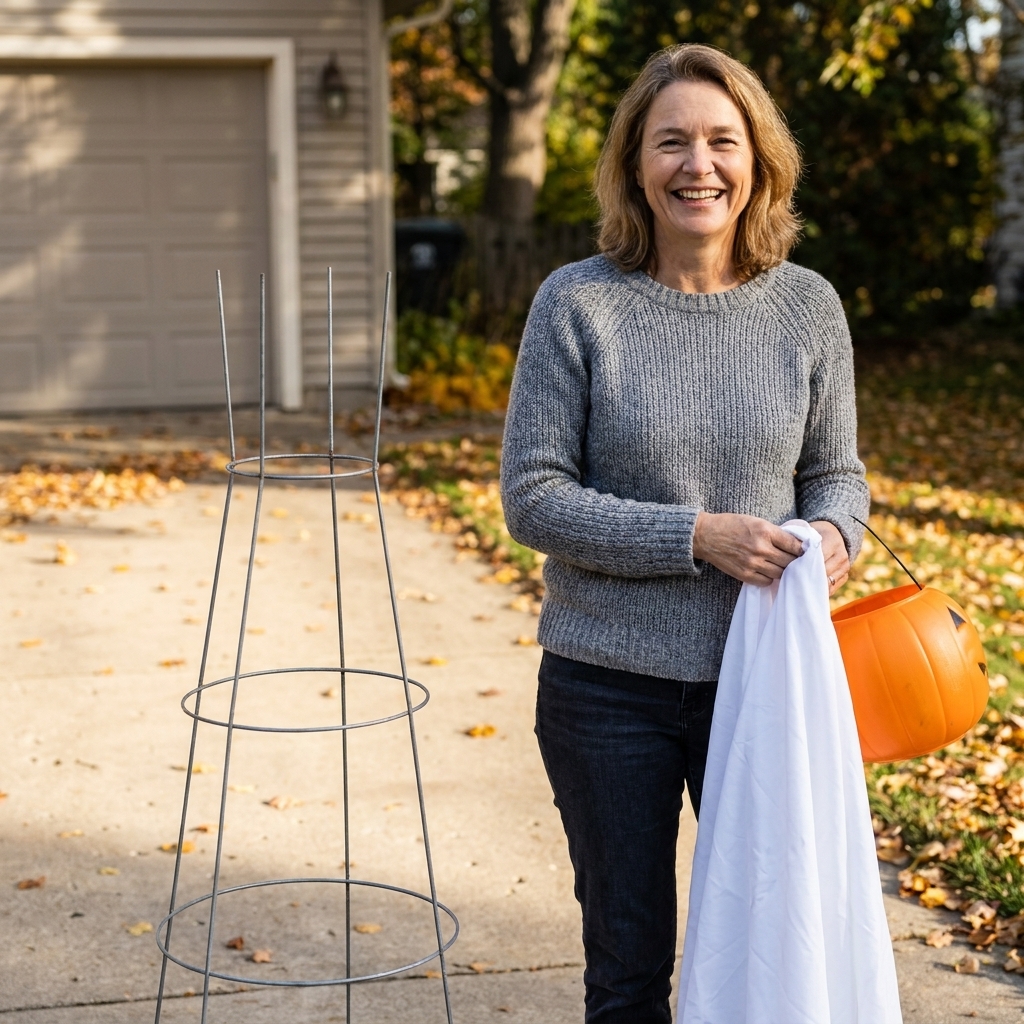
Turn your tomato cage upside down so the wide ring becomes the base that sits on the ground. The three (or four) prongs that normally go into soil will now point up, which is perfect for attaching the head.
If your cage feels wobbly, gently squeeze it into a slightly narrower “cone” shape and use a zip tie to secure any wiggly connections or loose wire ends.
2) Add the foam ball head
Poke a small starter hole in the foam ball, then press it down onto the cage prongs. If the prongs are sharp, go slowly and keep your hand on the sides of the ball, not on top.
Make it secure: Wrap a zip tie or floral wire around the base of the foam ball and one of the cage prongs, or use a dab of hot glue where metal meets foam.
Optional neck: If you want a longer “neck,” push a short dowel (or sturdy stick) a couple inches into the bottom of the foam ball like a peg, then zip tie the dowel to two cage prongs so the head sits a little higher and feels steadier.
3) Install the lights from the inside
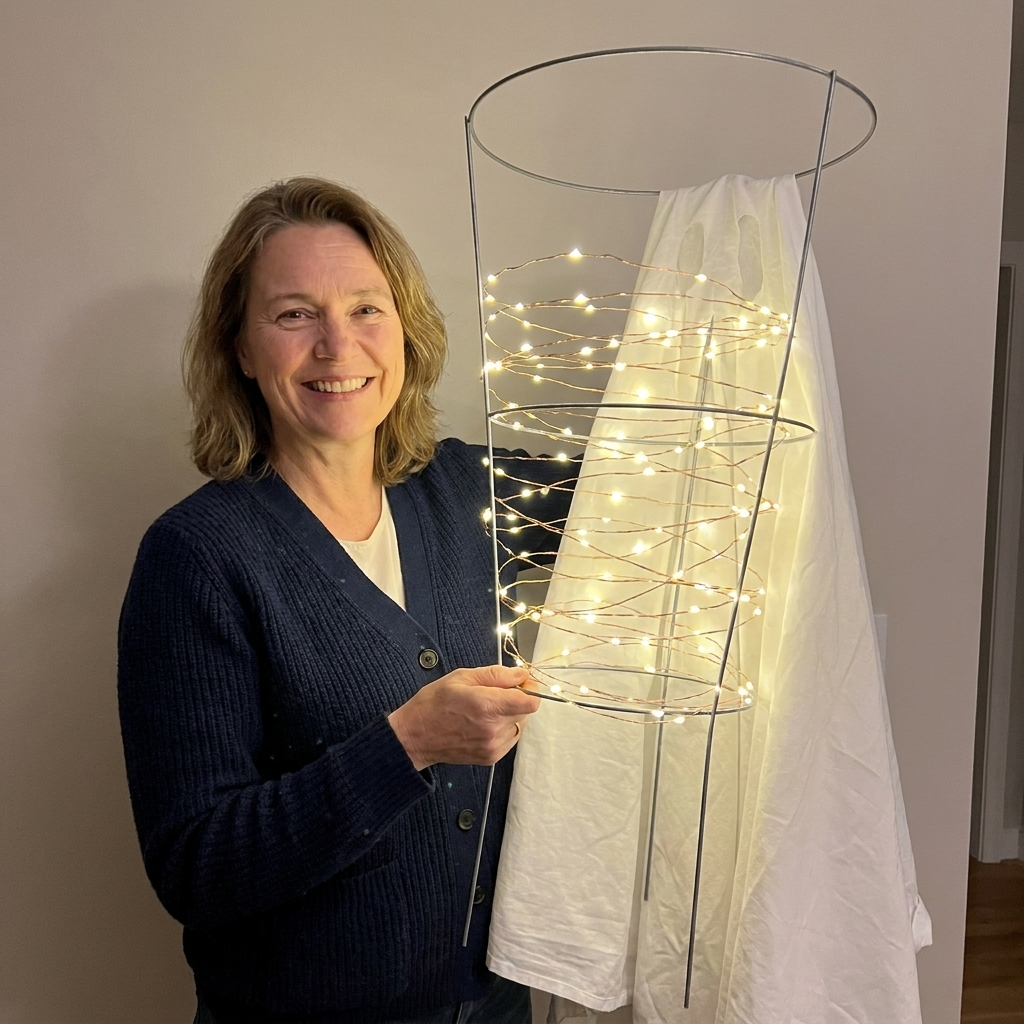
Start at the top near the “head” and spiral the fairy lights down the cage ribs. Use tiny zip ties to hold the wire in a few spots so it does not slide when you move the ghost.
Battery pack placement: Hide it near the base, inside the cage. I like to zip tie the battery pack to a lower ring so it stays off damp grass and stays easy to reach for on and off.
Light color tip: Warm white reads cozy-creepy and looks great with tea-stained fabric. Cool white reads sharper and more “classic haunted house.”
Hands-off tip: A timer battery pack (or rechargeable batteries) saves you from toggling them nightly and cuts down on battery waste.
4) Drape and secure your fabric
Now for the magic moment. Drape cheesecloth or your chosen fabric over the foam ball and cage so it falls evenly on all sides.
- Cheesecloth look: Layer two to four pieces so it is not too see-through in daylight.
- Sheet or gauze look: One large piece works, but you may want to tear the bottom edge for a floatier silhouette.
Use a couple of small dabs of hot glue at the top of the foam ball to keep the fabric from sliding. If you do not want to glue, use safety pins, small clips, or floral wire to “belt” the fabric around the neck area. If you use pins, place them high and out of reach, and remove them before storage so you are not surprised later.
Make it glow brighter: Keep fabric slightly closer to the cage frame rather than puffing out too far, so the light shines through.

5) Create the face
This is where your ghost gets personality. You can go cute, spooky, or full-on silent screamer.
- Easy and removable: Black electrical tape for eyes and mouth.
- Soft and classic: Cut black felt shapes and hot glue them on.
- More subtle: Use a black mesh fabric under the cheesecloth, so the face looks shadowy instead of bold.
My trick: Put the lights on before placing the face. A face that looks perfect in daylight can disappear at night if you do not check the contrast.
Quick safety note: LEDs stay cool, which is exactly what you want around fabric. Avoid any non-LED light sources inside a fabric-draped ghost.
6) Anchor it for real-life weather
If you get even a light breeze, anchoring is non-negotiable.
- Seat the base ring: If you can, press the base ring slightly into soil and step on it gently to settle it.
- Staple it down: Use landscape staples over the bottom ring in two to four spots.
- Add a stake: Drive a wooden stake into the ground inside the cage and zip tie the cage to it.
Then do a final walk-around at dusk with the lights on. This is when you can adjust the drape so it looks “floating,” not lopsided.
Budget and time
- Time: Roughly 30 to 60 minutes per ghost once you get your rhythm, depending on how fussy you get with the drape and face.
- Cost: Often about $10 to $25 per ghost, depending on what you already have (especially lights, batteries, and fabric).
If you are making a whole ghost family, buy cheesecloth in bulk and look for multi-packs of battery fairy lights. It is the quickest way to bring the per-ghost cost down.
Styling tips
Group them like a scene
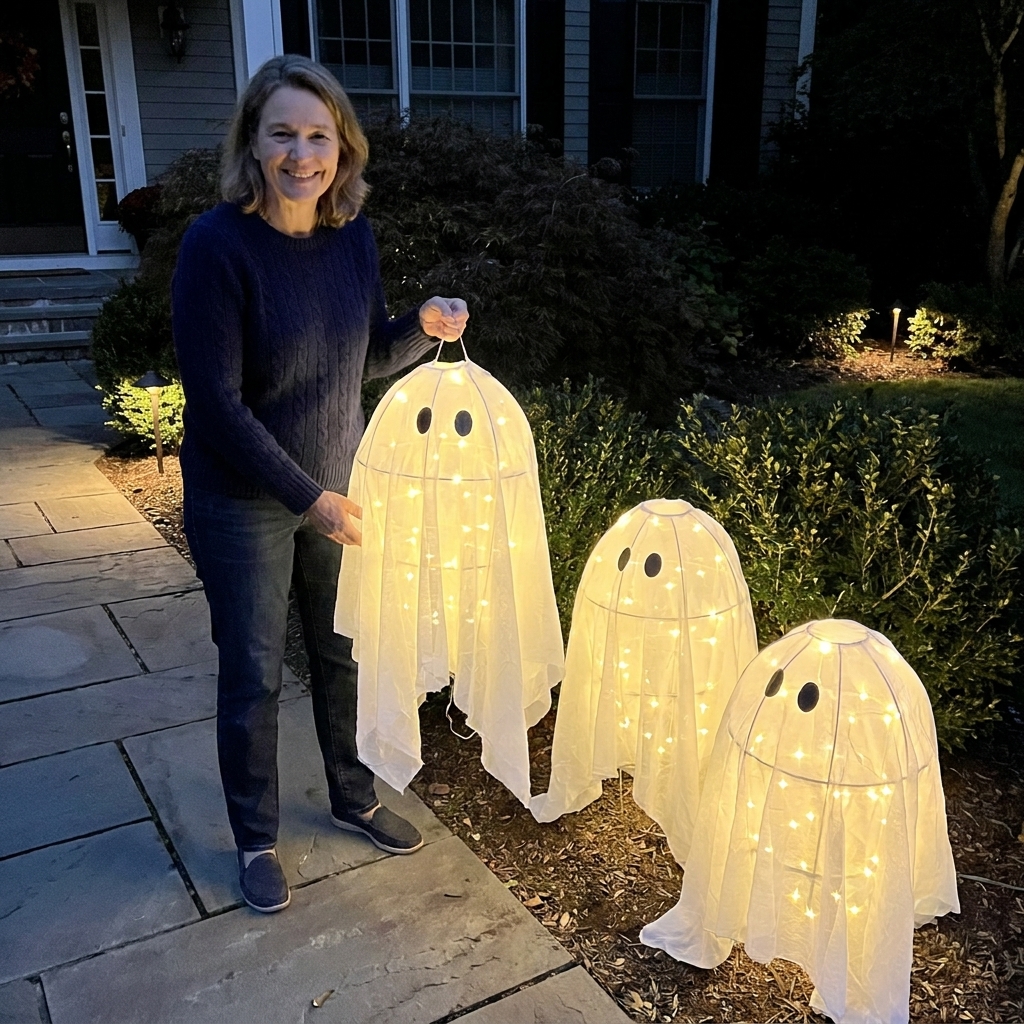
One ghost is cute. Three ghosts look like a story. Vary the heights by using different cage sizes, or place one on a slight slope or mulch bed so it sits taller.
Add movement with ragged hems
Tear the bottom edge of the fabric instead of cutting it. The frayed strands catch light beautifully and flutter in a way that feels extra spooky.
Use a “graveyard glow” palette
Mix warm white ghosts with a few accents like orange pumpkin lights near the steps or soft purple uplights on shrubs. Keep it to two or three light colors total so the yard looks intentional, not chaotic.
Optional upgrades
- Tea-stain the cheesecloth: Soak in strong black tea, wring out, dry, then drape for an aged, vintage-haunted look.
- Drippy “hands”: Twist extra cheesecloth into long strands and attach under the drape to look like arms.
- Flicker effect: Use flickering LED fairy lights for a more eerie glow.
- Soundless drama: Tuck a small piece of crumpled translucent plastic (like a clean produce bag) under the fabric near the face to create a hollow cheek shape.
Troubleshooting
My ghost keeps tipping over
Anchor the base ring with landscape staples, and add an interior stake. If you are on concrete, set the base ring inside a heavy planter or weight it with a brick hidden under fabric.
The lights look dim
Add a second strand inside, switch to fresh batteries (or fully charged rechargeables), or use fewer fabric layers around the middle where you want the glow strongest. If you are using thick muslin, swap to cheesecloth or gauze for better light transmission.
The head looks lumpy
Pull the fabric taut over the foam ball and secure it at the back with a tiny dab of glue or a safety pin. Also check that the foam ball is centered on the cage prongs.
Cheesecloth is snagging everywhere
Totally normal. Trim or bend any sharp wire ends on the cage, and wear thin gloves while you drape. Cheesecloth has a mind of its own, and it loves a rough edge.
Outdoor safety notes
- Use LED lights and avoid any heat-producing light sources under fabric.
- Choose outdoor-rated lights if they will be exposed to weather, and keep battery packs off damp ground and sheltered when possible.
- Keep fabric away from pathways where it could trip trick-or-treaters.
- Secure loose ends so wind does not blow fabric into a walkway or candle-lit decor.
- Bring them in for storms if your area gets heavy rain or high winds.
FAQ
Can I use a bigger head than a 6-inch foam ball?
Yes, especially if your cage is tall. For a taller cage, an 8-inch ball can look nicely proportioned. Just be sure it is secured well so it does not wobble in wind.
Do I have to use cheesecloth?
No. Cheesecloth is classic because it is light and glowy, but gauze, crinkle cotton, or even an old white sheet works. If you go with a sheet, rough up the edges so it reads more “ghost” than “laundry day.”
How many lights per ghost?
A 10 to 20 foot strand usually does it. If you want that bold, photo-ready glow, use two strands or choose a higher-density fairy light string.
Will these survive all season?
The frames will. Fabric can get dingy with rain and leaf debris, and cheesecloth can tear faster in wet weather. If you want them up for weeks, consider sturdier gauze, swap fabric mid-season, or bring the fabric inside between weekends.
Storage and reuse
When Halloween is over, pull off the fabric and store it separately so it does not snag. Coil the lights and tape the end to the bundle so they do not turn into a knot-ball. Tomato cages nest together beautifully, so you can stack a whole ghost crew in a small corner of the garage.
Make a haunted set
If you are already making one ghost, I highly recommend committing to at least three. Set them at different distances from the sidewalk, tuck a pumpkin or two nearby, and let those lights glow at dusk. It is one of those simple projects that creates instant Halloween atmosphere, and the kind of core memory your family will talk about for years.