A practical, branch-by-branch method to make a new artificial tree look lush: separate branches, shape tips for depth, fix thin spots, fluff safely around pr...
The Festive Dwell
How to String Christmas Tree Lights Evenly
Learn how to string lights on a Christmas tree evenly with a simple top-to-bottom lane method, a flexible lights-per-foot guide, and easy tricks to hide the plug near the stand.

Clara Jenkins
Clara Jenkins is a former visual merchandiser and lifelong holiday enthusiast who believes every season is worth celebrating. She helps readers transform their everyday spaces into magical, welcoming homes through budget-friendly DIYs, elegant tablescapes, and clever styling tricks. When she isn't untangling fairy lights or hot-gluing autumn wreaths, Clara can be found hunting for vintage ornaments at local flea markets.
Published November 15, 2026
Every year, I swear I am going to be a “calm and measured” tree lighter. And every year, I end up doing that classic visual merchandiser thing where I step back, squint, and realize the whole tree is glowing bright on one side and moody on the other.
The fix is not buying a fancier strand or wrestling with the lights for hours. It is the wrapping method. When you work in consistent vertical sections and place the wire deep near the trunk before you ever visit the tips, the tree lights up evenly from the inside out.
Before you start: quick prep
1) Test and inspect the strand
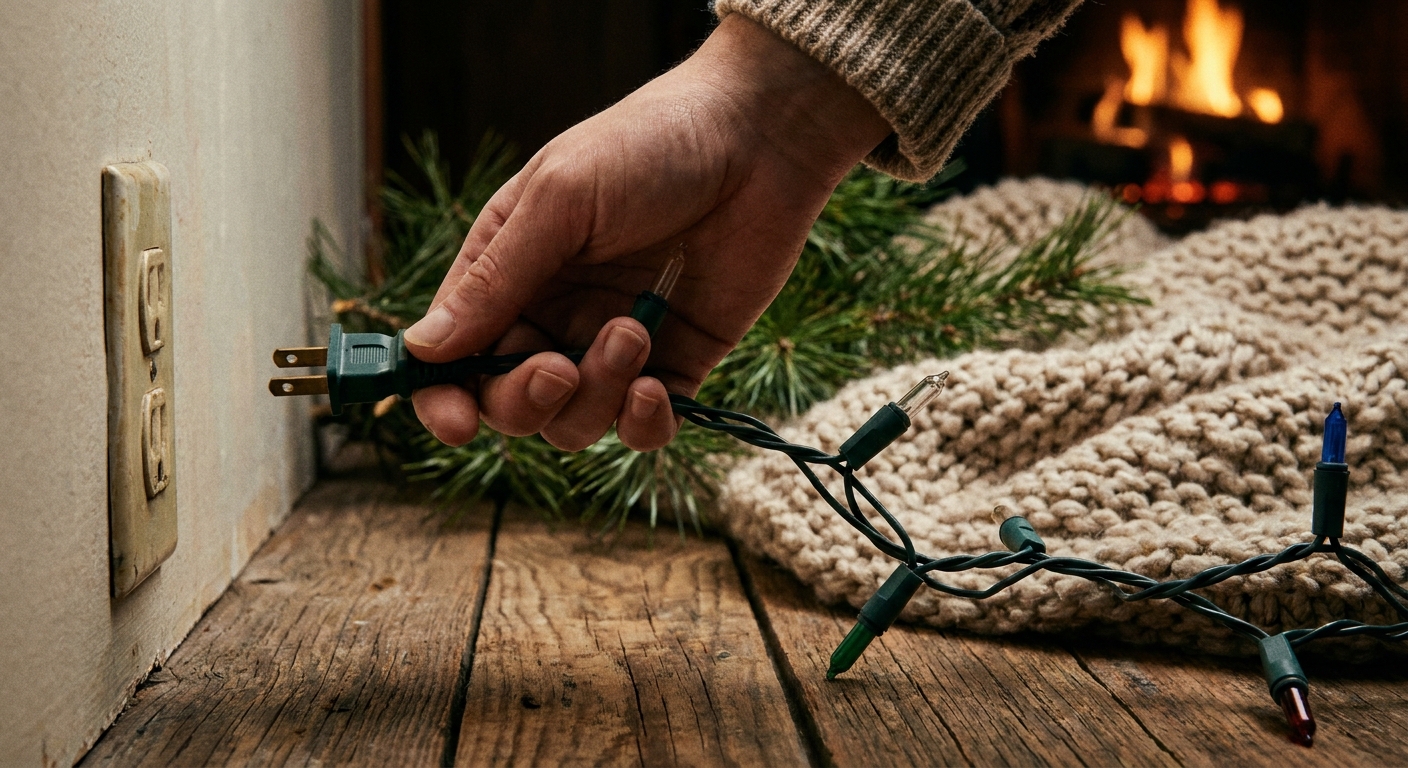
Plug in every strand before it touches the tree. I do this on the floor near an outlet so I can spot dark sections immediately and avoid re-wrapping later. While you are there, do a quick check for frayed wire, cracked sockets, or loose bulbs, and skip any strand that looks questionable.
2) Fluff the tree
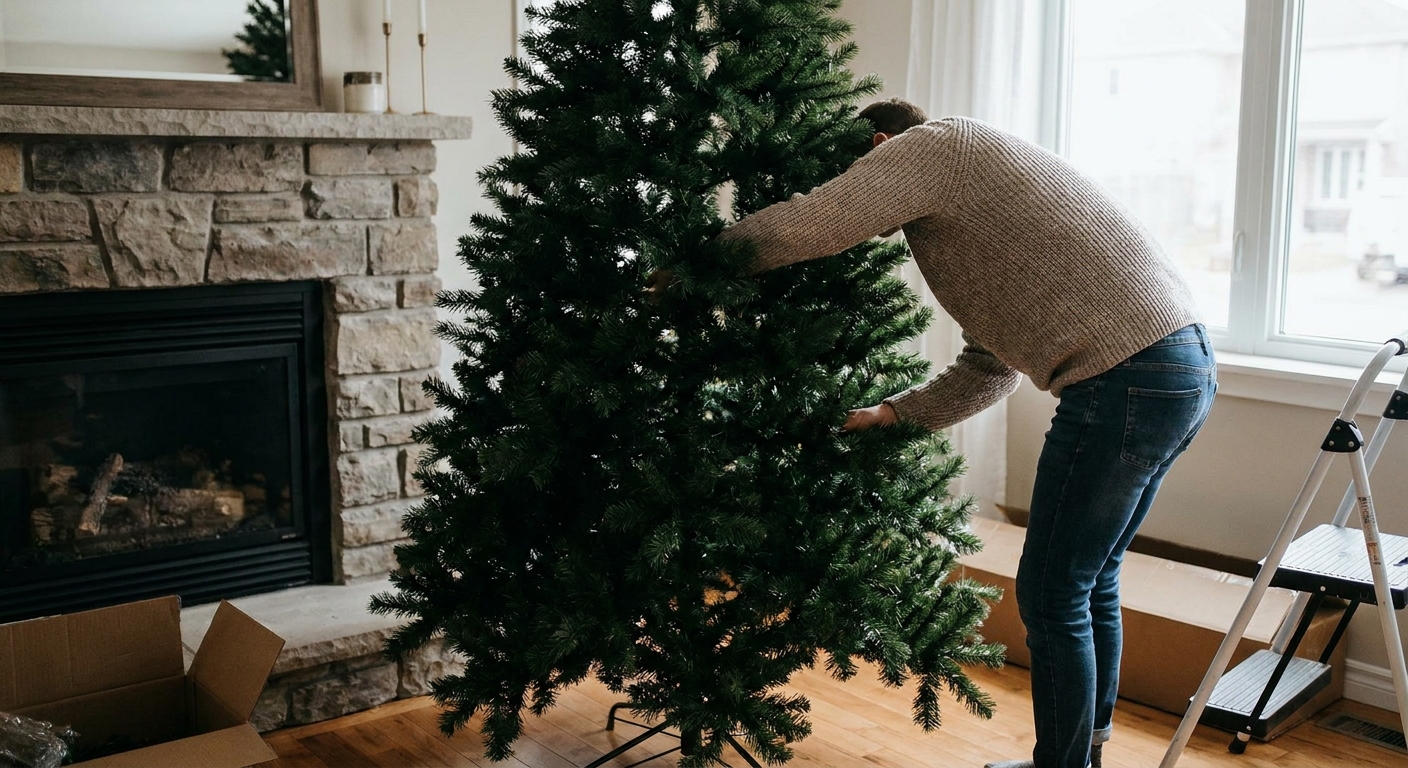
Uneven lights are often a “branches are still flat” problem. Open the branches and aim for a consistent cone shape all around. If it is an artificial tree, fluff from the trunk outward so you create pockets for lights to nestle in.
3) Know your strand type and your limits
Light counts and spacing vary by strand. This method works for everything, but the numbers change depending on bulb size and spacing. Mini LEDs can handle tighter coverage, while bigger C-style bulbs or wide-spacing strands will look balanced with fewer lights.
Also, check the tag or box for the manufacturer’s maximum end-to-end connections, especially if you are linking multiple strands. Use lights and extension cords rated for indoors, and if you are plugging in near a high-traffic area, a surge protector can be a nice extra layer of peace of mind.
4) Decide on your glow: steady, not crowded
Even lighting is about consistent spacing, not packing bulbs on every twig. The goal is a gentle interior sparkle plus a soft twinkle near the tips.
- Warm white hides small spacing mistakes and looks extra cozy.
- Multicolor looks best with slightly more coverage so colors feel balanced across the tree.
Simple lights-per-foot guide
This is my fast estimate for an even look, based on a common decorating guideline and assuming a normally full tree. Treat it as a starting point, not a hard rule, because bulb size and spacing vary by strand.
| Tree height | Total lights for a balanced glow | Easy rule of thumb |
|---|---|---|
| Small (4 to 5 ft) | 200 to 300 | About 50 to 60 lights per foot |
| Medium (6 to 7.5 ft) | 400 to 700 | About 60 to 90 lights per foot |
| Tall (8 to 10 ft) | 800 to 1,200 | About 90 to 120 lights per foot |
If you love a super sparkly tree: go up one bracket. For example, a 7.5 ft tree can absolutely handle 800 to 1,000 lights if the branches are full and you want that “window display” glow.
If your tree is pencil-slim: you can usually drop down a bracket because there is less circumference to cover.
The best method: vertical lanes
This is the approach I used when styling trees for retail floors, because it scales beautifully whether your tree is 4 feet or 10 feet. The secret is treating the tree like a clock and lighting one “slice” at a time.
Step 1: Start at the top with the non-plug end
Most people start at the bottom because the outlet is there. For even coverage, I prefer starting at the top with the non-plug end of the strand so your spacing stays consistent and you do not end up with a bright “leftover lights” cluster at the end.
How to do it even if your outlet is low: use an extension cord at the base. This lets you begin at the top while keeping the actual power connection down by the stand. Just make sure your extension cord is indoor-rated and not overloaded.
Step 2: Create 4 to 6 lanes
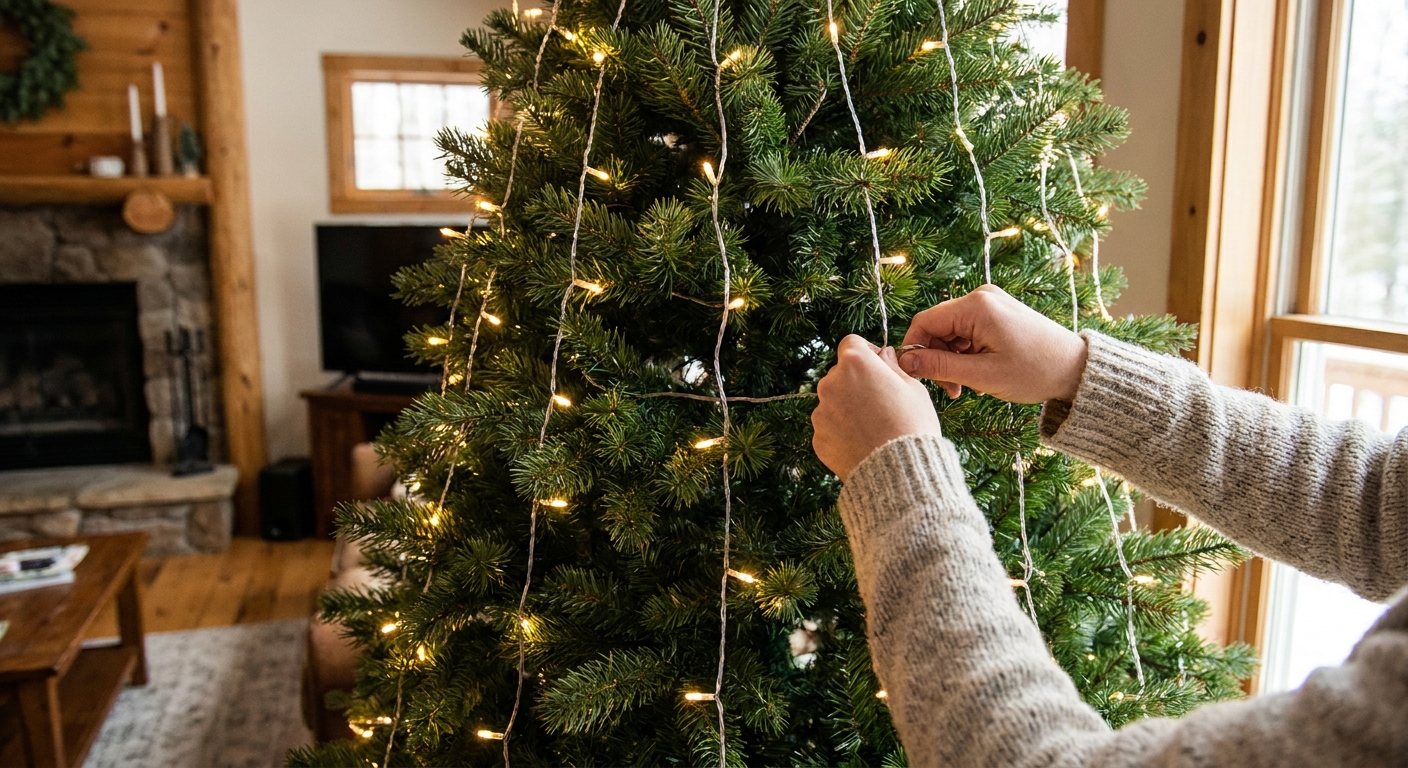
Imagine the tree divided into lanes from top to bottom, like orange slices. On a typical 7.5-foot tree, I do 5 or 6 lanes. On a smaller tree, 4 lanes is plenty.
- More lanes = tighter spacing and a more uniform glow.
- Fewer lanes = faster, but it is easier to end up with bright and dim zones.
Step 3: In each lane, go deep first
This is the move that makes the glow look even from trunk to tips.
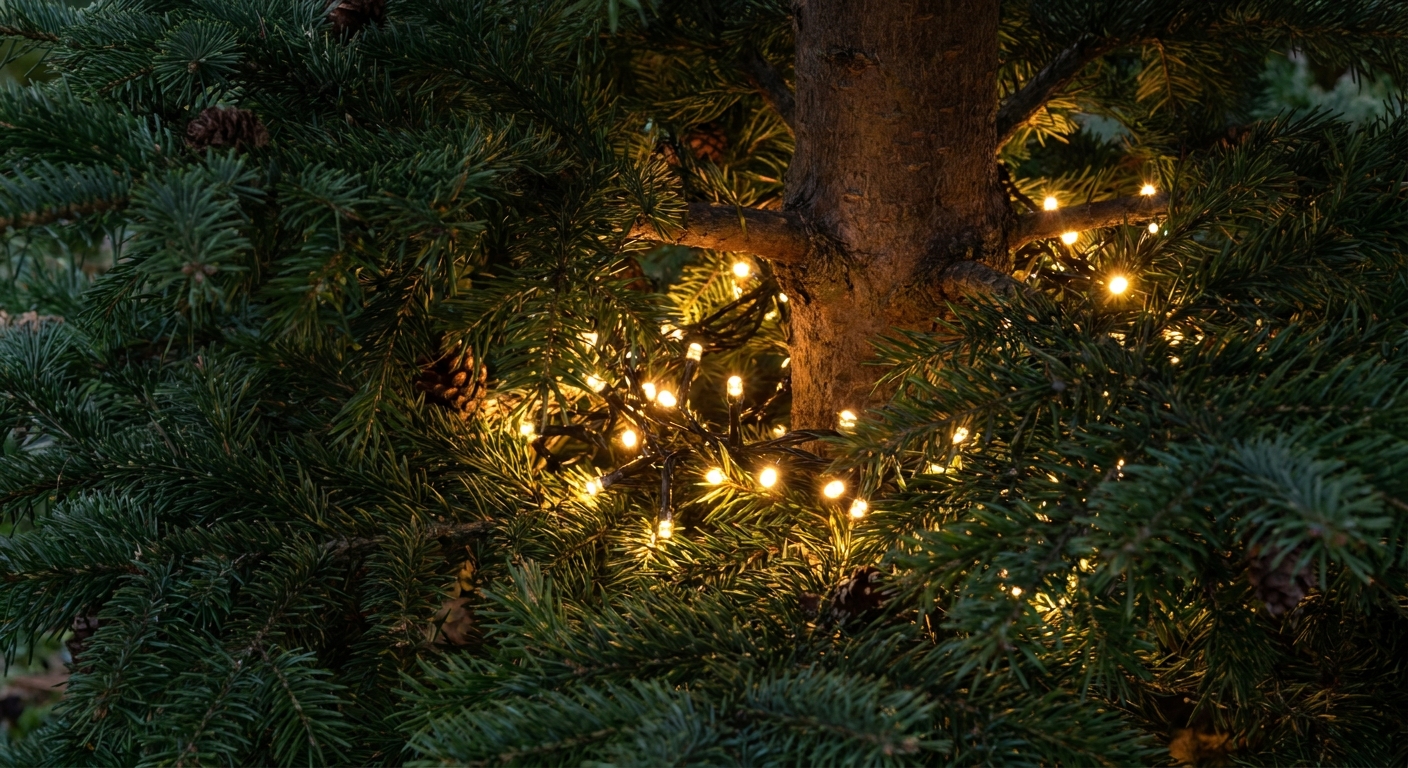
- First pass: tuck the wire close to the trunk as you work down the lane, placing lights on sturdy inner branches.
- Second pass: come down again a little farther out so lights sit mid-branch.
- Third pass: add a few lights near the tips, then tuck back in again.
Think of it like a gentle wave in and out, not a straight line around the outside. If you only light the tips, the tree looks flat. If you only light the trunk area, ornaments disappear into shadow.
Step 4: Keep spacing consistent
Here is the simplest spacing rule I use: about one bulb every 4 to 6 inches on the outer area of the tree, then slightly closer spacing near the trunk because the branches are denser there.
If you step back and notice hot spots, do not rewrap the whole lane. Just steal a few bulbs from the bright cluster and donate them to the dim patch. Lights are forgiving like that.
Step 5: Connect strands in an easy-to-hide spot
If you need multiple strands, connect them in a spot that is easy to hide. My favorite place is near the top third of the tree, tucked behind a sturdy branch. Then continue the same lane method, or begin a fresh lane if it helps your coverage stay balanced.
One more time for the practical among us: if you are linking strands, follow the manufacturer’s max-connect rating on the tag or box.
Topper and pre-lit trees
If you are using a star or topper
Before you lock in your top section, leave a small bit of slack so you can position the topper without yanking the strand out of place. I like to wrap one small loop around the top branch cluster, then settle the topper, then continue into the first lane.
If your tree is pre-lit
When a pre-lit tree has a dim side, I do not fight the built-in wiring. I add one extra strand using the same vertical-lane idea, concentrating on the darker lanes and tucking bulbs deep near the trunk first so the add-on strand blends instead of shouting.
How to hide the plug near the stand
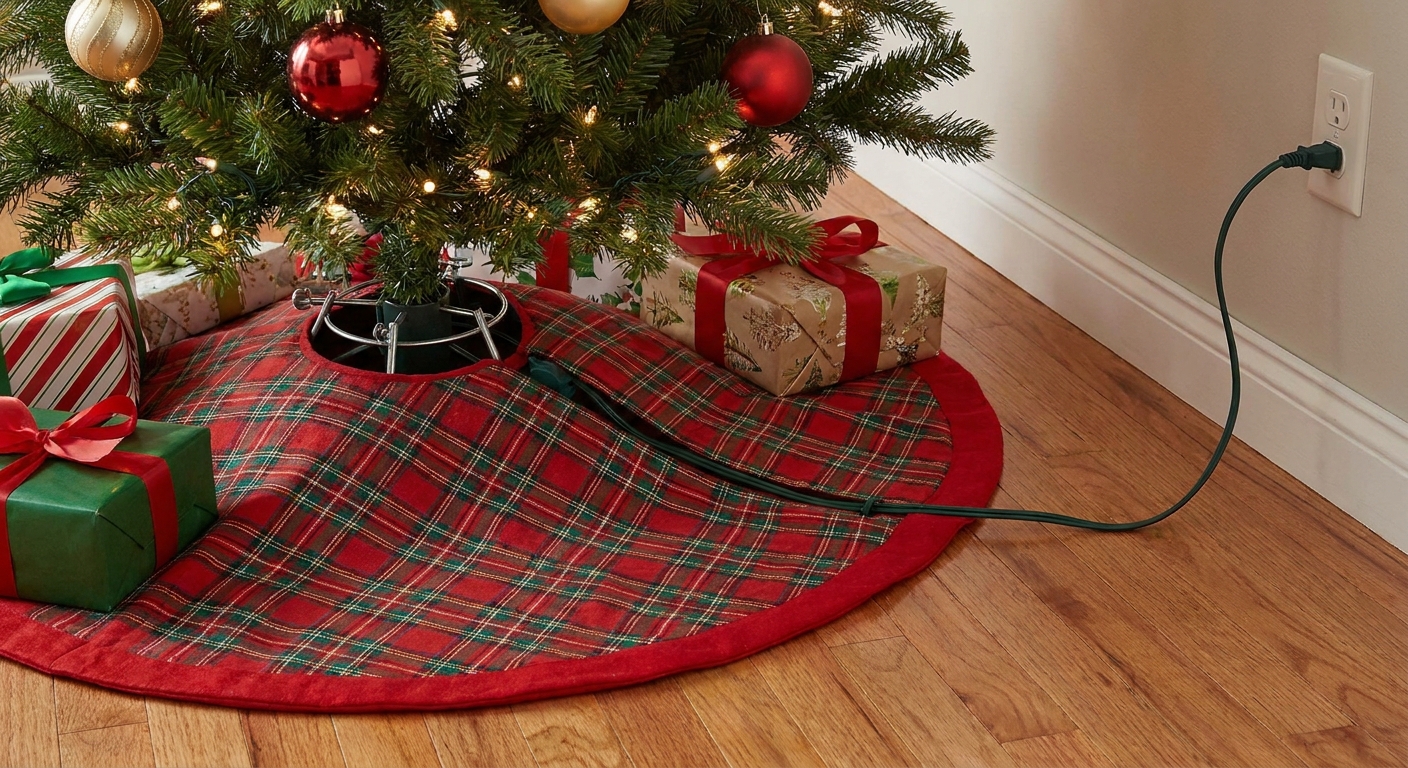
That little cluster of plug, connector, and extra cord at the bottom is the part that makes me feel like I lost the decorating Olympics. Here are tidy solutions that do not change your wrapping method.
Option 1: Run the cord down the back
After you finish lighting, run the remaining cord down the back side of the trunk, hugging the pole or inner branches. Zip it into the stand area behind the tree where no one looks.
Option 2: Tuck the connection under the lowest branches
If your lowest branches touch the tree skirt, you can tuck the plug connection under that greenery, then route the extension cord out behind the skirt toward the outlet.
Option 3: Make a cord exit gap
Before you add the tree skirt, pick one spot that will face the wall, and deliberately leave a small opening between branches so the cord can slip out without bulging the skirt.
My biggest plug-hiding rule: do not kink or tightly coil extra cord under the tree. If you have excess length, make soft, wide loops and tuck them loosely behind the stand, out of view, with the connection still easy to access.
Common mistakes
- Wrapping only around the outside: You get bright tips and a dark interior. Go deep near the trunk on every lane.
- Doing one continuous spiral: Spirals tend to stack lights on one side while you walk around. Vertical lanes prevent that.
- Not stepping back until the end: Pause after every lane, turn off the room lights, and check balance.
- Letting the wire droop between branches: Support the strand on branches so bulbs sit where you place them.
- Uneven branch fluffing: Sparse spots will always look dim. Fluff and shape first.
Quick checklist
- Strands tested and inspected before wrapping
- Tree fully fluffed from trunk to tips
- 4 to 6 vertical lanes planned
- Each lane lit in an in-and-out wave: trunk, mid, tips
- Spacing checked after every lane
- Connections kept within manufacturer limits
- Plug and extra cord routed down the back near the stand
If you want the most satisfying final step, dim the overhead lights and take one slow lap around your tree. If the glow looks consistent from every angle, you nailed it. If one side still feels darker, steal three or four bulbs from the brightest zone and redistribute them. That tiny tweak is usually all it takes.