Recreate 15 elevated Christmas tree themes with simple shopping lists: color palettes, ornament counts, ribbon lengths, plus step-by-step ribbon and bow tech...
The Festive Dwell
How to Fluff an Artificial Christmas Tree
Make a flat-packed artificial Christmas tree look full with a branch-by-branch fluffing method: separate branches, fan tips outward, layer for depth, fix gaps, handle pre-lit lights carefully, and store it to keep its shape.

Clara Jenkins
Clara Jenkins is a former visual merchandiser and lifelong holiday enthusiast who believes every season is worth celebrating. She helps readers transform their everyday spaces into magical, welcoming homes through budget-friendly DIYs, elegant tablescapes, and clever styling tricks. When she isn't untangling fairy lights or hot-gluing autumn wreaths, Clara can be found hunting for vintage ornaments at local flea markets.
Published November 13, 2026
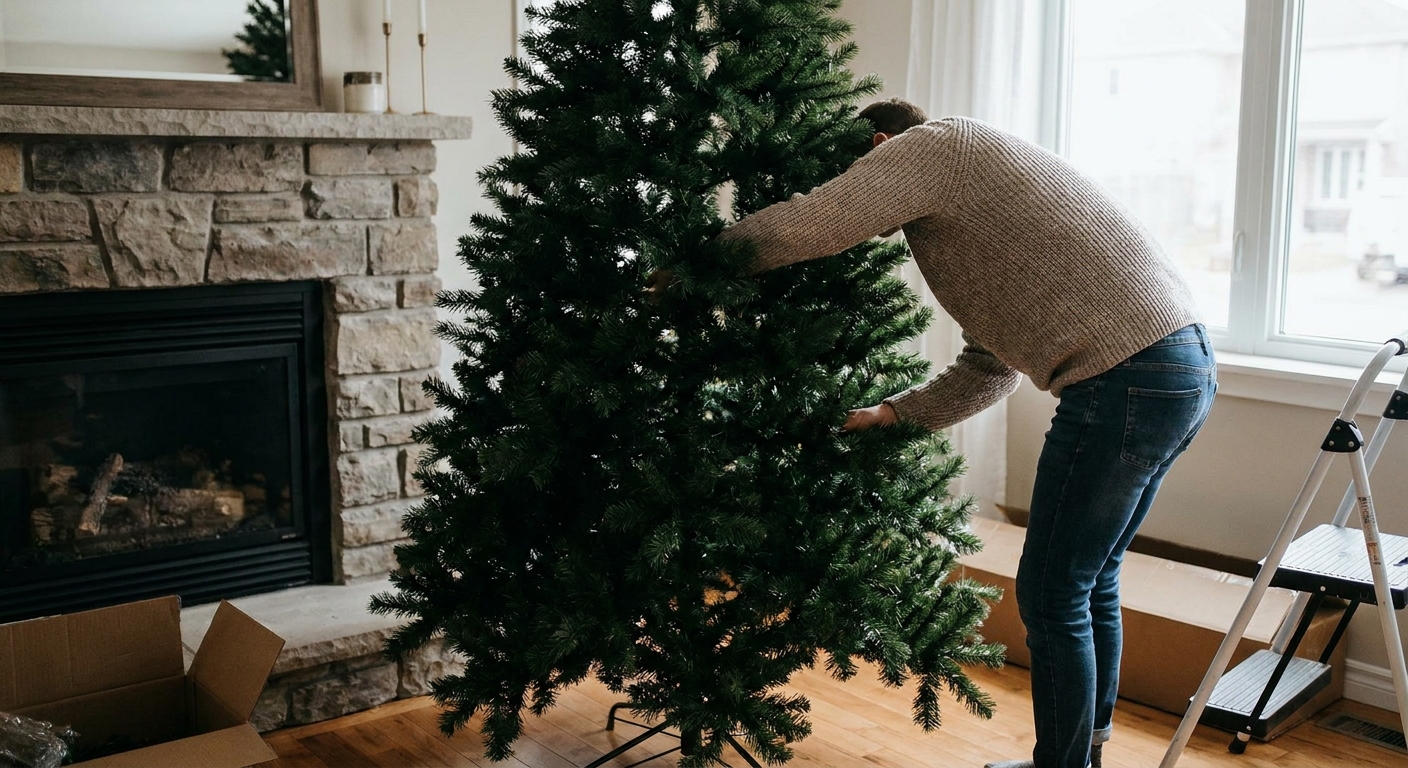
The first time I “fluffed” an artificial Christmas tree on the job, I learned two things fast: (1) a tree can look heartbreakingly flat right out of the box, and (2) fullness is almost always hiding in the branches you have, not in some magical extra set you forgot to buy. Fluffing is basically sculpting, one branch at a time, until the tree stops looking like a folded umbrella and starts looking like a lush evergreen.
This is the exact branch-by-branch method I still use at home, even when my craft room looks like a tinsel tornado.
Before you start: quick setup
Give yourself space and light
Set the tree where you plan to display it if you can. If that is not possible, fluff it near a wall but with enough room to walk around. Turn on overhead lights or open curtains. Shadows hide gaps, and then you only notice them later at night.
Know your branch type
- Hinged branches: branches drop down from the pole. You shape each branch and its tips.
- Hook-in branches: you insert each branch into a labeled hole. You will fluff as you build, section by section.
- Memory wire tips: stiffer tips that hold a “posed” look once bent into place.
Know your foliage
- PVC needles: usually the soft, classic “bottle brush” style. They spread easily, but they can spring back if you store the tree tightly.
- PE tips: more realistic molded tips. They look great, but you should bend them more gently and with smaller adjustments.
- Mixed foliage: treat the realistic outer tips like PE and the inner filler like PVC.
What you need
- Thin gloves if your hands get irritated by needles (optional but nice)
- A step stool if you cannot comfortably reach the top third of the tree without stretching
- A little patience and a realistic time window. On a brand-new tree, I usually budget about 60 to 120 minutes for a 7.5-foot tree, but it varies a lot by branch count and how “smushed” it was in the box.
Quick safety check
Use a sturdy stool on a flat surface, keep your weight centered, and do not overreach. If your tree sheds “snow” flocking or you have sensitive eyes, take breaks and avoid rubbing your face mid-fluff.
The branch-by-branch method
The goal is simple: create depth and block those straight-through sightlines to the trunk. Real evergreens have layers. A new artificial tree often has all its tips smashed in one direction, which reads as flat. We are going to re-layer it.
Step 1: Build first, start at the bottom
Assemble the trunk and sections fully so the shape is stable. Then start fluffing at the lowest section and work upward. Bottom branches set the footprint, and they visually support everything above.
Bottom-up rule: once you fluff a section, do not skip around. You will bump finished branches and lose your progress.
Step 2: Drop and separate the main branches
If you have hinged branches, let each one fall naturally. Then, before you touch the individual tips, do a quick unclumping pass:
- Take one branch and gently pull it away from its neighbors.
- Give it a small twist so it is not lying perfectly parallel with the branch above it.
- Repeat around the tree until every branch has its own space.
This alone often fixes the “flat on one side” look from shipping.
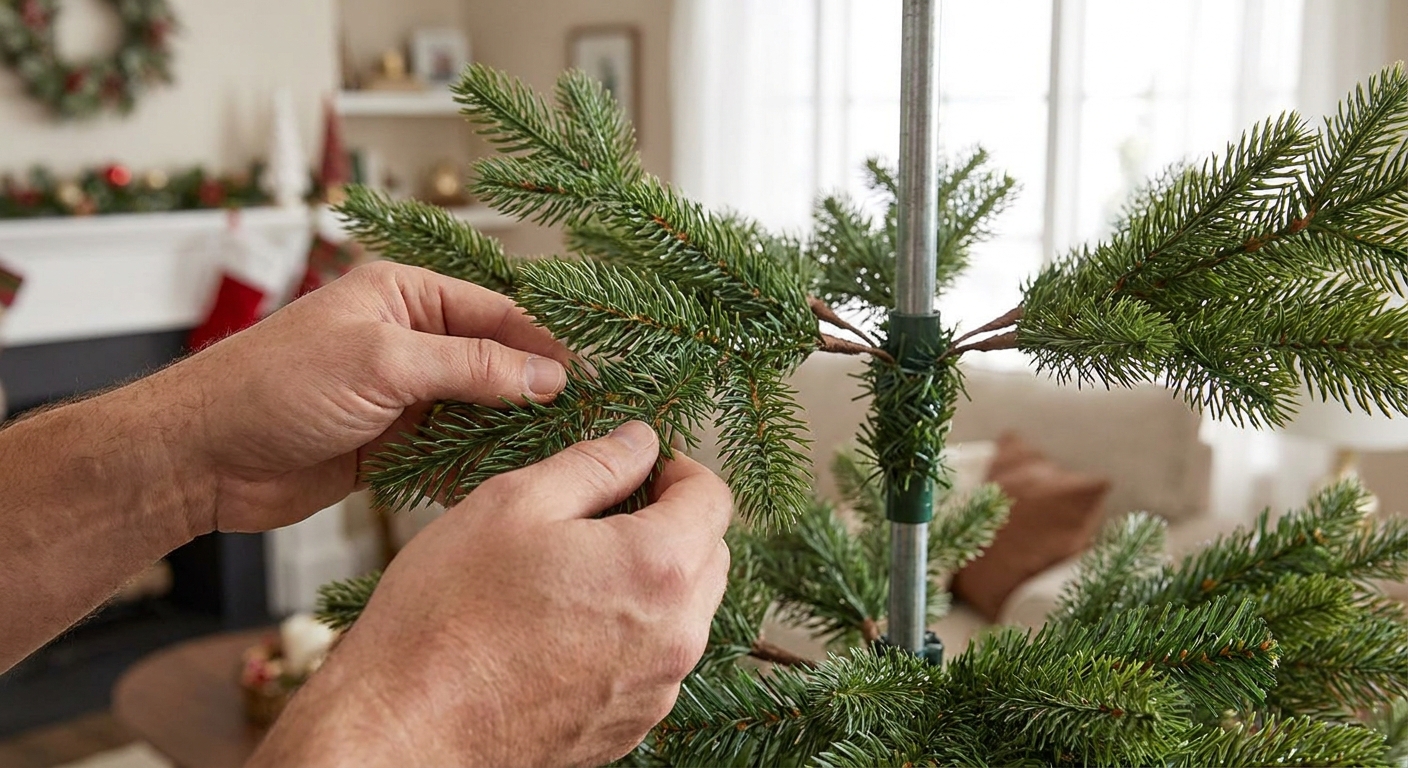
Step 3: Fluff each branch like a fan
Now the real magic. Pick one branch. Think of it as a mini tree.
- Start at the branch base: separate the smaller stems so they spread out left and right.
- Move to the middle: pull tips outward to form a wide fan shape.
- Finish at the ends: bend the last tips slightly upward and outward, not straight forward.
If you only pull everything forward, you get a “bottle brush” effect. Fanning creates width and depth, which reads fuller from every angle.
Layering that looks natural
A tree looks sparse when you can see straight through it to the trunk. Layering stops those sightlines without making the tree look puffy or overworked.
Use three depths
As you shape tips, aim for three zones:
- Inner tips: angle a few stems slightly inward toward the trunk to reduce see-through areas.
- Mid tips: keep most tips fanned outward, like the body of the branch.
- Outer tips: angle a few tips forward to soften the outline and cover gaps between branches.
You are not forcing symmetry. You are creating believable messiness that looks like nature.
Vary the branch ends
On the same ring of branches, avoid making every branch end at the exact same height. A subtle mix looks more realistic:
- One branch slightly more lifted
- The next more outward
- The next with a couple stems gently dipped
Fix gaps without overdoing it
Gaps are normal while you are mid-process. Resist the urge to attack the empty spot head-on until the surrounding branches are fully shaped.
The gap fix order
- Fluff the branches around the gap first. Often the gap disappears.
- Fill inward next. Pull 1 to 3 tips from nearby branches slightly inward to break up the trunk line.
- Borrow from above. If you still see a hole, angle a few tips from the branch above downward and outward so they “waterfall” into that space.
- Check from 6 feet away. Up close, you will always find something to obsess over.
What you do not want: yanking one branch into the gap so aggressively that it creates a new bare spot somewhere else.
Pre-lit tree tips
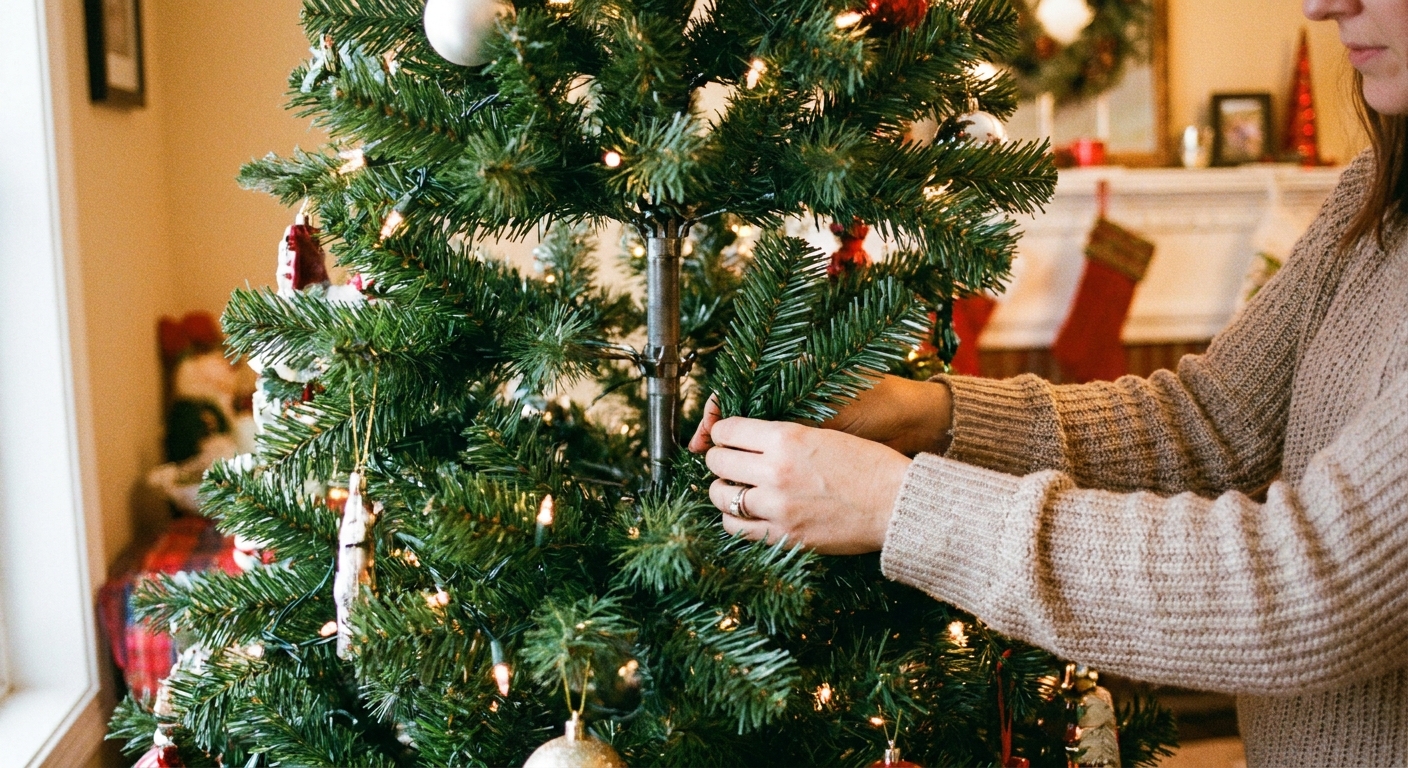
Pre-lit trees fluff up beautifully, but the lights add one extra rule: spread branches, not wires. If you feel resistance, stop and reposition your hands so you are holding the branch itself.
- Fluff with the tree unplugged, then plug it in for a quick light check when you finish a section.
- Watch for pinched wires where sections connect, especially if a plug or wire is getting pressed by a branch hinge.
- If lights look buried after fluffing, you usually do not need to “pull them out.” Instead, open the branch so the light sits naturally between layers.

Quick check: why it still looks thin
If you are mostly done and it still looks skimpy, it is usually one of these issues.
1) Inside stems are still collapsed
Many people fluff only the outer tips. Reach into the tree and spread the inner stems so you get depth, not a flat outer shell.
2) Too many tips point straight forward
That “broom” look happens when everything faces the room. Redirect some tips sideways and slightly upward to create width.
3) A section is not fully seated
Double-check that the trunk sections are fully connected. If a section is not pushed together completely, the spacing between rows can look oddly gappy.
4) The tree is rotated the wrong way
Spin the tree slowly and choose the fullest face as the front. I do this every year, even after fluffing.
When to stop
Yes, you can go too far. Over-fluffed trees can look puffy and unnatural, and you will be exhausted.
You are done when
- You cannot see the main pole from your normal viewing distance (about 5 to 8 feet away)
- The outline looks evenly conical with no obvious dents
- The tree has visible layers, not just a flat skirt of tips
- You can walk around the tree and it looks consistent from multiple angles
My personal rule: do one last slow circle, fix only the most noticeable 3 to 5 spots, then stop. If you keep tinkering, you will start chasing tiny imperfections that vanish the second ornaments go on.
My fastest routine
- Pass 1: drop and separate branches, bottom to top
- Pass 2: fan each branch, working around the tree in one direction
- Pass 3: fill inward, gap-check, then step back and rotate for the best front
Put on a holiday playlist, pour something warm, and take it one section at a time. Fluffing is the unglamorous part, but it is what makes your tree look like the lush centerpiece you pictured when you clicked “add to cart.”
Storage tips for next year
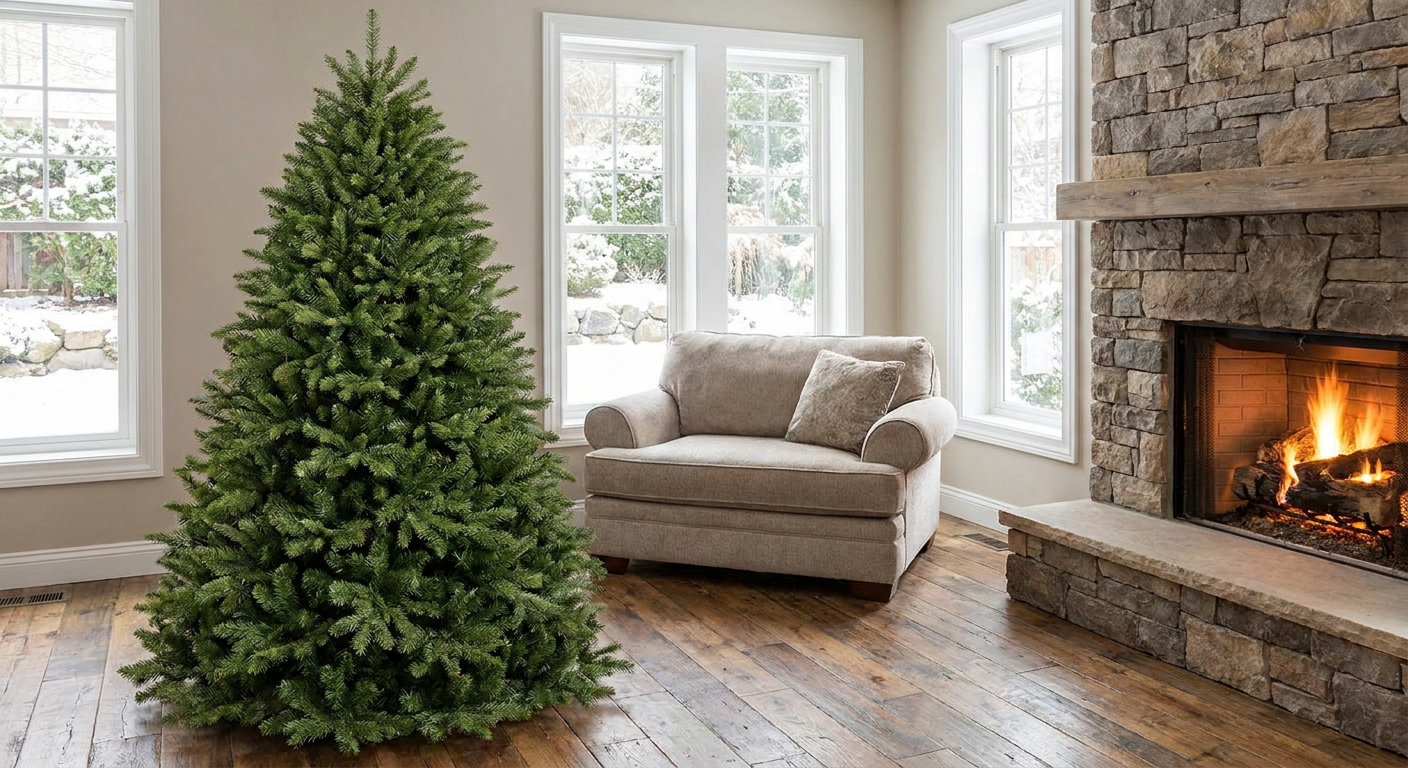
If you want next year’s fluffing session to be shorter, storage matters as much as technique.
- Do not compress the tips. If you use the original box, go slow and avoid mashing branches flat just to make the cardboard close.
- Wrap sections loosely. A light wrap with a sheet or soft tree bag helps prevent branches from snagging and getting crushed.
- Protect PE tips. Realistic tips can kink if bent sharply in storage. Gentle curves survive better than tight packing.
- Keep it dry and steady. A cool, dry spot beats a damp basement corner where metal can corrode and branches can warp.
Fluffing FAQ
How long should fluffing take?
It depends on branch count, material, and how tightly the tree was packed. For a brand-new tree, I usually plan for about 60 to 120 minutes for a 7.5-foot tree. Once you have done it once, it often goes faster.
Do branches “remember” their shape?
Sometimes. Many PVC, PE, and memory wire tips settle into a general shape after the first season, especially if you store the tree gently. But if your tree gets compressed in storage, you may still need a full fluff next year.
Do I fluff before or after decorating?
Before. Fluffing is easiest when the tree is bare. Once you add ornaments and ribbon, shaping branches gets awkward fast.
What if branches are bent weird from the box?
Gently bend them back into a natural arc and then fan the tips. Work slowly, especially with PE and memory wire. Small adjustments look better than one big bend.
My tree looks fine up close but thin in photos. Why?
Cameras flatten depth. Add more side-to-side width by fanning tips outward, and make sure you have some inner tips angled inward to reduce see-through areas.