Big Christmas cheer, tiny footprint. Here are 10 clever ways to decorate a small apartment using walls, windows, and double-duty decor that stores easily.
The Festive Dwell
How to Hang Christmas Stockings Without a Mantel
No fireplace? No problem. Here are stylish, practical ways to hang Christmas stockings on stairs, ladders, shelves, windows, stands, or wall rods, plus spacing, weight, and finishing touches.

Clara Jenkins
Clara Jenkins is a former visual merchandiser and lifelong holiday enthusiast who believes every season is worth celebrating. She helps readers transform their everyday spaces into magical, welcoming homes through budget-friendly DIYs, elegant tablescapes, and clever styling tricks. When she isn't untangling fairy lights or hot-gluing autumn wreaths, Clara can be found hunting for vintage ornaments at local flea markets.
Published November 17, 2026
The first apartment I ever decorated for Christmas had exactly zero mantel, zero built-ins, and exactly one wall I was allowed to put a nail in. I still wanted that cozy “stockings waiting for Santa” moment, so I got creative with what I did have: a stair rail, a narrow bookshelf, and a whole lot of command hooks.
If you’re mantel-less this year, you have more options than you think. The goal is the same in every setup: a secure anchor point, evenly spaced stockings, and hardware that can handle the weight once those stockings start getting stuffed.
Before you hang: weight and spacing
How heavy is a stocking?
It varies a lot by stocking size, knit thickness, and what you put inside. These are rough, real-life ranges to help you choose hardware:
- Empty to lightly filled: about 0.5 to 2 pounds (small treats, a clementine, a gift card)
- Moderately filled: about 2 to 5 pounds (small toys, a mug, multiple items)
- Heavily filled: 5 to 10+ pounds (larger toys, books, multiple boxed items)
Most families land somewhere in the 1 to 5 pound range. Oversized knit stockings with boxed gifts can go beyond that quickly, so if you know yours will be packed, plan for sturdier support like a rod, rail, or shelf instead of one tiny adhesive point.
How far apart should stockings be?
For a neat row, I aim for 6 to 8 inches between stocking centers for standard sizes, and 8 to 10 inches for oversized or fluffy knits.
What “stocking centers” means: measure center-to-center from one hook (or hanging point) to the next, not edge-to-edge of the stockings.
How to keep them level
- Start from the center. Hang the middle stocking first, then work out left and right.
- Use painter’s tape. Put a strip of tape where you want the cuffs to land, then line hooks up to that tape.
- Measure hook height, not just spacing. Rails, rungs, and balusters can trick your eye. Measure from the floor (or from the top of the rail) for consistency.
- Fix small differences with ribbon. If one stocking sits lower, tie a short ribbon loop at the hanging point to lift it without moving the hook.
Hook weight limits
Always use the specific weight rating on your exact hooks (Command, 3M, and similar brands vary a lot by model and surface). As a broad guideline on smooth, clean, well-cured paint:
- Small adhesive hooks: often around 0.5 to 2 pounds
- Medium adhesive hooks: often around 3 to 5 pounds
- Large adhesive hooks: can be 5 to 7.5+ pounds, depending on the product
Two things affect holding power the most: surface prep and cure time. Follow the manufacturer directions for cleaning and wait time. If you do clean with isopropyl alcohol, test a hidden spot first, especially on painted or varnished trim, and do not scrub aggressively.
Also note: matte paint, textured walls, brick, and recently painted surfaces can dramatically reduce adhesive performance.
Option 1: Stair rail
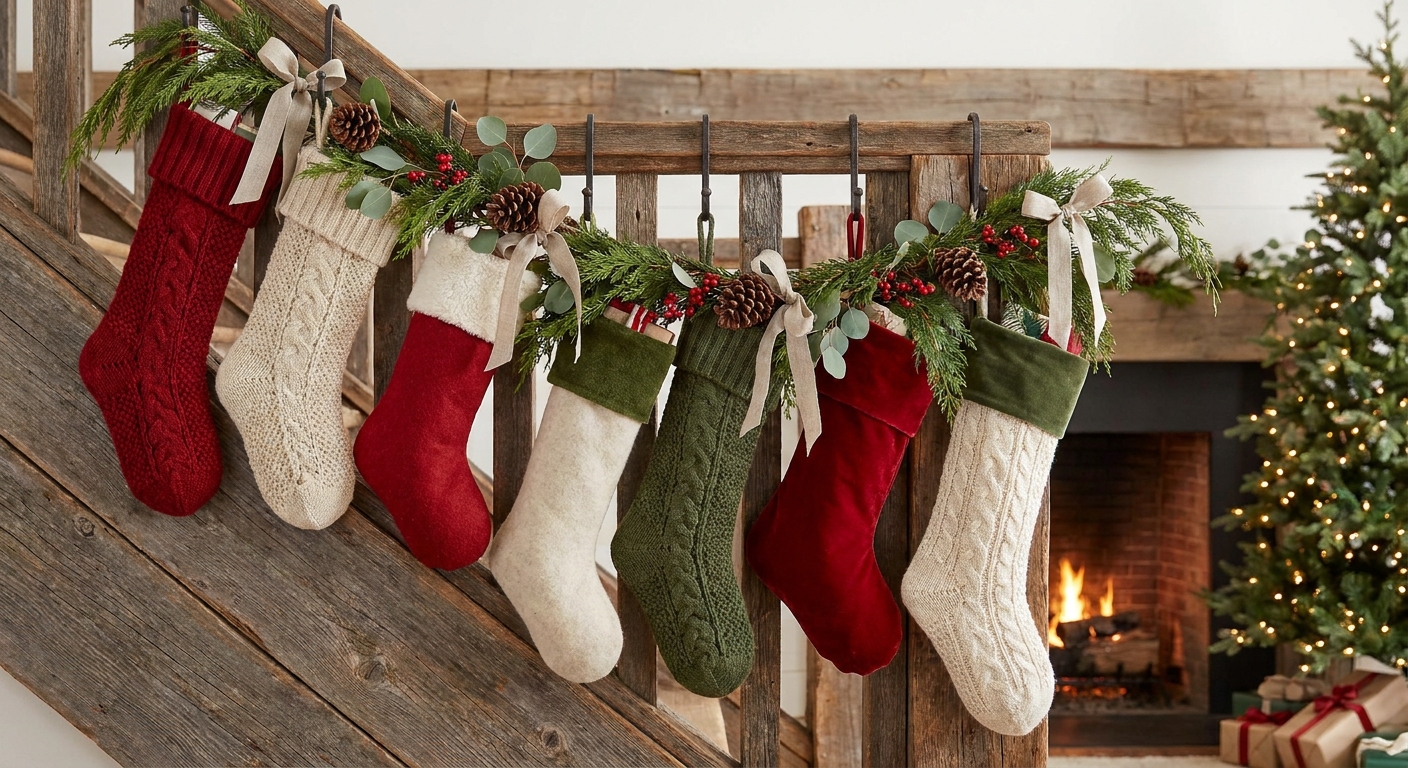
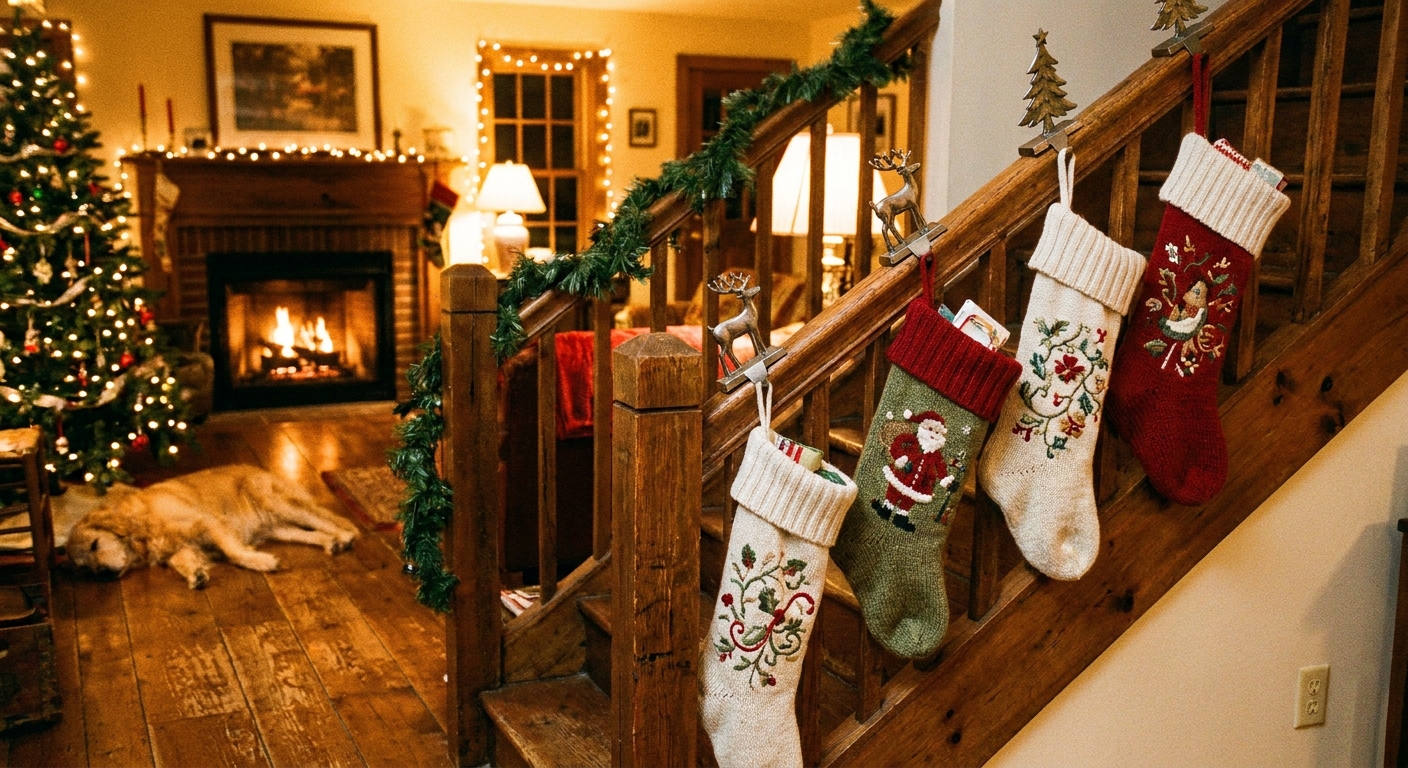
If you have stairs, you have a built-in “stocking mantel.” The rail creates a natural festive line, and stockings look charming cascading down the steps.
Best hardware
- Stair rail stocking hooks (often S-shaped or clamp style)
- Velvet ribbon or twill tape tied around the rail (gentle on painted rails)
- Ornament hooks can work in a pinch if your rail design allows a secure loop
How to do it
- Pick a rail section where stockings will not get kicked or snagged during daily traffic.
- Decide your drop length. I like cuffs landing at the same height for a clean row.
- Hang from the rail, not the spindles. Spindles can flex and make stockings look uneven.
- Test with weight. Add a couple heavier items and gently tug downward. If anything shifts, switch methods.
Clara tip: If your rail is glossy painted wood, ribbon loops are my favorite. They read classic, they are quiet, and they will not scratch.
Option 2: Leaning ladder
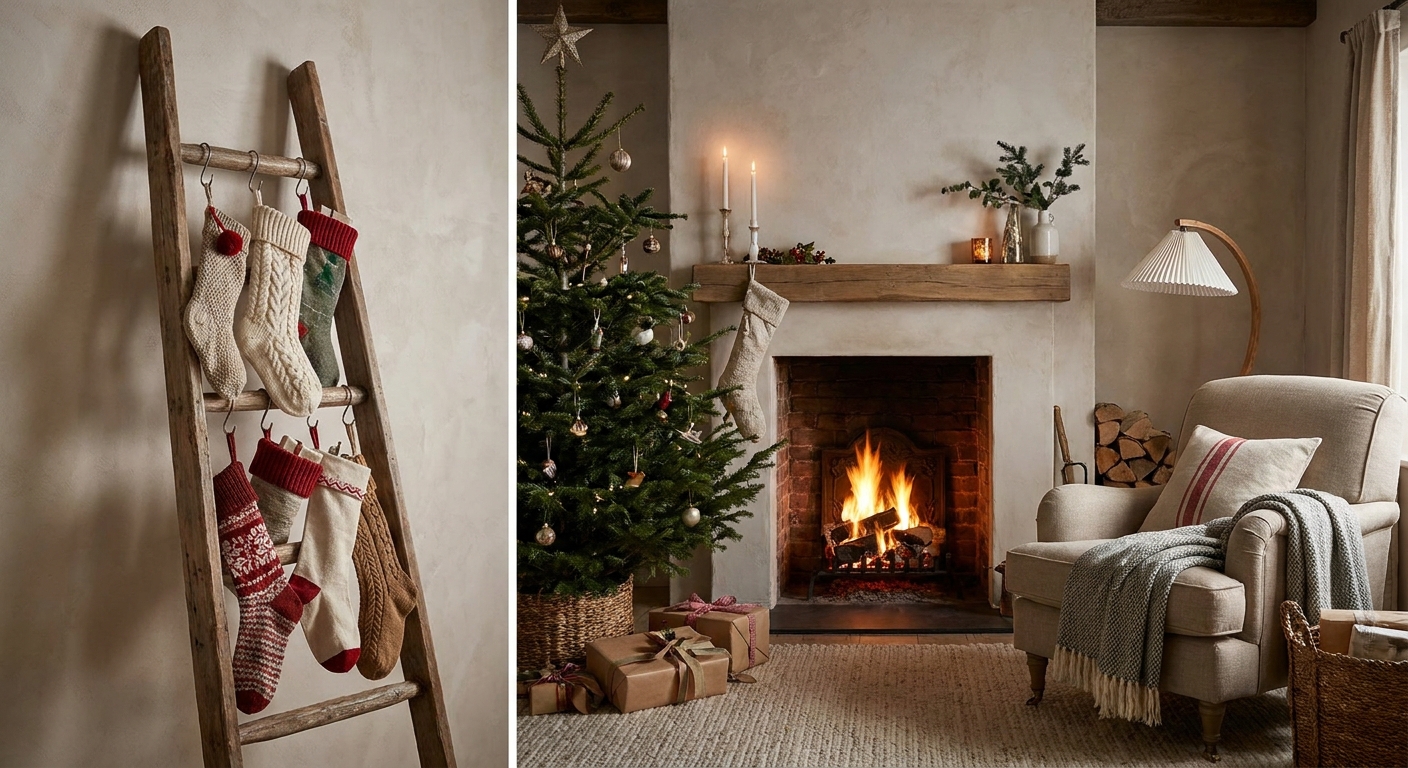
A leaning blanket ladder is one of my go-to solutions because it looks styled even when it is doing a job. No drilling required, and you can scale it for a small apartment or a larger living room.
Best hardware
- S-hooks or small carabiners on the rungs
- Ribbon loops tied around rungs for a softer look
- Mini wreath hangers sized for ladder rungs (if you already have them)
How to do it
- Set the ladder securely. The feet should not slide. Add a non-slip rug pad underneath if needed.
- Use one rung per stocking if you can. It makes spacing effortless.
- Hang heavier stockings lower. It keeps the ladder stable and helps prevent tipping.
Safety note: If you have toddlers or pets that climb, place the ladder where it cannot be pulled down. If you choose to strap it, only do so if you can anchor into a stud or an approved anchor point for your wall type. A “removable” strap still needs a secure mounting method to be truly safe.
Option 3: Bookshelf row
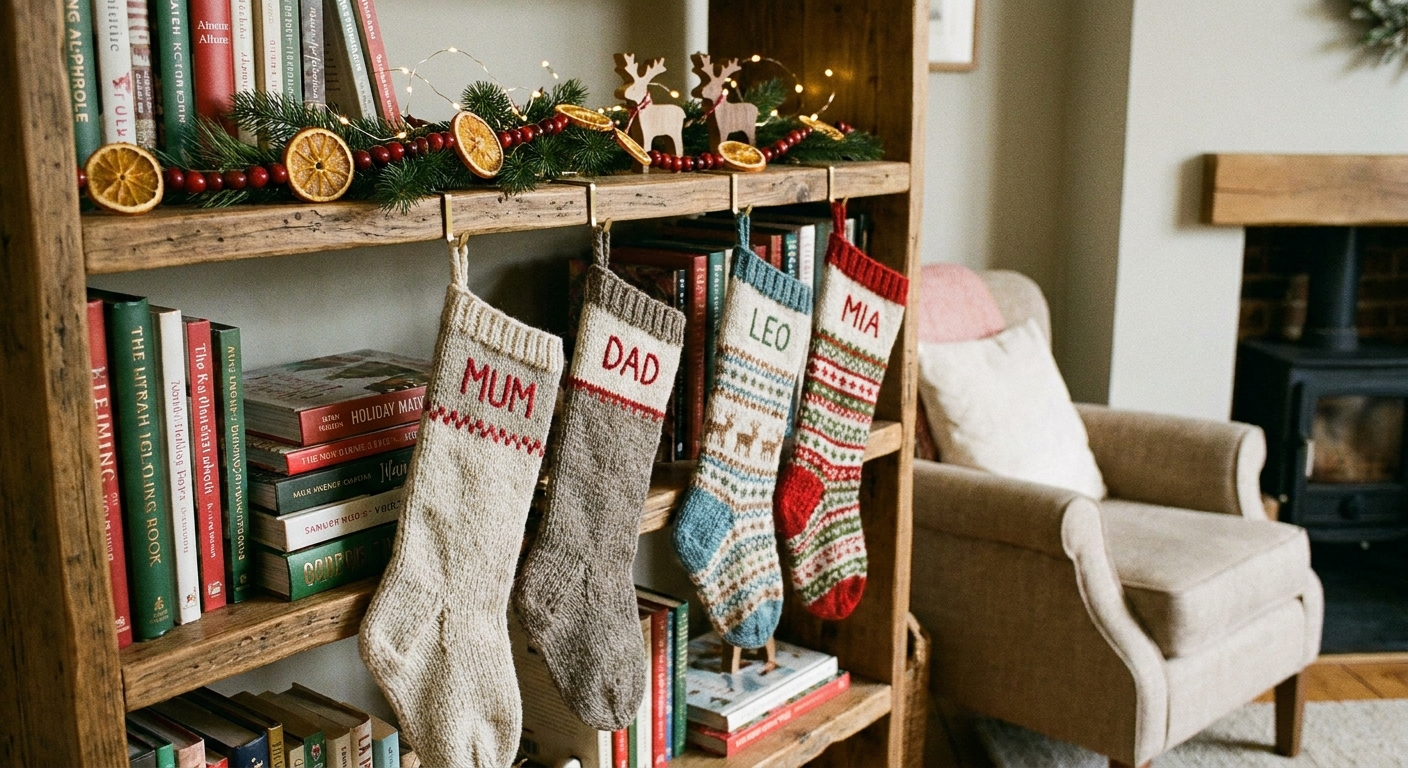
Bookshelves are underrated holiday workhorses. The shelf edge gives you a clean line, and you can keep stockings at a kid-friendly height without committing to wall holes.
Best hardware
- Over-the-shelf hooks (designed for cabinets or shelves)
- Small removable hooks placed on the vertical sides of the shelf unit
- Decorative stocking holders if the shelf top is deep and stable
How to do it
- Choose the shelf level that gives stockings room to hang without touching the floor.
- Measure equal spacing across the shelf edge, especially if you are mixing stocking sizes.
- Think about tipping. If the unit is tall and not anchored, keep stocking loads light and avoid kids tugging on them. If you have a wall-anchored unit, you have more wiggle room.
Clara tip: If your stockings have chunky knit loops, use slightly wider hooks so the knit does not stretch into a weird point.
Option 4: Window frame
This is my favorite solution for small spaces because it makes stockings feel like part of the room architecture. It is also great if you want stockings visible from both inside and outside at night.
Best hardware
- Removable hooks on the window trim (only if the surface is smooth and clean)
- Tension rod inside the window casing (if the window is recessed and has flat sides)
- Suction hooks on glass (best for lightweight stockings only)
How to do it
- Decide on trim vs inside the casing. Inside looks cleaner, trim is often easier.
- Keep stockings away from heat. Warm air can dry out greenery and can soften some adhesives.
- Plan around blinds and cords. Make sure you can still close window treatments without snagging loops, and keep cords out of reach if this is at child height.
Weight reality check: Window setups are best for light to moderate stocking loads unless you are using a properly fitted tension rod.

Option 5: Wall rod
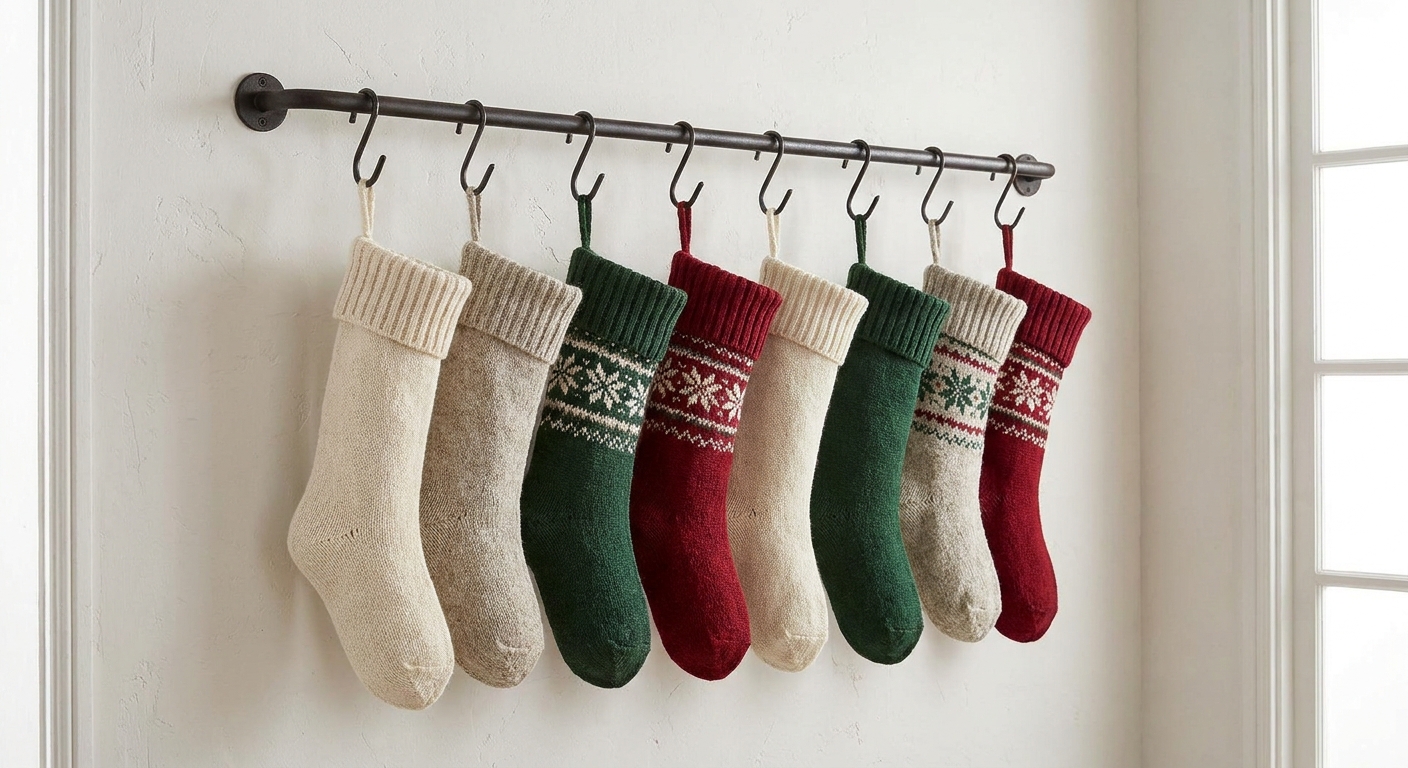
If you want the most mantel-like effect, a short rod on the wall is it. You can keep it up all season and reuse it later for things like party bunting.
Rod options
- Curtain rod (short, with sturdy brackets)
- Towel bar (sleek and secure when properly installed)
- Peg rail (great if you prefer individual pegs instead of hooks)
How to do it
- Find studs if possible. If you cannot hit studs, use the correct anchors for your wall type.
- Set the height. I like the top of the rod around eye level, with stockings hanging clear of pets and vacuum paths.
- Add rings or S-hooks. Curtain rings with clips are great for stockings without loops, but do not overload tiny clips.
Spacing tip: Mark hook positions on the rod (or space rings evenly) so stockings do not all slide into the middle over time.
Option 6: No stairs or shelves
If you are looking around and thinking, “Clara, I have none of these,” here are two easy fallbacks:
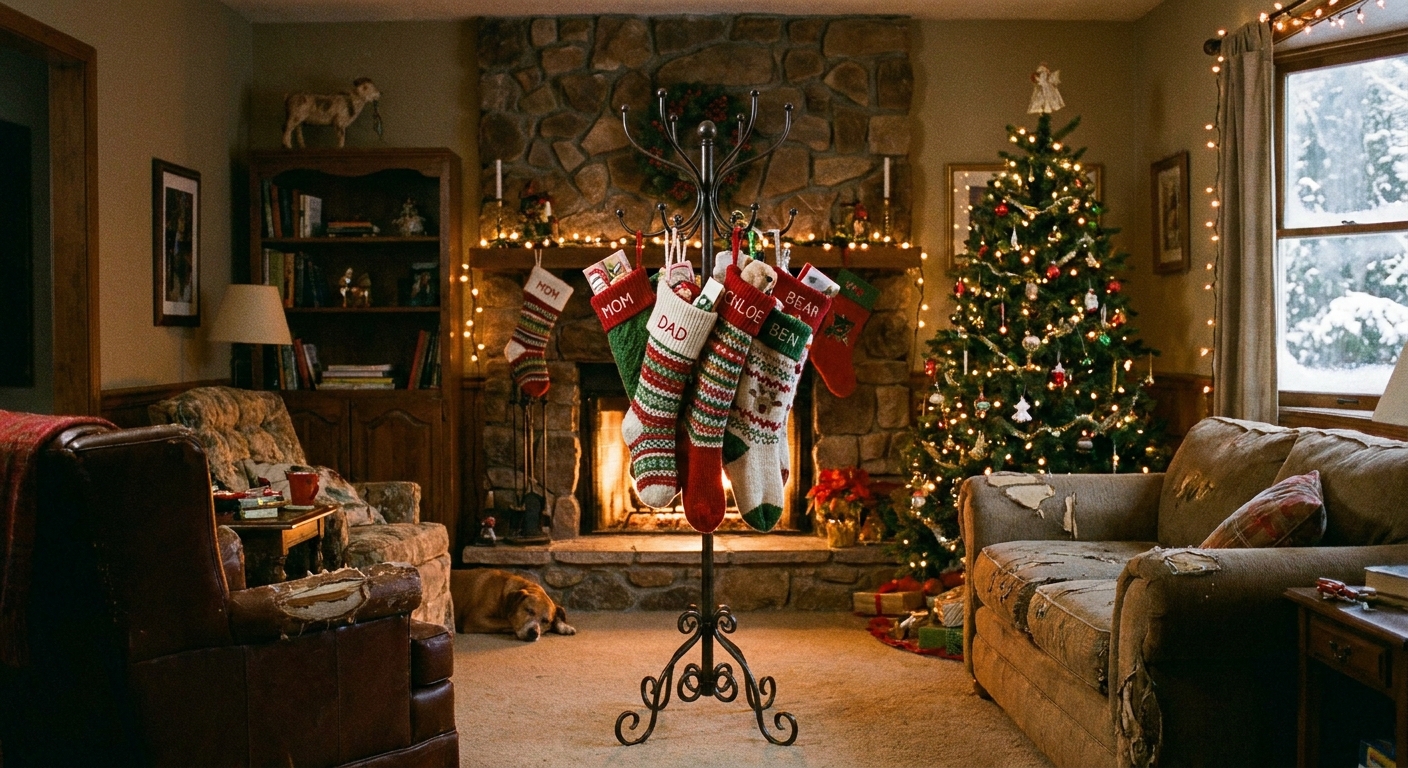
- Freestanding stocking stand: A floor stand with multiple hooks gives you a mantel moment anywhere. Keep heavy stockings on the lower hooks if the stand has tiers.
- Doorway tension rod: If you have a sturdy, flat doorway frame, a properly fitted tension rod can hold a lightweight row of stockings on rings. Keep it high enough that heads and hands are not constantly bumping it.
Either way, do a quick stability test before you commit to the fun stuffers.
Greenery without mess
Once the stockings are up, that is when the whole setup starts feeling finished. I keep greenery simple and stocking-adjacent so the focus stays on the no-mantel solution.
Easy add-ons
- Mini sprigs tucked into cuffs (real or faux). Secure with a twist tie or floral wire so they do not shed everywhere.
- One garland strand along a shelf top or ladder rung, anchored with clear zip ties or discreet twine.
- Clusters, not full coverage. A few intentional bundles look elevated and stay neater than a thick droopy strand.
Keep it tidy
- If using fresh greenery: keep it away from heat sources and mist lightly if your home is very dry.
- If using faux: fluff it before attaching. Flat garland makes even gorgeous stockings look less special.
- Protect surfaces: if greenery sits on a shelf, add a thin runner or kraft paper underneath to catch sap or flocking.
Quick troubleshooting
My hooks keep falling
- Follow the hook manufacturer’s directions for cleaning and cure time.
- If you clean with isopropyl alcohol, test an inconspicuous spot first and avoid heavy rubbing on painted or finished surfaces.
- Switch to a method that does not rely on adhesive alone, like a rail hook, ladder, stand, or a properly installed rod.
My stockings look uneven
- Use a tape line or measure from the floor to each hanging point.
- Standardize hanger length with matching ribbon loops.
- Distribute weight evenly. One overstuffed stocking will sag lower.
They slide and bunch up
- Use individual hooks rather than one rod with slippery loops.
- Add rings with stoppers, or hide a small rubber band behind a ring to keep it from drifting.
- Increase spacing by a couple inches. It matters more than you think.
Remove hooks cleanly
If you are using adhesive hooks, removal is where renters win or lose.
- Go slow. Follow the product instructions and pull the release tab straight down, slowly, not out and away from the wall.
- Warm it gently if needed. A little warmth can help some adhesives release more cleanly, but keep heat low and do not linger on painted surfaces.
- Avoid risky spots. Fresh paint, heavy texture, brick, and fragile finishes are where adhesives are most likely to fail or pull.
FAQ
Most renter-friendly option?
A leaning ladder, a freestanding stand, or stair rail hooks are the least commitment. If you want a wall solution, removable hooks can work well as long as you keep stocking weight modest and follow the manufacturer’s directions for prep and cure time.
Can I use a TV console?
You can, but treat it like a bookshelf setup. Use over-the-edge hooks and keep stockings light so you do not tip decor or strain the furniture edge. If the console is tall or top-heavy, avoid kids tugging on it, and consider anchoring the furniture if appropriate for your space.
How many stockings in a row?
On most setups, 3 to 5 looks balanced. If you have more, split them into two groups (two rows on a ladder, or a window plus a bookshelf) so it still feels airy and intentional.
My simplest rule
Pick one strong anchor in your home, then make the stockings look like they belong there with consistent spacing and one simple finishing detail. Even in a tiny space, that creates the same warm anticipation a mantel does.
If you tell me what you have to work with (stairs, shelves, a window, or just one blank wall), I can help you choose the cleanest option and the right height.