Make a magical first impression with garland-draped stairs, lantern lighting, a hot cocoa landing zone, and easy, elegant foyer styling tricks for your Chris...
The Festive Dwell
Festive Holiday Hot Cocoa Bar Setup
Set up a cozy, camera-ready holiday hot cocoa bar with a smart layout, crowd-pleasing toppings, make-ahead prep, and practical safety tips for easy self-serve hosting.

Clara Jenkins
Clara Jenkins is a former visual merchandiser and lifelong holiday enthusiast who believes every season is worth celebrating. She helps readers transform their everyday spaces into magical, welcoming homes through budget-friendly DIYs, elegant tablescapes, and clever styling tricks. When she isn't untangling fairy lights or hot-gluing autumn wreaths, Clara can be found hunting for vintage ornaments at local flea markets.
Published October 17, 2026
Updated October 17, 2026
There is something instantly comforting about a hot cocoa bar. It makes your kitchen feel like the heart of the party, it gives guests something to do with their hands, and it quietly solves the “what do I offer everyone the second they walk in?” problem.
I learned this the hard way back when I styled holiday vignettes for retail. A pretty display means nothing if people cannot actually use it without awkwardly hovering. So today we are building a hot cocoa station that is both functional and camera-ready, with smart spacing, no-fuss refills, and a cozy look that photographs like a dream.
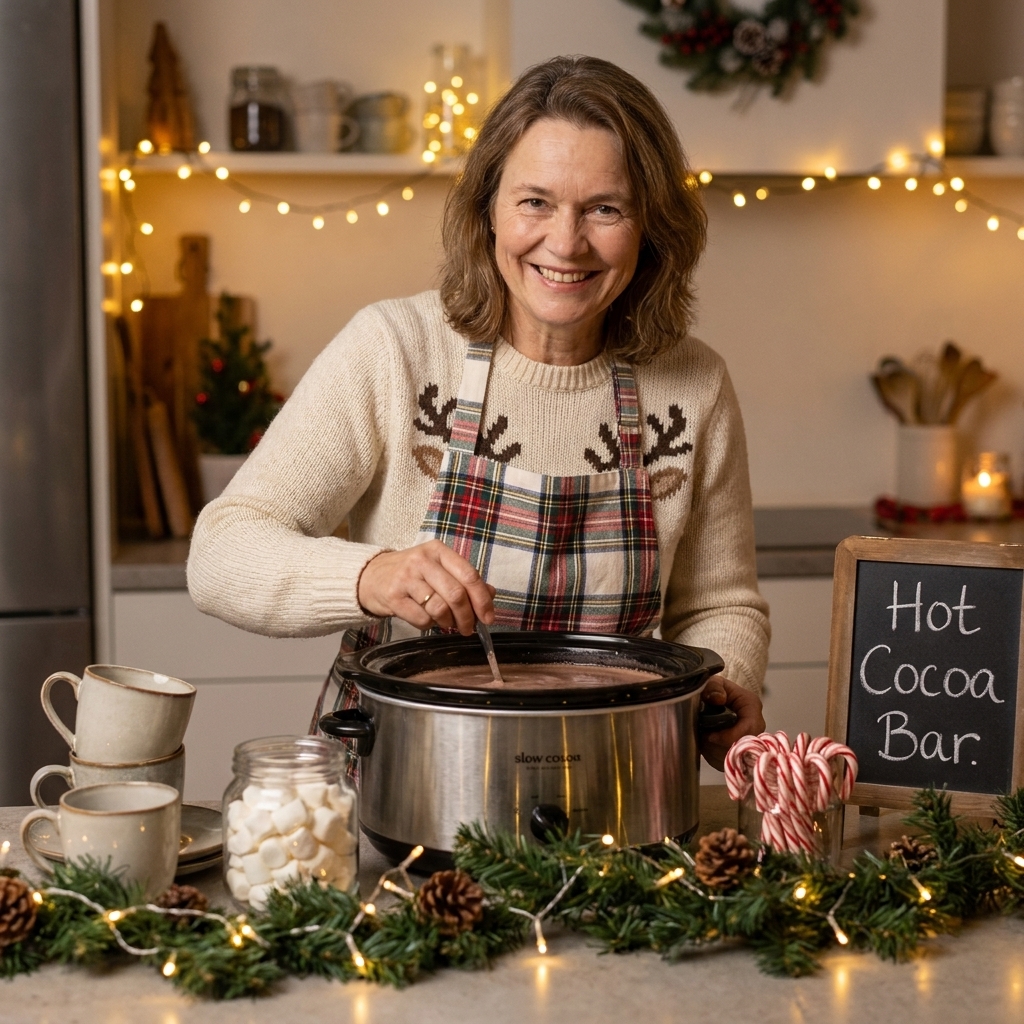
Pick the right spot
The best cocoa bars are easy to find, easy to flow through, and safely away from where you are doing any real cooking.
- Ideal locations: a clear stretch of kitchen counter, a buffet or sideboard in the dining area, or the end of an island.
- Avoid: right next to the stove, inside the main kitchen traffic lane, or directly under upper cabinets where steam can cause condensation.
- Plan for a line: assume two people will stand shoulder-to-shoulder. If you can, give yourself about 3 to 4 feet of counter space.
Clara tip: If your counter is short on space, build vertically. A cake stand for toppings and a mug tree instantly frees up real estate.
Set up a simple flow
Think of your cocoa bar like a mini assembly line. When the order makes sense, guests feel confident and your setup stays tidy longer.
The easiest order
- Mugs and napkins
- Hot cocoa base (slow cooker, insulated dispenser, or thermal carafe)
- Spoons and stirrers
- Toppings
- Finishing touches (whipped cream, drizzles)
Set your flow in the direction that feels natural for your space, then keep it consistent. For kid-heavy parties, toppings last helps you gently enforce “cocoa first, sprinkles second.”
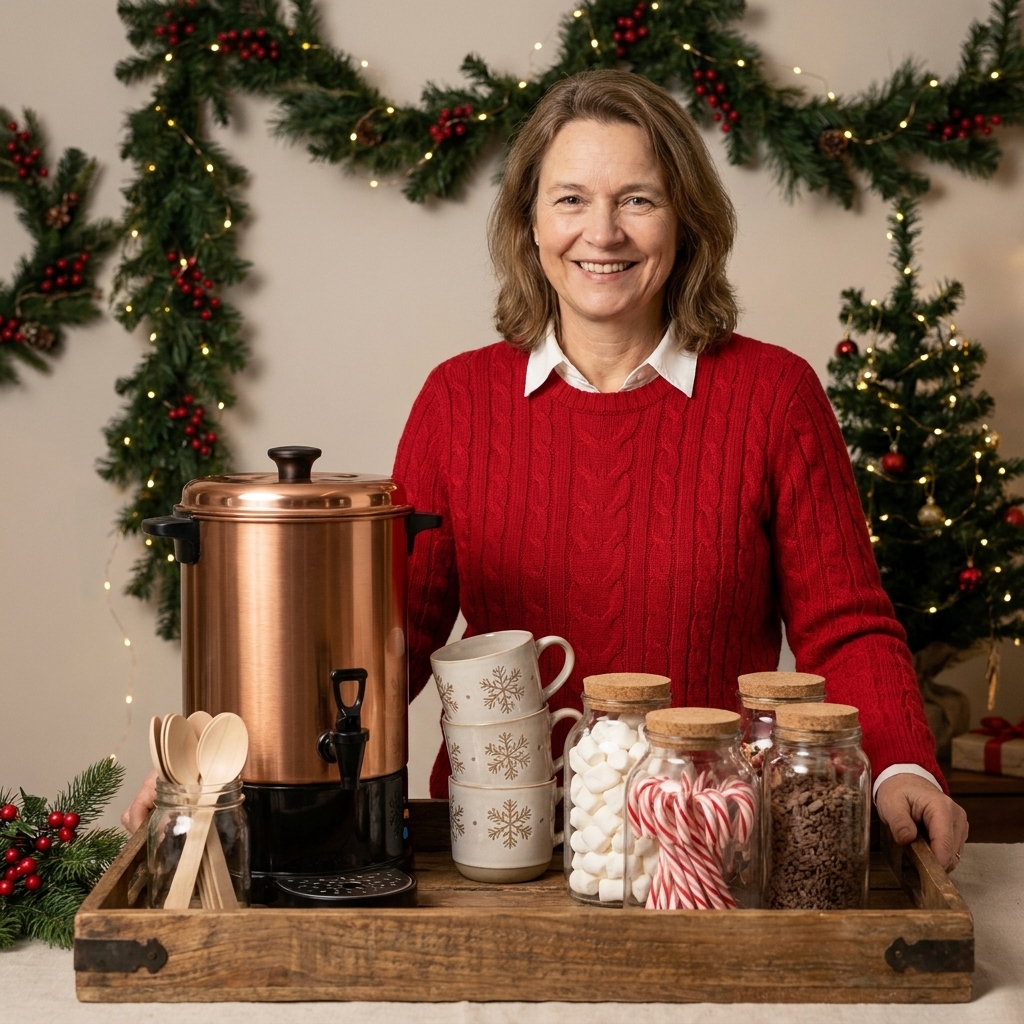
Choose your cocoa base
Your base determines everything: how many you can serve, how long it stays hot, and how much babysitting you have to do.
Option 1: Slow cooker (my party go-to)
- Best for: serving a crowd for hours
- Why it works: steady heat, easy ladling, cozy look
- Use: “warm” setting once it is hot, and stir occasionally
Option 2: Insulated beverage dispenser
- Best for: a cleaner countertop and less dripping
- Important: use a dispenser that is rated for hot beverages (some are cold-only, and some spigots are not meant for very hot liquids)
- Pro move: preheat with hot water for about 5 minutes, then dump and fill
Option 3: Stovetop cocoa + thermal carafe
- Best for: smaller gatherings or when you want ultra-fresh cocoa
- Tip: transfer to a thermal carafe so your stove stays free and the cocoa is not sitting out in an open pot
Safety note: Keep cords tucked back and use a trivet or heat-safe board under any hot appliance to protect your counters. If your cocoa is dairy-based, keep it hot while serving and do not let it sit lukewarm for long stretches.
Stock the toppings
You do not need twenty toppings. You need a few that feel generous, cover different preferences, and look beautiful in jars.
Good (simple and classic)
- Mini marshmallows
- Crushed peppermint candies or candy canes
- Chocolate chips or chocolate shavings
Better (a little extra cozy)
- Whipped cream (canned is totally fine)
- Caramel sauce
- Toasted coconut or cinnamon sugar
Best (wow factor, minimal chaos)
- Homemade marshmallows or fancy flavored marshmallows
- Mini gingerbread cookies for stirring
- Chocolate drizzle (dark and white) in squeeze bottles
- Festive sanding sugar (use lightly, it photographs beautifully)
Clara tip: Choose toppings in two to three colors that match your decor. Peppermint red plus marshmallow white plus cocoa brown reads instantly “holiday” in photos without looking busy.
If you want a dairy-free lane: set out an oat milk based cocoa (or a dairy-free cocoa base) in a separate carafe, plus dairy-free whipped topping and clearly labeled allergy-friendly sprinkles. Use separate scoops to reduce cross-contact.
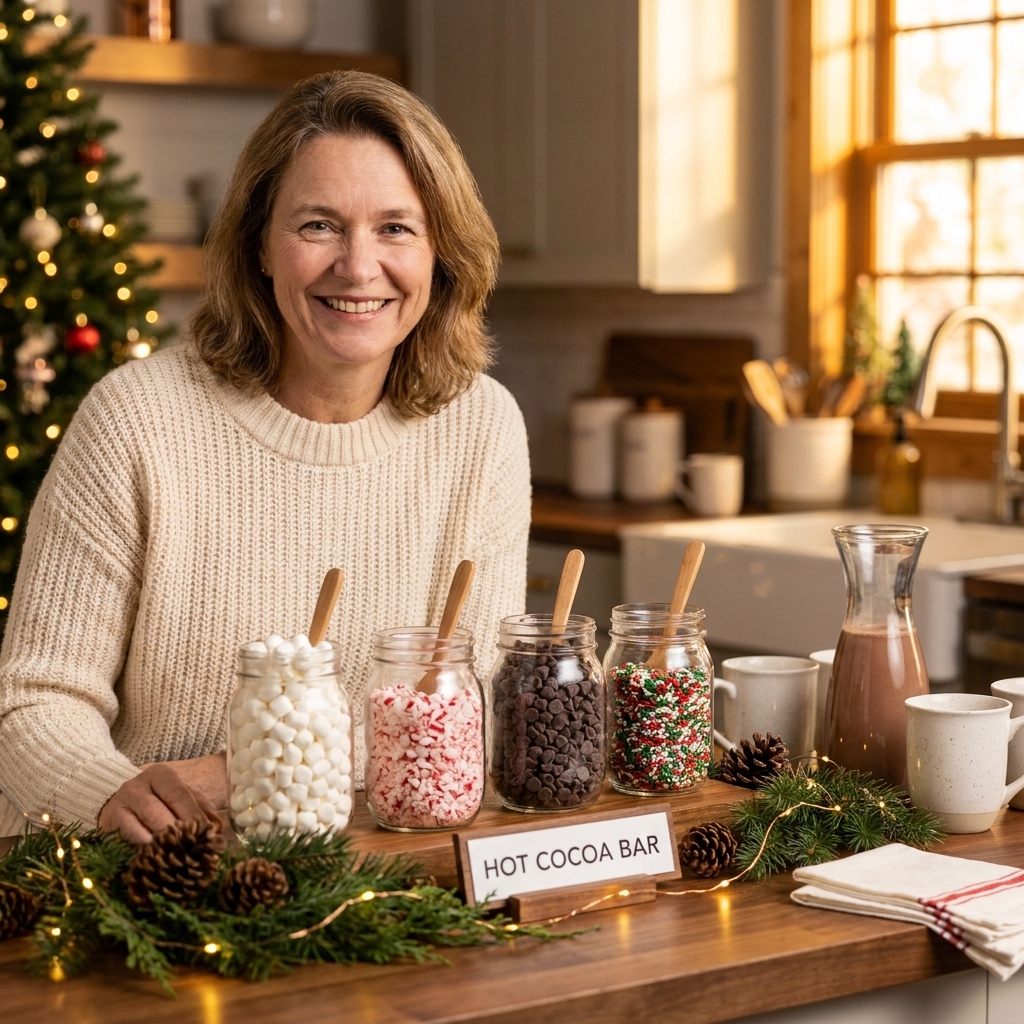
Make it camera-ready
This is where my visual merchandising brain gets way too excited. The secret is to style with height, repetition, and a tight palette.
- Corral everything on trays. A wooden board, marble tray, or thrifted silver platter makes the bar feel intentional and keeps spills contained.
- Add height in two places. Try a cake stand for toppings and a small riser (even a flipped loaf pan under a towel) behind the mugs.
- Repeat one material. All glass jars, or all white ramekins, or all amber apothecary jars. Repetition looks luxe.
- Use soft lighting. Battery votives or warm fairy lights tucked behind jars create that cozy glow without an open flame near napkins.
- Bring in one natural element. A short pine garland, a bowl of oranges, or a spriggy wreath laid flat under a tray makes it feel seasonal without clutter.
If you love the look of signage but do not want to print anything, use label-free cues. Put peppermint in a clear jar with candy canes visible, place marshmallows in a wide bowl with a scoop, and set your drizzles in squeeze bottles. Guests will understand instantly.
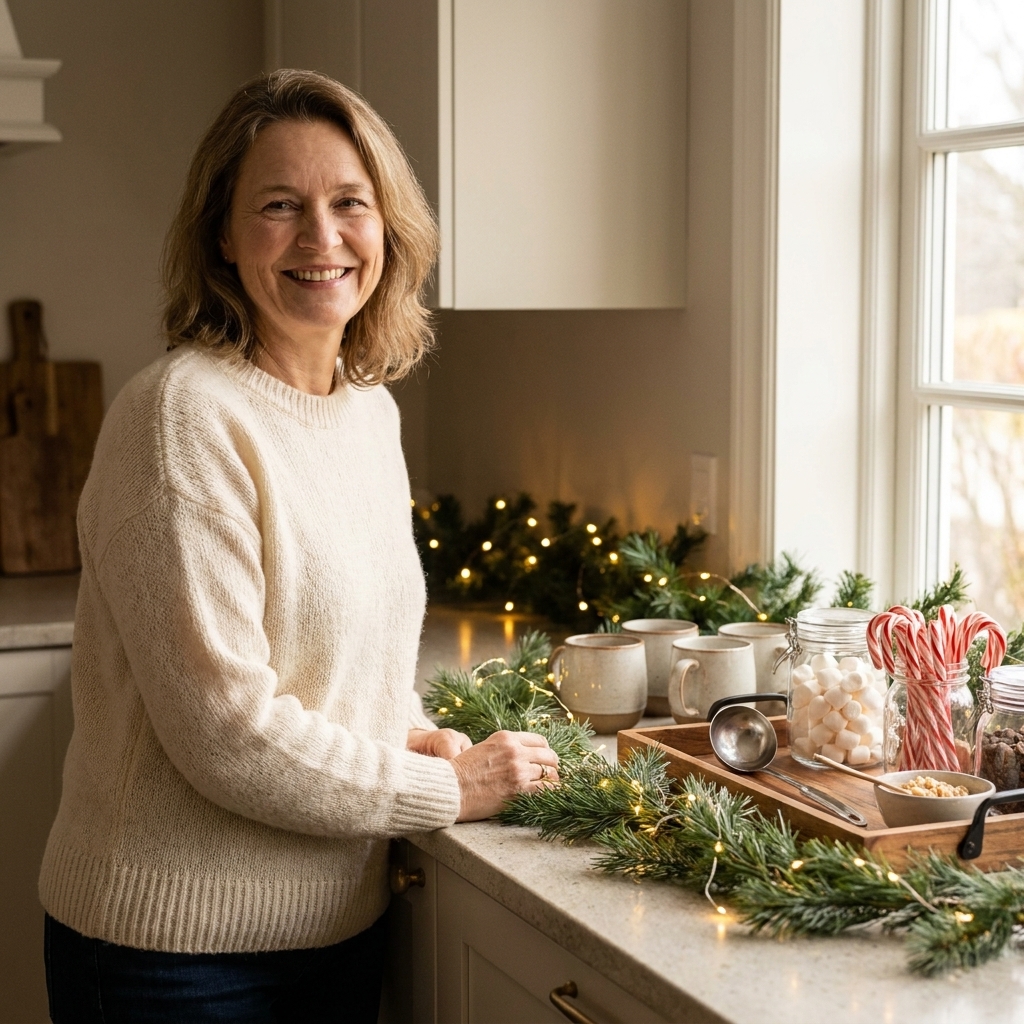
Do not skip the basics
The difference between “adorable” and “actually works at a party” is a short list of practical details.
- Trash and a drop zone: one small bin for wrappers, plus a spot for used stirrers and disposable cups if you are using them (a small bowl or second bin works).
- Plenty of napkins: place them at the start of the line and again near toppings.
- Sturdy spoons and stirrers: cocoa clumps happen. Give people real spoons, not just skinny cocktail sticks.
- Drip management: set the ladle on a small saucer, and place whipped cream on a tray you can wipe easily.
- Allergy awareness: keep nuts separate and clearly distinct if you offer them, label obvious allergens, and avoid shared scoops when you can.
Batching for a crowd
Here is my easiest party math: plan 8 to 10 ounces per person if cocoa is one of several drinks, and 12 ounces per person if it is the star of the show.
- Small gathering (6 to 8 people): 2 to 3 quarts of cocoa
- Medium gathering (10 to 14 people): 4 to 6 quarts of cocoa
- Bigger crowd (15+): plan about 6 to 10+ quarts total, but make it in two batches and replenish as needed rather than keeping one giant pot going
Keep it creamy without stress: If you are worried about scorching, make a richer base and thin slightly with warm milk (or warm oat milk) as you refill.
Make-ahead plan
The day before
- Wash and dry jars and serving bowls.
- Portion toppings into containers, cover, and store (marshmallows at room temp, chocolate in a cool spot).
- Stage trays, mugs, spoons, and napkins on a table so setup is fast.
Two hours before guests arrive
- Start the cocoa in your slow cooker or warm it on the stove and transfer to your serving vessel.
- Set out shelf-stable toppings and your styling pieces.
Right before the doorbell rings
- Add whipped cream, drizzles, and anything that melts or needs chilling.
- Do a quick spill audit and wipe down the counter so it photographs beautifully from the start.
Easy theme ideas
Classic Christmas
Red and white peppermint, glass jars, evergreen garland, and white mugs. Add one vintage touch like a thrifted silver tray or a Santa mug for the host.
Scandi cozy
Neutral mugs, wooden board, kraft napkins, cinnamon sticks, and shaved dark chocolate. Keep the palette creamy white, tan, and deep brown.
Glam winter
White mugs, gold teaspoons, marshmallows, white chocolate drizzle, and a few sparkly ornaments tucked near the back of the display.
Kid-friendly (less chaos)
Mini marshmallows, chocolate chips, sprinkles, and two drizzle choices. Put toppings in smaller bowls with smaller scoops and refill as needed.
Dairy-free friendly
Oat milk cocoa in a labeled carafe, dairy-free whipped topping, and a few naturally dairy-free toppings like peppermint, toasted coconut, and dark chocolate shavings. Keep the scoops separate.
Quick troubleshooting
- Cocoa skin forming on top: stir occasionally and keep the lid on between servings.
- Whipped cream puddles: keep it chilled until the last moment and set it on a small tray you can swap out.
- Toppings everywhere: use deeper bowls, smaller scoops, and keep sprinkles in a jar with a narrow opening.
- Line is too slow: add a second ladle station or pre-fill a thermal carafe so two people can pour at once.
My favorite finishing touch
Put out a small stack of dessert plates and a bowl of extra marshmallows. It quietly communicates, “You can linger here.” And that, to me, is the real magic of a holiday cocoa bar. It is not just a drink station. It is a little cozy moment you built on purpose.