A practical, pretty guide to layering linens, chargers, centerpieces, and place settings for a warm, memorable Thanksgiving table.
The Festive Dwell
Fall Mason Jar Centerpieces
Paint, distress, and fill mason jars into cozy fall centerpieces for Thanksgiving. Rustic ideas, color palettes, supply lists, and step-by-step styling tips.

Clara Jenkins
Clara Jenkins is a former visual merchandiser and lifelong holiday enthusiast who believes every season is worth celebrating. She helps readers transform their everyday spaces into magical, welcoming homes through budget-friendly DIYs, elegant tablescapes, and clever styling tricks. When she isn't untangling fairy lights or hot-gluing autumn wreaths, Clara can be found hunting for vintage ornaments at local flea markets.
Published October 17, 2026
Updated October 17, 2026
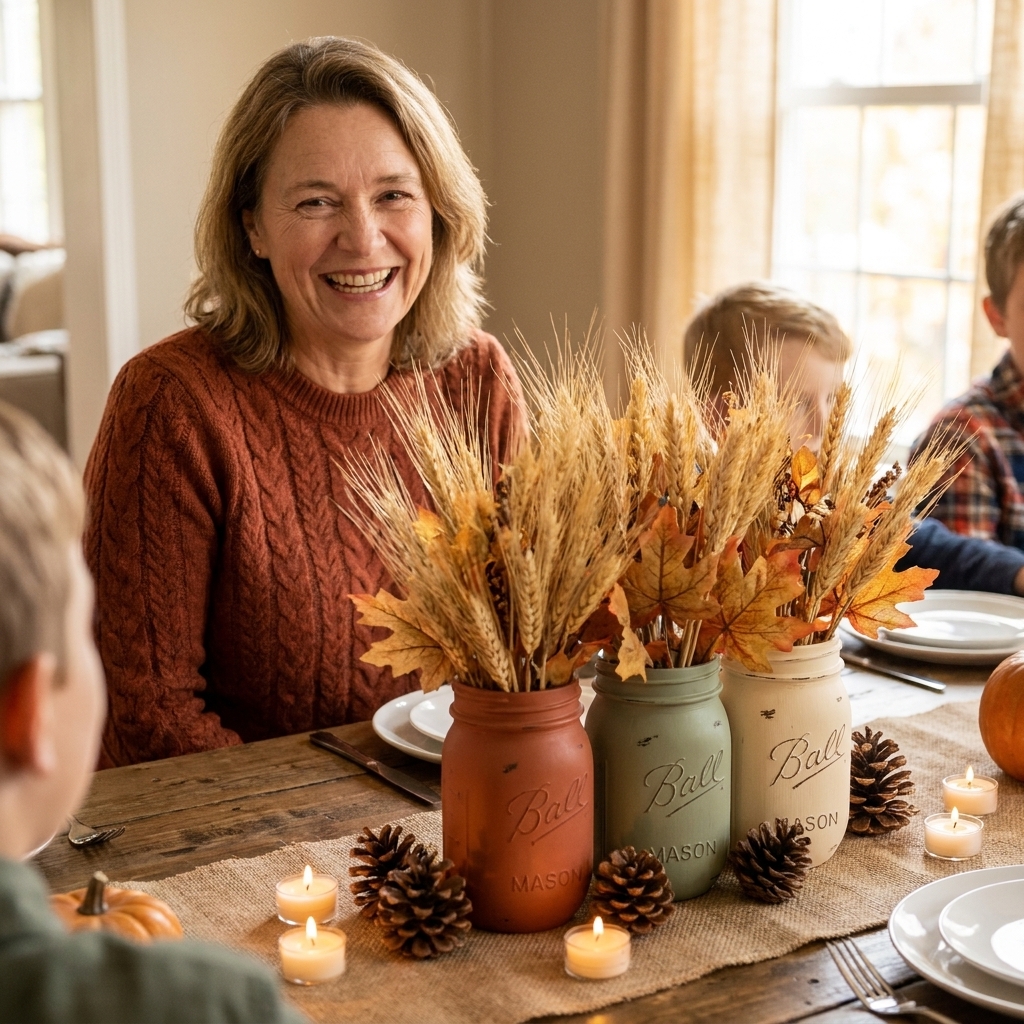
There is something about mason jars in fall that just works. They are humble, a little nostalgic, and wildly forgiving when your table needs to feel pulled together fast. In my visual merchandising days, I loved pieces that could shift seasons with a quick swap of color and filler. Mason jars are exactly that. Dress them up with metallic paint, rough them up with a little sanding, then fill them with cozy textures and candlelight for a centerpiece that looks like you planned it weeks ago.
One quick note from Clara, former visual merchandiser: once you paint a jar, treat it as decor only. I do not use painted jars for food or drinks.
Supplies to Grab First
You can make gorgeous centerpieces with what you already have. Here is what I actually reach for most often, plus a few optional upgrades.
Core supplies
- Mason jars (a mix of pint and quart looks best)
- Dish soap and rubbing alcohol (for a clean, paint-ready surface)
- Paint: acrylic craft paint or spray paint
- Painter’s tape (optional, for crisp lines)
- Sandpaper (220 grit) or a sanding block for distressing
- Jute twine or ribbon
- Hot glue gun or craft glue
Helpful upgrades
- Adhesion primer made for glass (optional, but it helps paint hold up longer)
- Clear water-based sealer in matte or satin (optional for durability)
- Glass votive insert (for real candles or to protect painted interiors)
Filler and styling supplies
- LED tea lights or taper candles (battery-operated candles are safest around dried stems)
- Florals: faux stems, dried wheat, eucalyptus, baby’s breath, or fresh grocery store stems
- Texture: pinecones, acorns, mini pumpkins, cinnamon sticks, cranberries
- Optional: floral foam or a jar-in-jar setup for water
Clara tip: If your jars are collecting dust from the back of a cabinet, wash them, then wipe down with rubbing alcohol. Paint adheres better and resists chipping.
Best Jar Shapes and How to Group Them
For a centerpiece that feels styled, not scattered, think in odd numbers and varied heights.
- The easy trio: 1 quart jar in the center + 2 pint jars on the sides
- The long table runner look: 5 to 7 jars down the center, alternating heights
- The cozy cluster: 3 jars plus 2 mini pumpkins and a candle or two tucked between
If your table is narrow, keep your tallest stems under eye level when seated. Your guests should see each other, not battle a wheat forest.
Painting Techniques
Pick your technique based on the vibe you want. I love mixing two finishes in one centerpiece, like one metallic jar paired with two matte distressed jars.
1) Matte chalky paint
This is the fastest path to rustic. Use chalk-style acrylic paint or chalk paint, applied with a foam brush in thin coats.
- Clean the jar and let it dry completely.
- Apply 1 thin coat. Let it dry per manufacturer directions (typically 20 to 30 minutes).
- Apply a second coat if needed.
- Optional: seal with a matte water-based sealer if the jars will be handled a lot.
2) Metallic spray paint
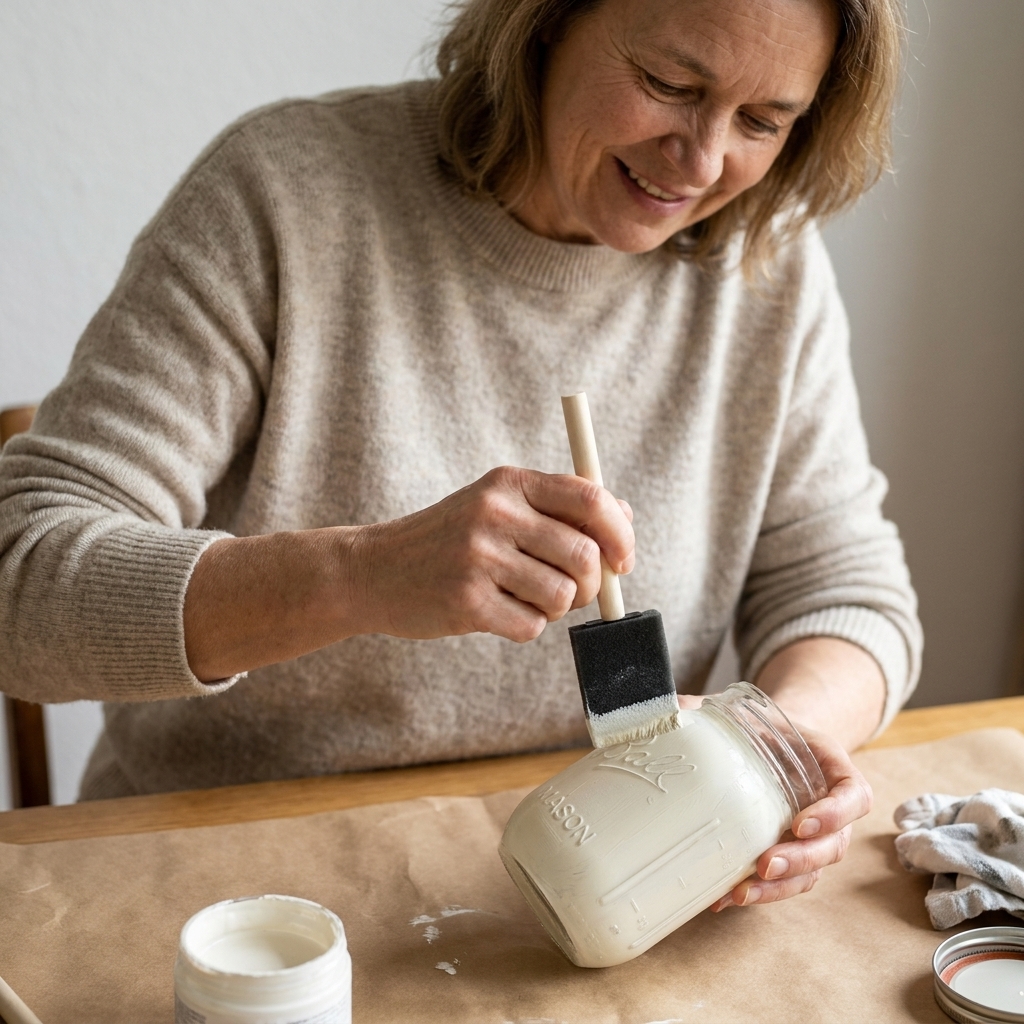
Gold, copper, and bronze are my secret weapons when the rest of the table is simple. Metallic paint instantly reads “special occasion.”
- Work outside or in a well-ventilated area.
- Lightly scuff glossy glass with fine sandpaper so paint grips.
- Optional but worth it: apply an adhesion primer for glass, then let it dry per label directions.
- Spray in light passes, rotating the jar. Two to three light coats beat one heavy coat.
- Let the finish cure fully per manufacturer directions before tying ribbon or stacking jars.
Pretty palette ideas: copper + cream + deep green, or gold + ivory + burgundy.
3) Color-dipped jars
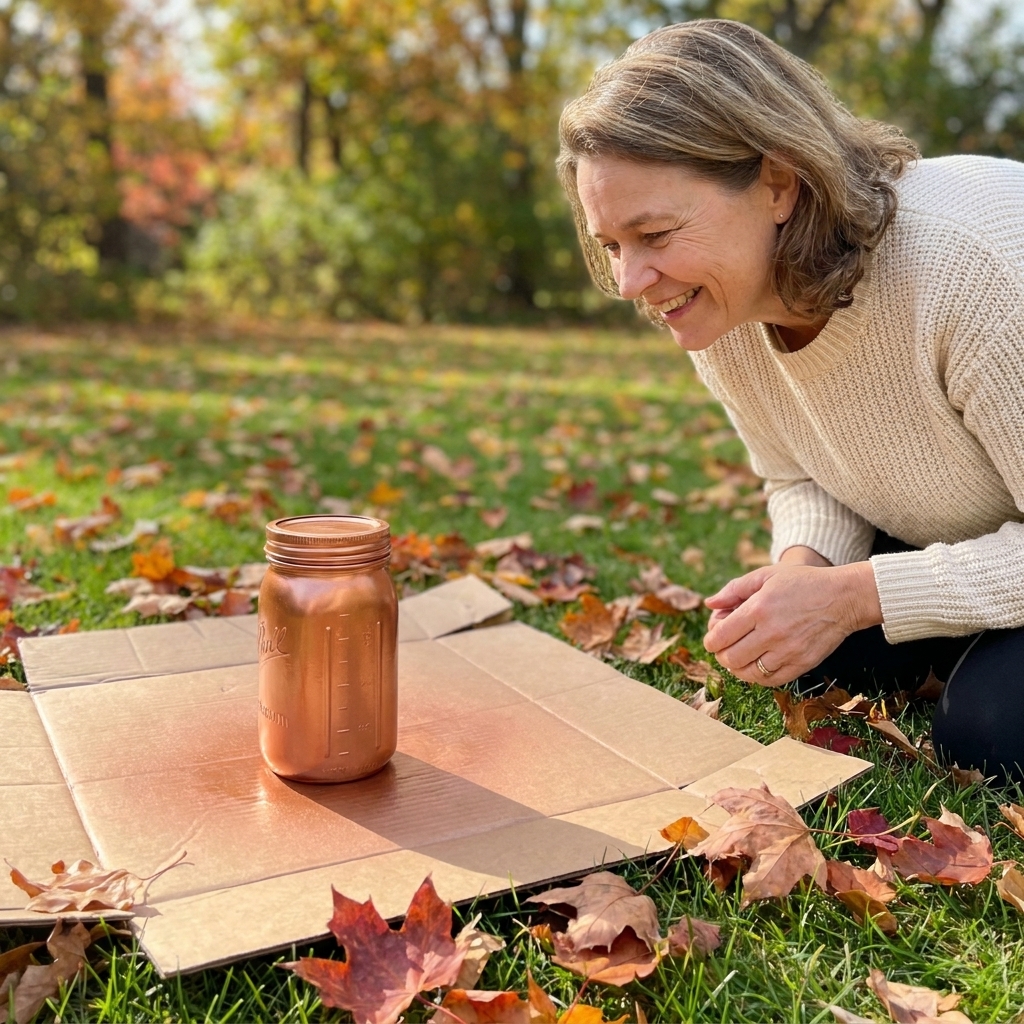
This one feels fresh, like pottery. You can do a dipped look with paint and a line of painter’s tape.
- Wrap painter’s tape around the jar where you want the “dip” to end.
- Paint the bottom section in 2 thin coats, letting each coat dry per manufacturer directions.
- Peel tape while the last coat is slightly tacky for the cleanest edge.
Try dipped terracotta, warm taupe, or muted olive. They play so nicely with natural fillers.
4) Frosted “milk glass” effect
If you love the look of vintage milk glass, you can mimic it. The key is a soft, cloudy finish.
- Use frosted glass spray (often sold as “frosted” or “etched” finish) for a translucent look.
- Or use white paint diluted with water, brushed on in thin layers for a washed effect.
This style looks especially pretty with warm candlelight inside.
Distressing 101
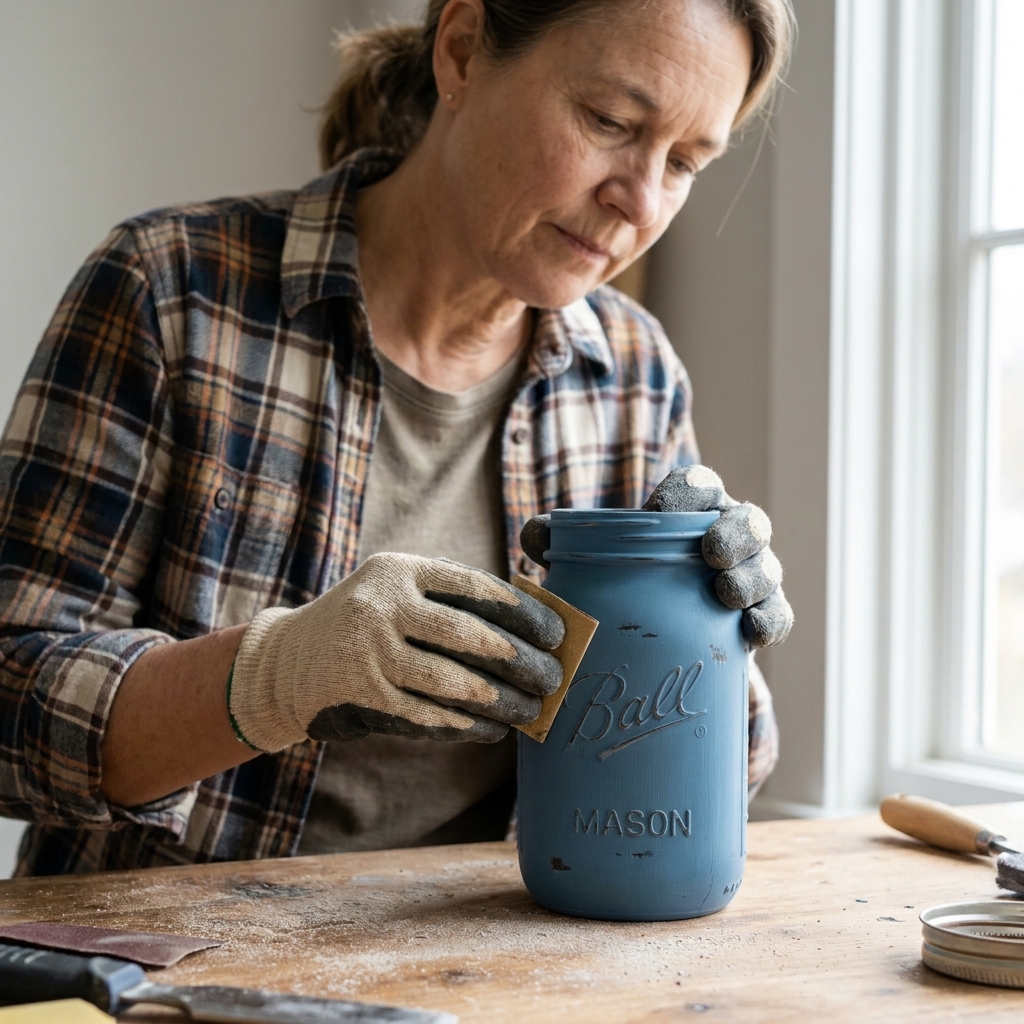
Distressing is what makes jars feel like you found them at a flea market instead of painted them at midnight the night before Thanksgiving.
How to distress safely and neatly
- Let paint dry and cure per manufacturer directions.
- Sand edges and raised lettering lightly with 220 grit sandpaper.
- Focus on natural wear spots: rim, shoulder, and embossed areas.
- Wipe dust with a dry cloth.
Clara tip: Distressing is like blush. Start light. You can always add more, but it is hard to un-sand a jar.
Filling Ideas
The filling is where your centerpiece goes from “cute craft” to “wow, where did you buy that?” Here are my go-to formulas.
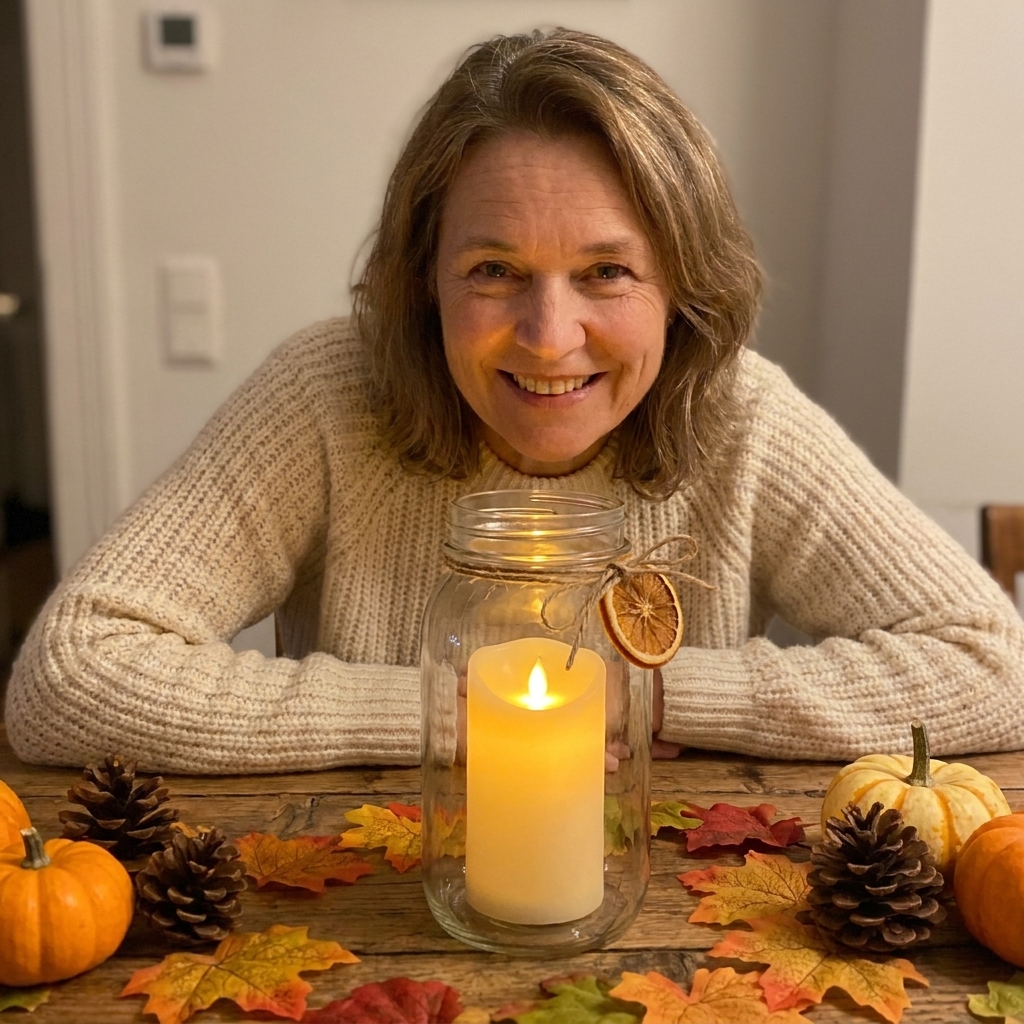
Candle glow centerpiece
- Use one jar as a lantern: place an LED pillar candle inside.
- Wrap the rim with twine and tuck in a small sprig of faux greenery.
- Surround the base with pinecones and mini pumpkins.
If you want real flame, use an unpainted glass votive holder inside the jar (or a jar-in-jar setup) and keep greenery well away from the flame. I also skip real flames in painted jars unless the flame is fully separated from any painted surface.
Wheat and grasses
Dried wheat, pampas-style stems, and feathery grasses give you that harvest look fast.
- Add floral foam to the jar for stability, or pack the bottom with crumpled kraft paper.
- Start with tallest stems, then fill in shorter pieces.
- Finish with a ribbon bow or a cinnamon stick bundle tied to the front.
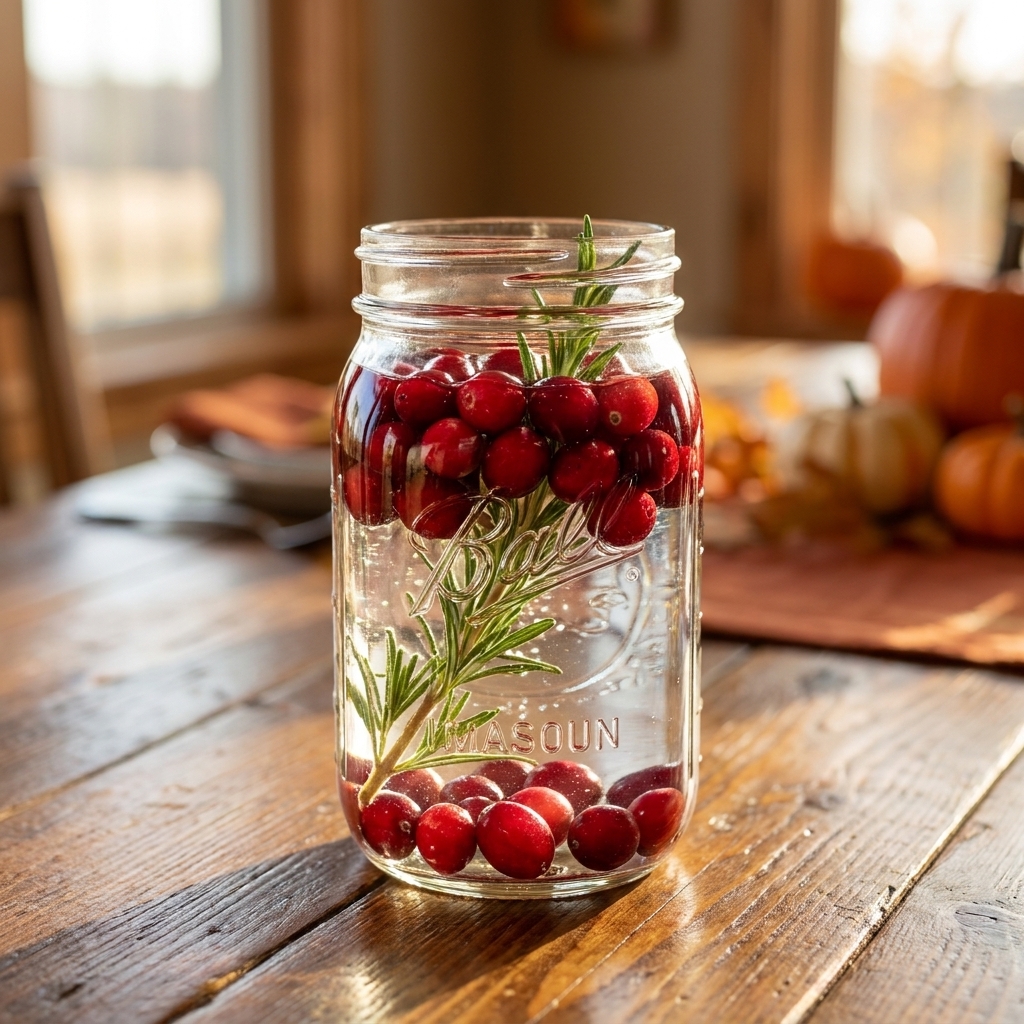
Cranberry and rosemary jars
This is my favorite trick when I want something that feels alive and fragrant, but still easy.
- Fill jars about two-thirds with water.
- Add a handful of cranberries and a few rosemary sprigs.
- If you want a real floating flame, use a proper floating candle or floating holder made for that purpose and supervise it closely.
- For a worry-free look, tuck an LED tea light at the rim or drop a waterproof LED light into the jar.
It is simple, affordable, and looks gorgeous against white dishes. If you assemble more than a day ahead, swap the water daily so it stays clear.
Mini pumpkin topiaries
If you have little craft pumpkins, you can stack them into a “bouquet” moment.
- Use a dowel or skewer in floral foam inside the jar.
- Stack mini pumpkins by piercing carefully through the bottom.
- Fill gaps with faux leaves or berry picks.
Paint the pumpkins a creamy neutral for a softer look, or keep them classic orange for a traditional Thanksgiving table.
Color Palettes
When in doubt, pick one main color, one neutral, and one accent. Here are combinations I have used repeatedly in both retail displays and at home.
- Classic harvest: orange, wheat, deep brown, and a touch of green
- Modern neutral: cream, taupe, matte black, and dried greenery
- Moody autumn: burgundy, rust, charcoal, and gold
- Woodland: olive, copper, warm white, and pinecones
Three Centerpiece Recipes
If decision fatigue is real right now, I have you. Choose a recipe, gather the pieces, and you will be centerpiece-ready.
Recipe 1: The Rustic Trio
- 3 jars: 2 pint, 1 quart
- Matte cream paint + light distressing
- Dried wheat stems in the quart jar
- 2 pint jars: 1 with greenery stems, 1 with an LED candle
- Scatter pinecones and acorns around the base
Recipe 2: The Glam Harvest
- 5 jars in mixed sizes
- Metallic gold or copper spray paint
- Berry picks and deep burgundy stems
- Gold votives between jars (LED or glass-protected flame)
- Finish with a few pears or pomegranates for a lush look
Recipe 3: The Fresh and Simple
- 3 clear jars
- Water + cranberries + rosemary
- White taper candles nearby (in proper holders)
- Neutral linen runner and a handful of tiny pumpkins
Make Them Table-Friendly
A beautiful centerpiece should not make dinner awkward. A few quick checks:
- Height: Keep taller arrangements toward the ends of the table or use shorter, wider jars in the center.
- Drips: If using fresh stems, tuck a smaller jar or glass inside so water never touches paint. Pick a snug inner vessel that will not tip.
- Flame safety: Use LED candles around dried materials. If you use real flame, keep it in a proper glass holder and away from napkins, kids, and anything flammable.
- Stability: Add a handful of rice, sand, or small stones in the bottom to weight jars.
Troubleshooting
My paint is streaky
Use thin coats and let them dry fully per manufacturer directions between layers. Foam brushes help. For spray paint, keep the can moving and do multiple light passes.
The paint scratches off easily
The jar may not have been degreased. Wipe with rubbing alcohol before painting. An adhesion primer helps on glass, and a clear sealer adds durability, especially for jars that will be handled.
My distressed spots look harsh
Soften with a dry brush of the base color over the distressed area, or lightly rub with a damp cloth if the paint is still curing.
My centerpiece looks too sparse
Add one “filler” layer first, like eucalyptus or faux leaf stems, then tuck in your statement pieces. Also try narrowing the mouth of the jar with twine or a rubber band under ribbon to help stems stand upright.
Storing Your Jars
Mason jar centerpieces are worth saving. Once the holiday rush is over:
- Remove bows and store ribbon separately so it does not crease.
- Wrap painted jars individually in kraft paper or bubble wrap.
- Store fillers in labeled gallon bags: “Wheat,” “Berries,” “Greenery,” “Pinecones.”
Future-you will feel like you hired a personal assistant.
Quick FAQ
Do I need to seal painted mason jars?
If they are purely decorative and you will not be washing them, you can skip it. If you plan to reuse them often or stack them in storage, a matte or satin water-based sealer adds durability.
Can I use real candles inside a mason jar?
Yes, but be careful. Use a candle in its own glass holder (or an unpainted inner insert), keep flame below the rim, and keep anything dried or drapey far away. For a stress-free Thanksgiving, LED candles are my go-to.
How far in advance can I make these?
Painted and distressed jars can be done weeks ahead. If you are using fresh greenery or water-filled jars, assemble the day before or the morning of. If you do them early, refresh greens and change water daily so everything stays perky.
If you make a set, you will quickly see why I love mason jars for Thanksgiving. They are flexible, charming, and they let you lean into that cozy fall feeling without needing a huge decor budget. Put on a playlist, pour something warm, and let your table turn into a little harvest moment.