Fresh florals, pastel linens, and seasonal tableware made simple. A step by step decorating plan for a welcoming spring garden party or Easter brunch.
The Festive Dwell
Budget-Friendly Spring Floral Centerpieces
Create high-end spring centerpieces on a budget using grocery store flowers, foraged greens, and simple design tricks. Step-by-step recipes for stunning tables.

Clara Jenkins
Clara Jenkins is a former visual merchandiser and lifelong holiday enthusiast who believes every season is worth celebrating. She helps readers transform their everyday spaces into magical, welcoming homes through budget-friendly DIYs, elegant tablescapes, and clever styling tricks. When she isn't untangling fairy lights or hot-gluing autumn wreaths, Clara can be found hunting for vintage ornaments at local flea markets.
Published October 17, 2026
Updated October 17, 2026
Spring is the season when I want my table to feel like it just wandered in from a garden path, fresh, a little wild, and completely welcoming. The good news is you do not need a florist budget to pull off that lush, high-end centerpiece look. With a smart grocery store flower run, a few clipped greens, and a couple of styling tricks I learned back in my visual merch days, you can make arrangements that look like they belong in a magazine, but cost closer to a latte and a pastry (depending on your market, of course).
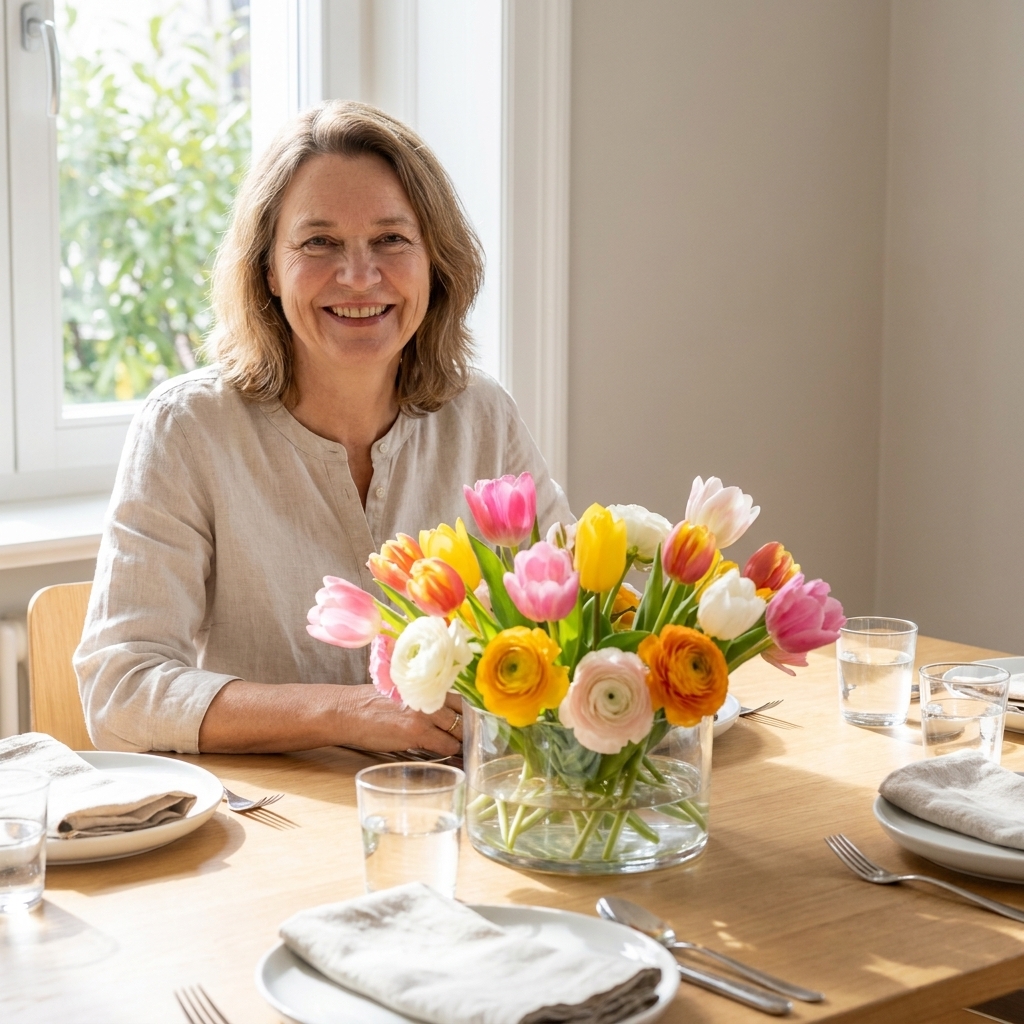
I will walk you through exactly what to buy, what to forage, and how to arrange it so your guests think you hired help. You can absolutely accept the compliments gracefully. I give you permission.
The budget formula
Any centerpiece that looks “expensive” usually has the same bones:
- One hero flower (the star of the show)
- One supporting flower (adds fullness and color harmony)
- One airy ingredient (movement and that garden-picked feel)
- Greens (scale, shape, and a finished look)
- A low, intentional vessel (so guests can actually talk across the table)
When you shop and forage with those roles in mind, you stop overbuying random bunches and start building a centerpiece on purpose.
What to buy (and skip)
My best “yes” flowers for spring
- Tulips: clean, modern, and they keep opening (and growing) over time. Most grocery bunches are about 10 stems.
- Alstroemeria: budget-friendly, long-lasting, and makes everything look fuller. A bunch is often 5 to 7 stems with lots of blooms.
- Carnations: I said what I said. The modern varieties are ruffly and pretty, and they often last 1 to 2+ weeks when conditioned well.
- Ranunculus: if your store has them, grab them. Instant luxury.
- Daffodils and hyacinth: amazing for scent and spring color, best in their own small vessel or kept slightly separate (more on that below).
- Waxflower or baby’s breath: a little goes a long way for airy texture.
My gentle “no” list (unless you love them)
- Overly tight mixed bouquets with lots of filler and short stems. You pay for convenience, and the stems are often too short for most vessels.
- Anything with browning petals around the edges. It usually will not perk up at home.
- Heavily dyed blooms. They can look flat on the table and sometimes tint your water.
Quick shopping tip
Buy two to three bunches of one type instead of one bunch each of five types. Repetition is what makes an arrangement look cohesive and designer-like.
Forage greens politely
I love foraging because it instantly elevates grocery store flowers, and it is basically free. But it has to be done responsibly.
- Clip from your own yard whenever possible.
- Never take from protected land or landscaped public areas.
- Avoid anything sprayed with pesticides (common near roadsides and some commercial properties).
- Know your plants, especially if kids or pets will be nearby. If you are unsure, skip it.
Easy spring greens
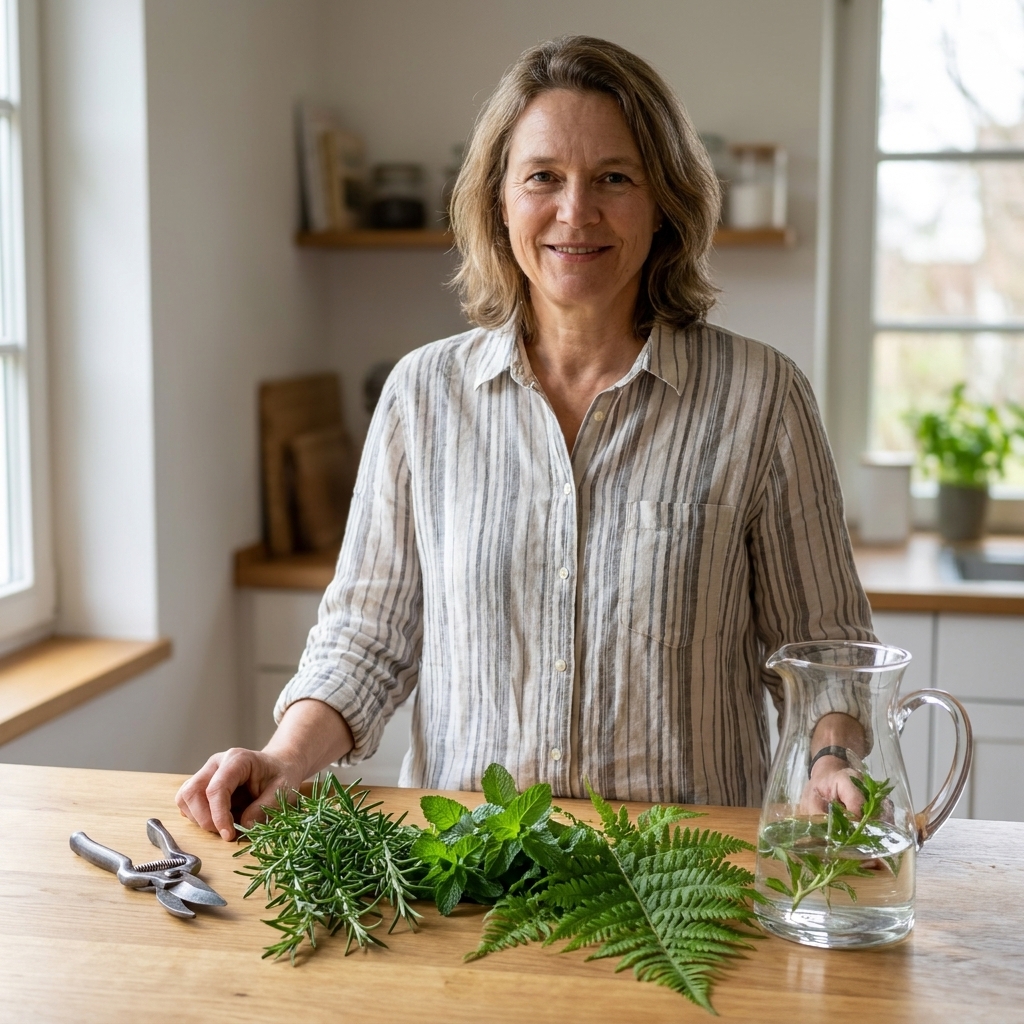
- Rosemary (herby, sturdy, smells incredible)
- Mint (fresh scent, soft movement)
- Camellia leaves (glossy and elegant)
- Magnolia leaves (dramatic, especially the velvety brown undersides)
- Eucalyptus (great if you can find it, but availability varies by region and season)
- Fern fronds (light, airy, very “spring woods”)
- Flowering branches like cherry, quince, or pear (a few stems do major visual work)
Tools you need
No floral foam required, and honestly, I prefer not to use it for dinner-party centerpieces anyway.
- Clean vase or low bowl (even a salad bowl can work)
- Sharp scissors or floral snips
- Clear tape (for a quick grid)
- A small measuring cup (for adding water without splashing petals)
- Optional: a second smaller jar or cup (for “frog-in-a-bowl” mechanics)
The tape grid trick
For wide bowls, make a simple grid with tape across the opening. It creates lanes that hold stems in place so your arrangement stays low and polished.
Step-by-step centerpiece
1) Start with a clean vessel
Wash with hot soapy water. Cloudy, smelly vase water is the fastest way to make a centerpiece feel less than fresh.
2) Condition your flowers
- Strip any leaves that would sit below the waterline.
- Cut stems at an angle, 1 to 2 inches off the bottom.
- Let them drink in cool water for at least 30 minutes if you have time.
3) Build your green base
Place greens around the rim and crisscross a few stems through the center. Think nest, not hedge. You want openings for blooms to tuck into.
4) Add your hero blooms
Insert the largest or most special flowers first. Keep them low, generally no taller than 1.5 times the height of the vessel for a dining table.
5) Fill with supporting blooms
Repeat the same flower in a few spots instead of clustering everything in one area. Repetition is what reads intentional.
6) Finish with airy texture
Waxflower, baby’s breath, fern tips, or a few flowering twigs are the difference between nice and oh wow. Use a light hand.
7) Edit like you are styling a shelf
Step back. Rotate the vessel. Pull anything that feels awkwardly tall, too dense, or blocking a focal bloom. A great centerpiece is as much about what you remove as what you add.
Three easy recipes
These are designed for a typical dining table centerpiece in a low bowl or medium vase. Adjust up or down based on your vessel size.
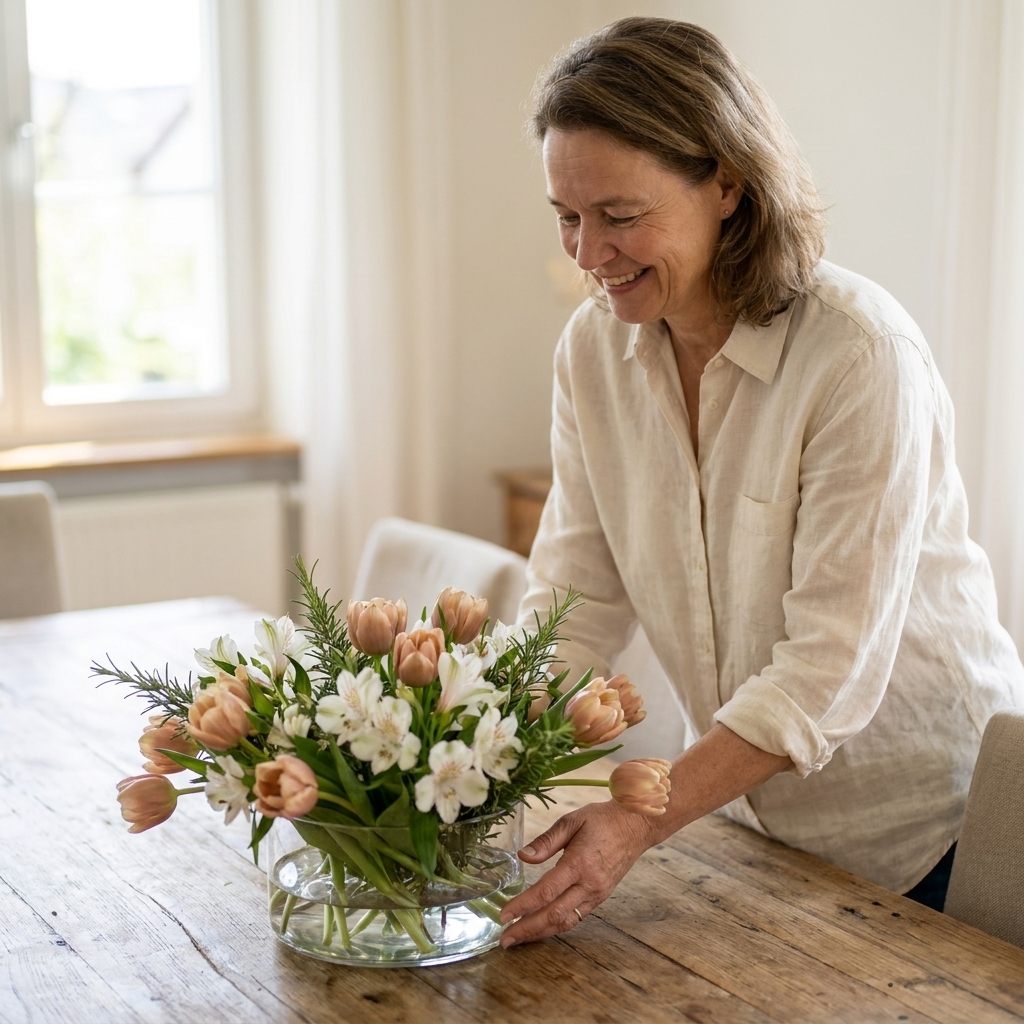
Recipe 1: Tulip garden bowl
- Flowers: 2 bunches tulips (one color or two neighboring shades, like blush and cream)
- Support: 1 bunch alstroemeria (white or pale yellow)
- Airy: small bundle of waxflower or a few fern tips
- Greens: rosemary + a few glossy leaves (camellia or magnolia)
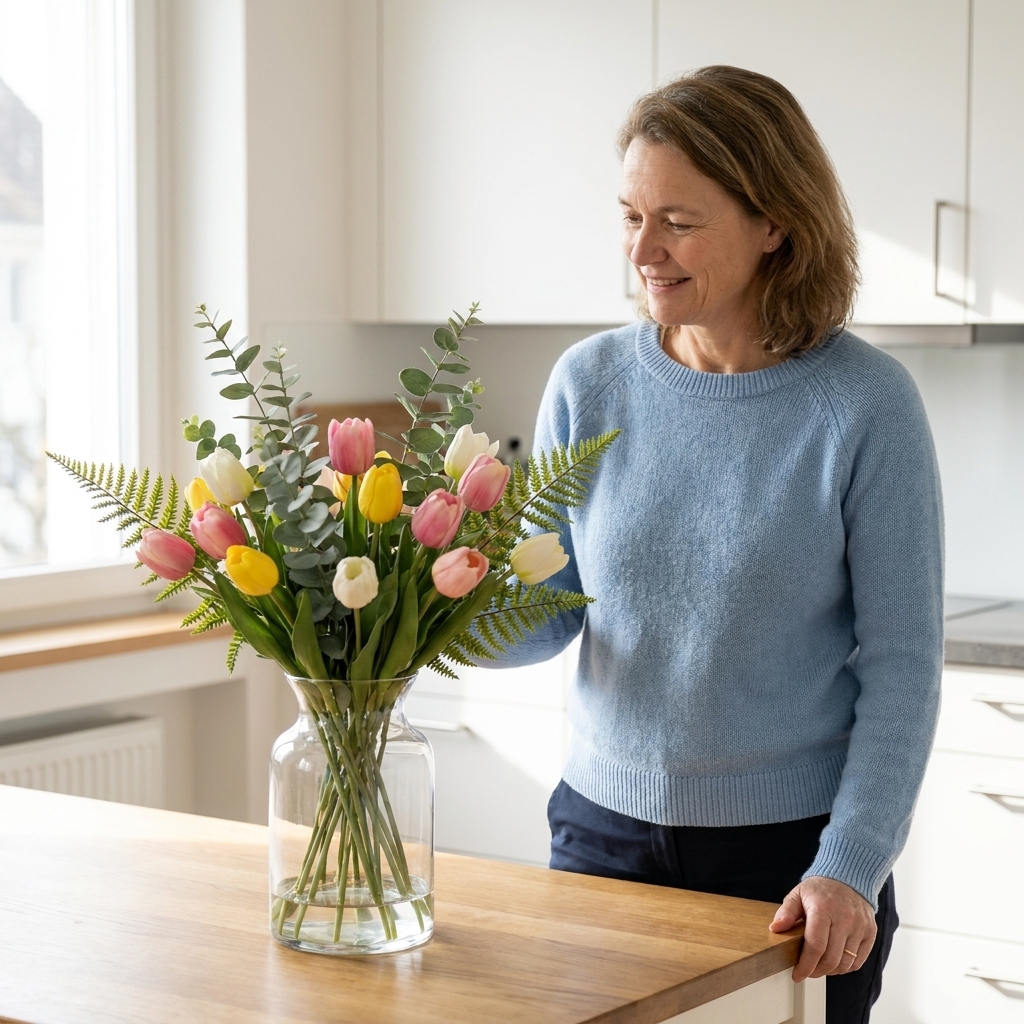
Clara’s styling note: Tulips keep growing in the vase. That is part of the charm. If you want a tighter look, wrap the tulips in paper and let them drink upright for 30 minutes before arranging.
Recipe 2: Neutral and chic
- Flowers: 2 bunches white carnations or cream roses (whichever is best at your store)
- Support: 1 bunch pale green mums or white daisies
- Airy: baby’s breath (use sparingly)
- Greens: eucalyptus + any soft, trailing green you can find
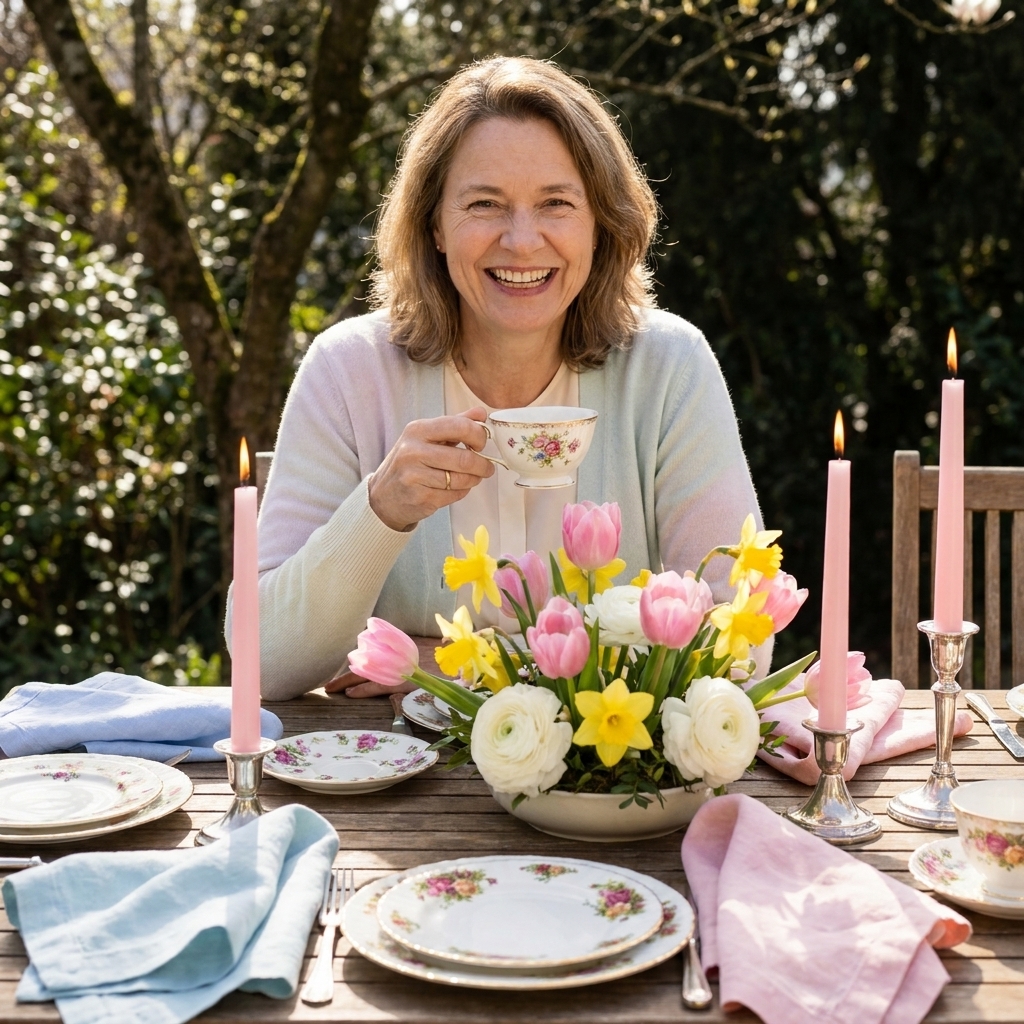
Clara’s styling note: Keep the palette tight and let texture do the talking. This one looks especially high-end with linen napkins and simple taper candles.
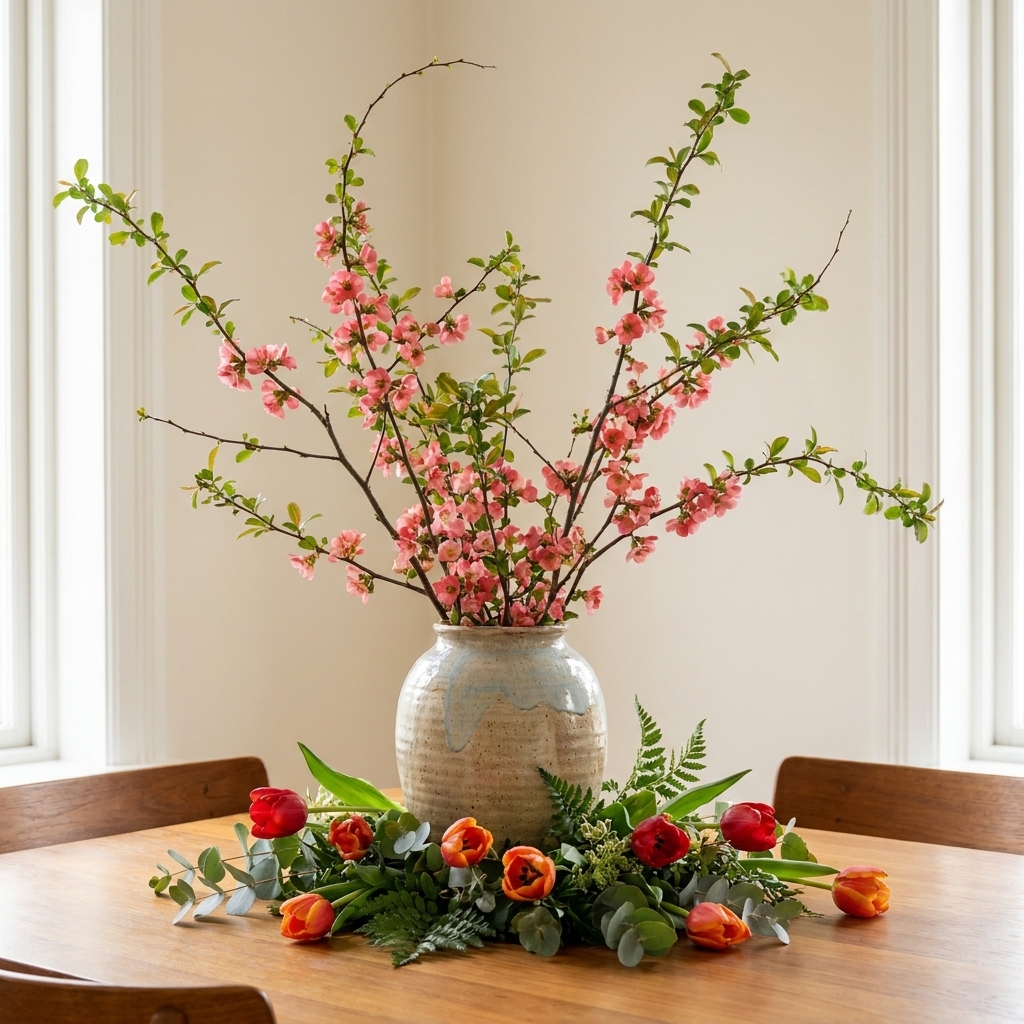
Recipe 3: Branch-and-bloom
- Flowers: 1 to 2 bunches tulips or ranunculus
- Support: 1 bunch alstroemeria
- Airy: flowering branches (cherry, quince, pear, or even budding shrubs)
- Greens: magnolia leaves or camellia leaves
Clara’s styling note: Branches do the heavy lifting. You can use fewer blooms because the silhouette feels abundant.
Make it look expensive
- Go lower, not taller. Low arrangements look intentional and feel more special.
- Hide mechanics. If you use a jar inside a bowl, tuck greens around it until you cannot see it.
- Repeat one color from your table setting. Echo napkin color, candle color, or a plate detail in your blooms.
- Leave breathing room. Aim for clusters with small negative spaces. A packed dome can look grocery-store-ish fast.
- Add one unexpected element. A few rosemary sprigs, a twist of grapevine, or one dramatic magnolia leaf instantly upgrades the whole vibe.
Make it last longer
The day before
- Buy flowers early if you can. Condition them overnight in a tall bucket or vase.
- Store in a cool room away from direct sun and fruit (fruit gives off ethylene gas that can age flowers faster).
The day of
- Refresh cuts on stems right before arranging (see the daffodil note below).
- Use cool water and flower food if provided. If you do not have flower food, plain clean water works beautifully, just change it often and keep the vessel clean.
- Keep arrangements away from heating vents and fireplace mantels that are actually in use.
After guests leave
Top off the water, remove any wilting stems, and move the centerpiece to a cooler spot overnight. You will be shocked how long grocery store flowers can go when they are not slowly cooking under pendant lights.
Common hiccups
My arrangement looks flat
Add height variation with a few longer stems or a couple of airy elements. Fern tips and flowering twigs are instant lift.
It looks messy, not garden-y
Garden style still has structure. Pull out 20 percent of what you added, then reinsert your hero blooms in a simple triangle shape.
My flowers keep falling outward
Add a tape grid, or switch to the frog-in-a-bowl method: place a small jar in the center of a wide bowl, fill both with water, and arrange stems between the inner and outer edges for support.
Can I mix daffodils with other flowers?
Yes, with one caveat. Fresh-cut daffodils can release sap that shortens the vase life of other blooms. If you want to mix them, let daffodils sit in water by themselves for 6 to 12 hours first, then add them to the arrangement without recutting the stems (recutting can restart the sap flow). Also, daffodil sap can irritate skin, so wash your hands after handling and keep arrangements away from curious pets.
Or keep daffodils in a separate small bud vase next to your main centerpiece, which is also very charming.
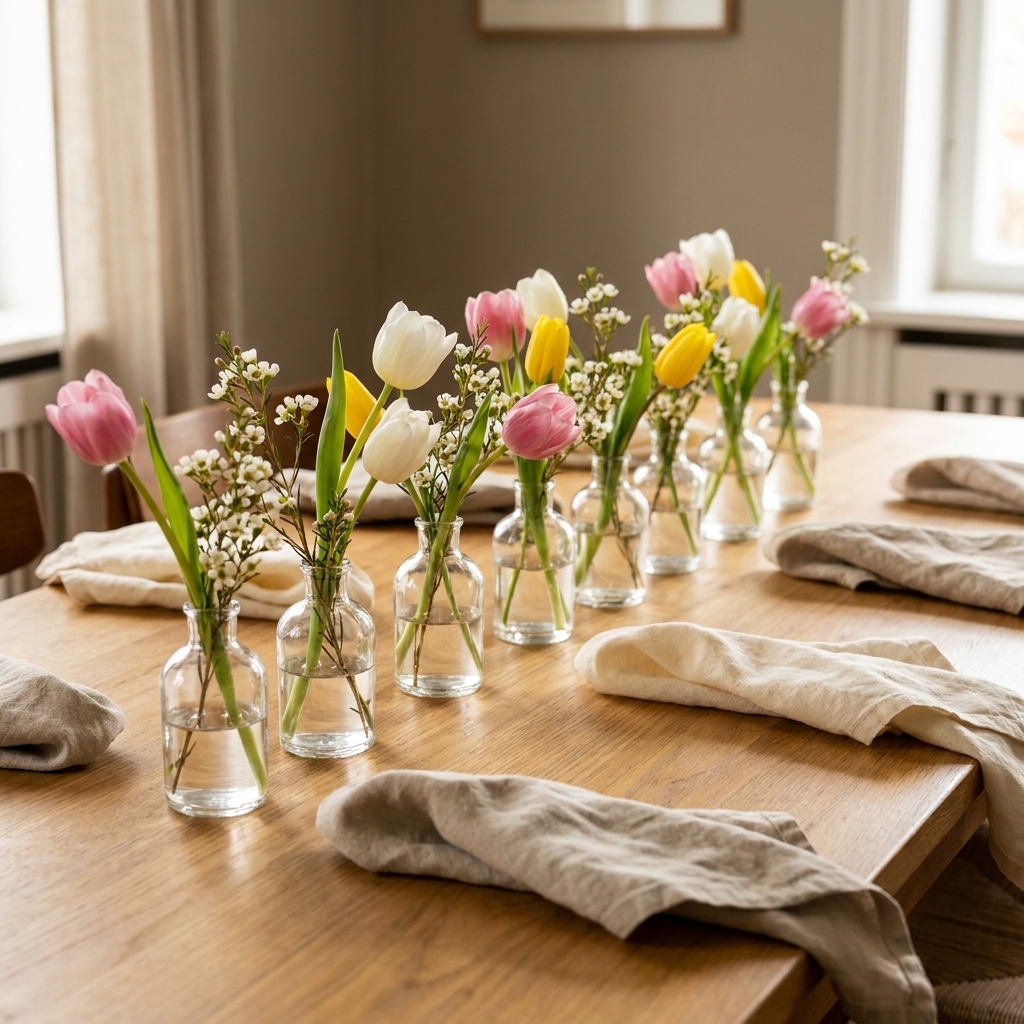
Mini centerpieces
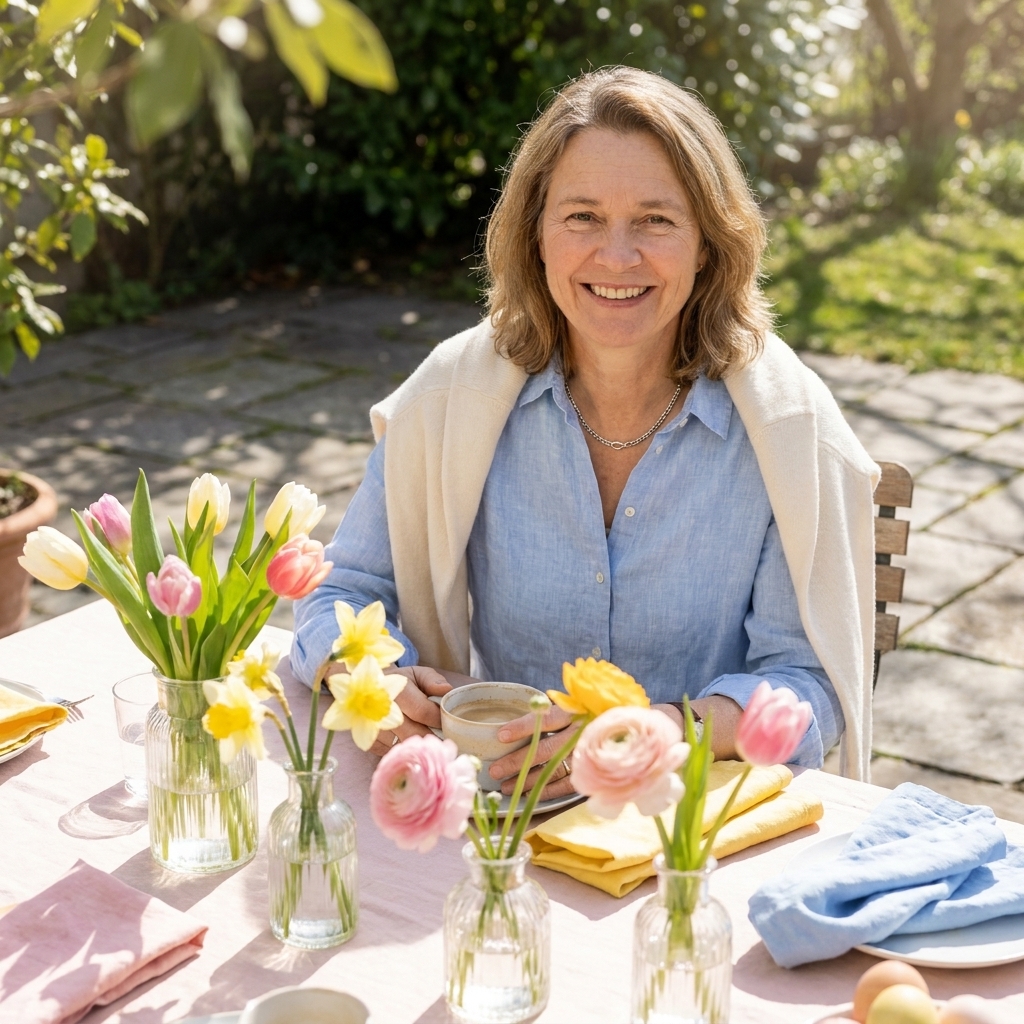
If you are hosting and want a wow table without one giant arrangement, do a little floral moment every 18 to 24 inches down the center of the table.
- Use three to five bud vases per cluster.
- Put one type of flower per vase for a designer look.
- Weave in greens down the runner (or straight on the table) to connect everything.
Quick FAQ
How much should I budget?
With grocery store flowers and foraged greens, a beautiful centerpiece is often achievable in the $15 to $35 range depending on your vessel size and whether you choose premium blooms like ranunculus.
What is the easiest flower for beginners?
Alstroemeria is my top pick. It is forgiving, long-lasting, and fills space quickly so your arrangement looks lush without perfect technique.
What if I do not have anything to forage?
Grab a bunch of eucalyptus or Italian ruscus at the grocery store, and supplement with something from the produce aisle like a few clean, sturdy artichokes tucked at the base for a fun spring market feel.
Centerpiece checklist
- Pick a tight color palette (2 to 3 colors max).
- Buy repeats of the same blooms.
- Forage or buy greens for scale.
- Use a low vessel and a tape grid.
- Build greens first, then heroes, then fillers, then airy bits.
- Edit with a step-back-and-squint moment.
If you try one of the recipes above, set the table, light a candle, and take a quick photo before guests arrive. Those little snapshots become the sweetest seasonal memories, and they will remind you next spring that yes, you totally can make the pretty centerpiece.