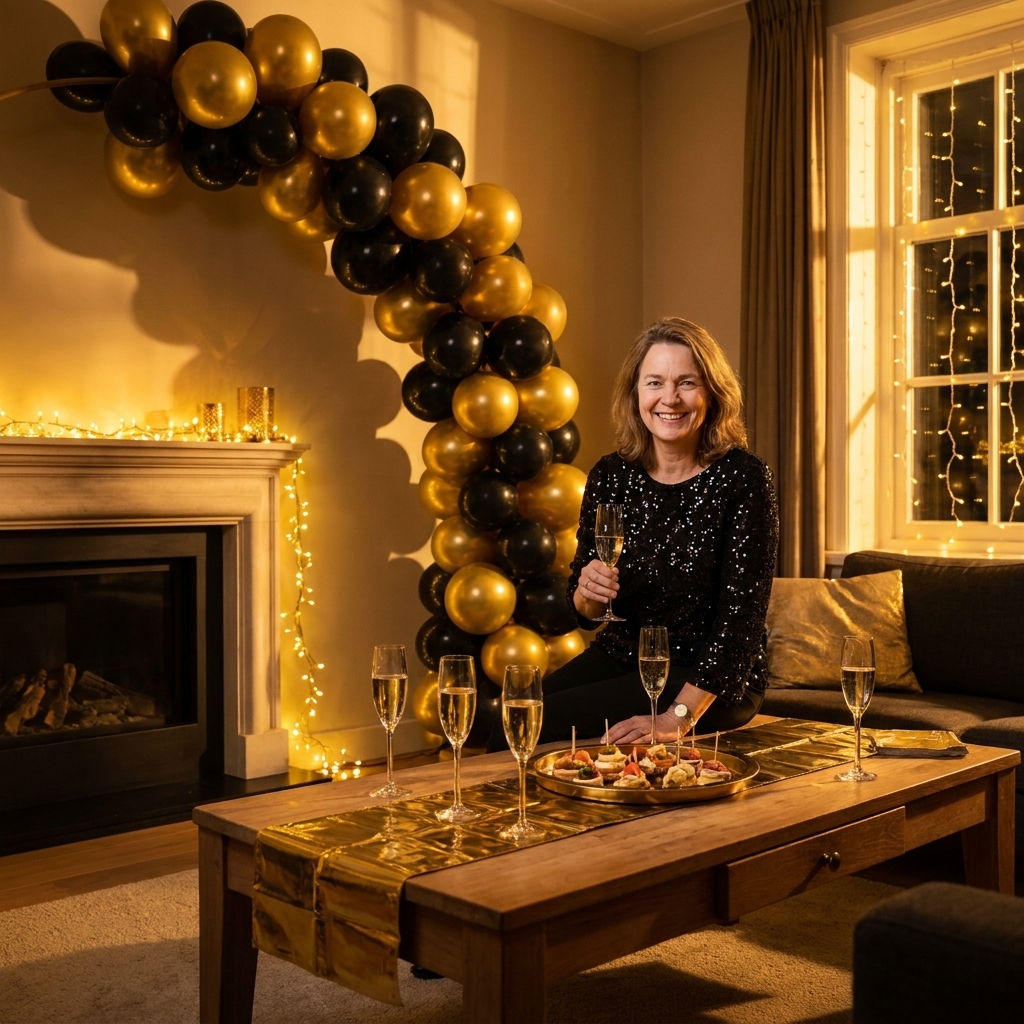
Metallics, balloon garlands, sparkle, and moody lighting made simple. These 10 DIYs turn your space into a glamorous, countdown-ready party scene on a budget.
The Festive Dwell
10 DIY New Year’s Eve Table Centerpieces in Under an Hour
Need a last-minute New Year’s Eve tablescape? These 10 quick DIY centerpiece ideas use dollar store finds, sparkly accents, and simple steps for instant glam.

Clara Jenkins
Clara Jenkins is a former visual merchandiser and lifelong holiday enthusiast who believes every season is worth celebrating. She helps readers transform their everyday spaces into magical, welcoming homes through budget-friendly DIYs, elegant tablescapes, and clever styling tricks. When she isn't untangling fairy lights or hot-gluing autumn wreaths, Clara can be found hunting for vintage ornaments at local flea markets.
Published October 17, 2026
Updated October 17, 2026
New Year’s Eve decorating has one job: make your table look like it’s dressed for a countdown. I love a centerpiece moment because it instantly signals “party,” even if you threw it together between showering and chilling the bubbly.
Below are 10 DIY New Year’s Eve table centerpieces you can pull off in about an hour or less (most are much faster). A few have quick dry time, so I call out where you might want to work in advance or swap in a no-dry option.
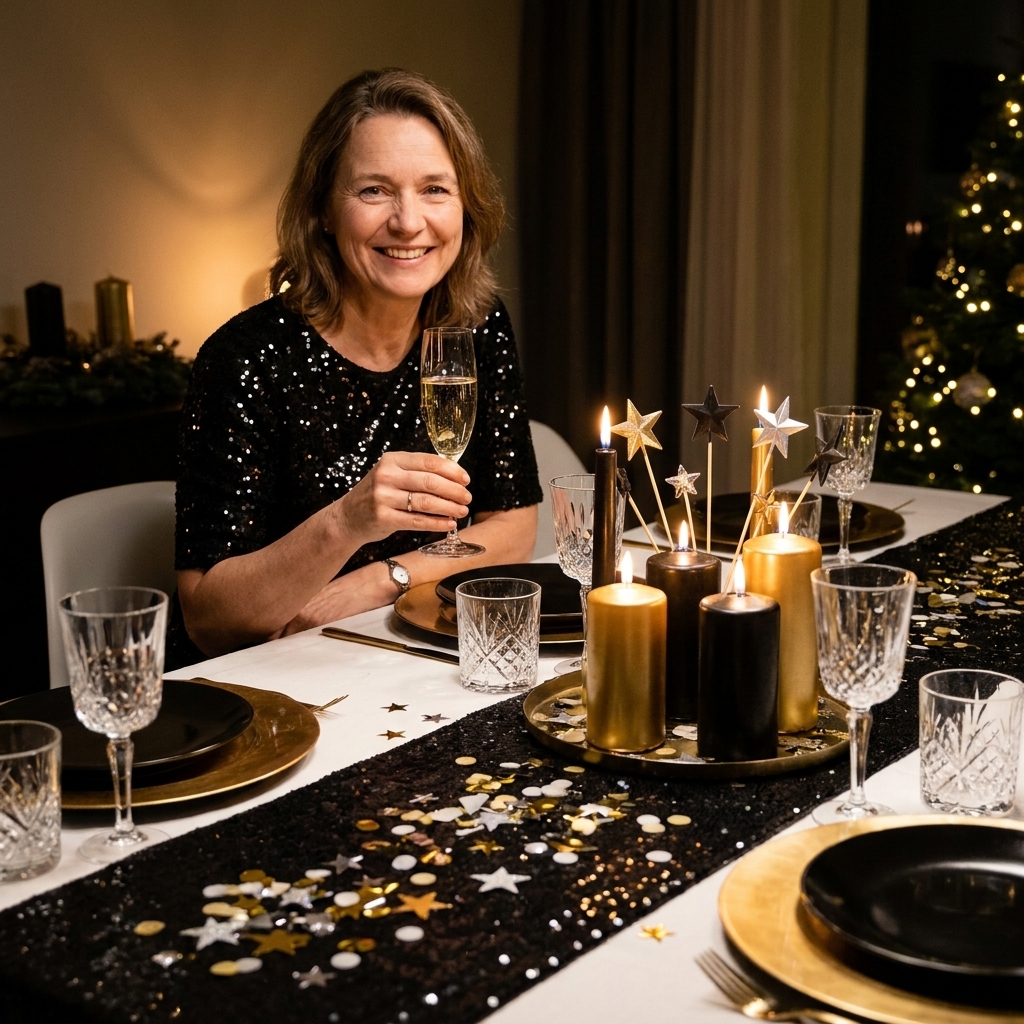
My one-hour centerpiece formula
- Start with a base: a tray, charger, cake stand, or shallow bowl.
- Add height: bottle, vase, candlesticks, or a foam cone.
- Add shine: metallic ribbon, glitter picks, tinsel, or confetti.
- Add glow: tea lights or LED votives (always my go-to around kids and pets).
- Finish with something “real”: greenery snips, lemons, or faux pears for balance.
Quick safety notes
- If it can catch, keep it back: confetti, ribbon, tinsel, and dried greenery should stay well away from open flames.
- Use holders and a stable base: tapers belong in candle holders, not free-standing in foam, rice, or beans if you plan to light them.
- Never leave flames unattended: especially on a crowded table with sleeves, kids, pets, or tipsy toasts.
- When in doubt, go LED: you still get the glow without the stress.
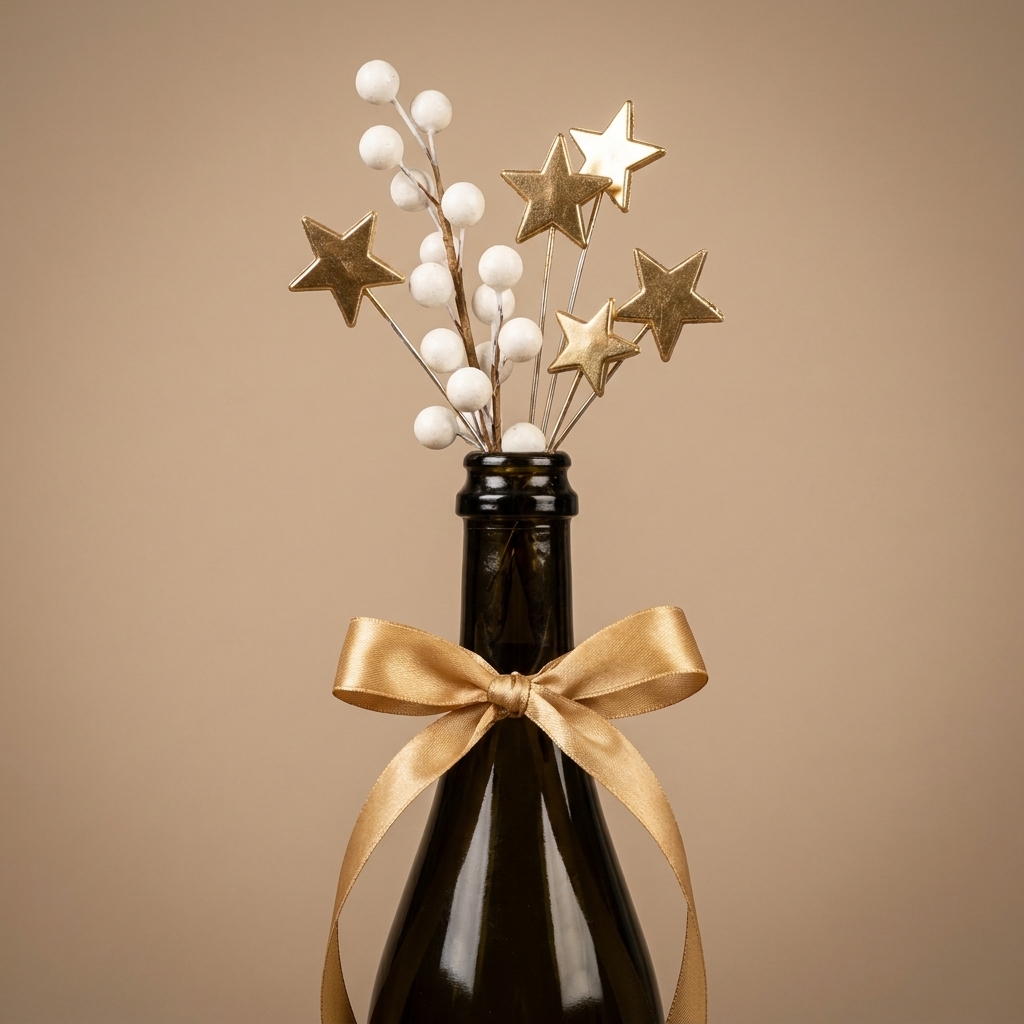
1) Champagne bottle vase
This one looks boutique, but it’s basically “dress up a bottle and call it art,” which is my favorite kind of DIY.
Supplies
- Empty champagne or sparkling cider bottle
- Gold or silver spray paint (optional)
- Metallic curling ribbon
- New Year’s party picks (stars, clocks, “2026” or “Happy New Year”)
- Faux stems (white florals, eucalyptus, or glitter branches)
Steps
- If you want, spray paint the bottle. Let it dry fully before it goes on the table.
- Tie curling ribbon around the neck in a big, bouncy bow.
- Arrange faux stems and party picks in the bottle like a mini bouquet.
Clara tip: For true under-an-hour timing, skip paint and wrap the bottle in metallic ribbon instead. It looks intentional and you get zero dry time.
2) Confetti candle tray
If you have 10 minutes and a tray, you have a centerpiece.
Supplies
- Round or rectangular tray (thrifted or dollar store)
- Loose confetti or metallic table scatter
- 3 to 6 votives (real in glass or LED)
- Optional: a small mirror from a frame
Steps
- Set the mirror on the tray if you have one (hello, reflection).
- Scatter confetti lightly, concentrating it around the candles.
- Group votives in a tight cluster for a luxe look.
Clara tip: If you’re using real flames, keep confetti well away from the candle edges and skip anything with a paper backing. LEDs let you go full sparkle with no stress.

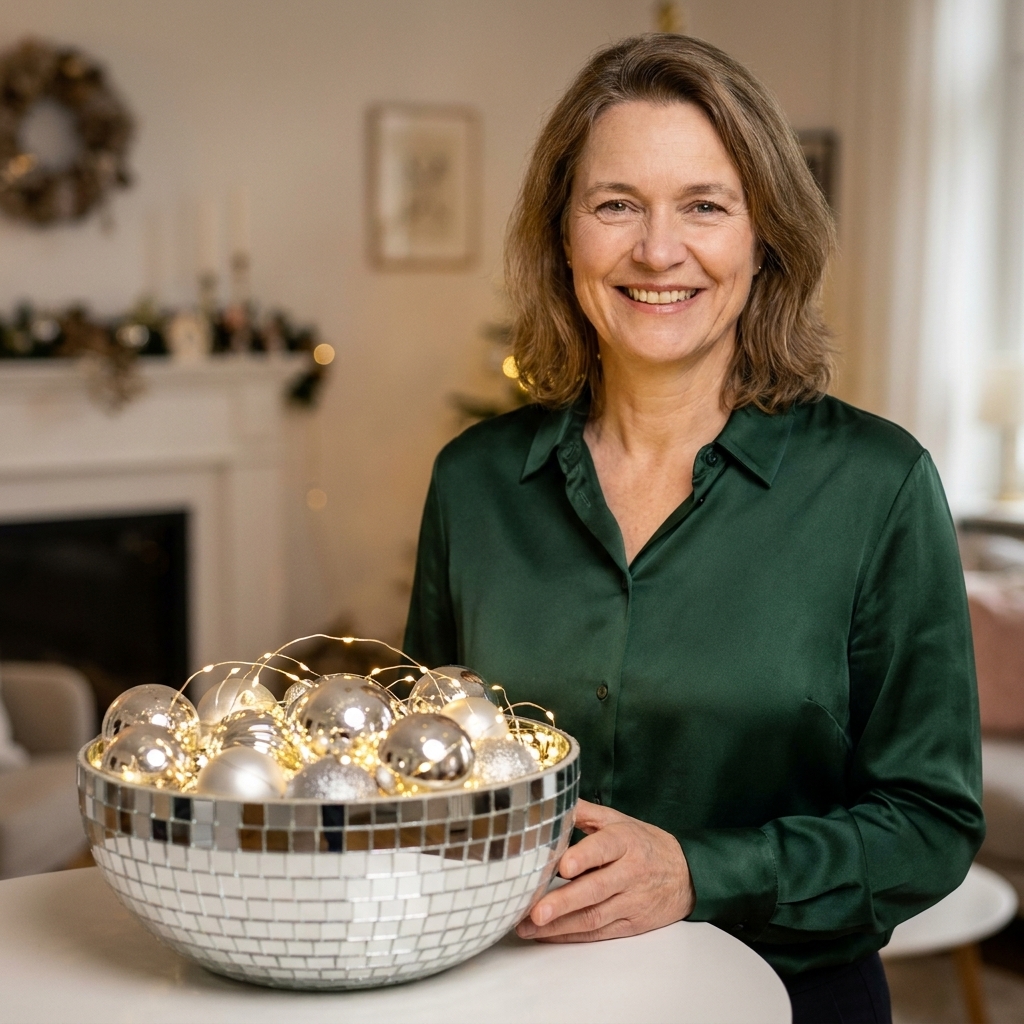
3) Disco bowl centerpiece
This is my shortcut to “studio party set,” especially if you mix silver with a little black.
Supplies
- Plastic bowl or compote (a pedestal bowl)
- Mini mirror tiles or a roll of mirrored mosaic stickers
- Hot glue or strong craft adhesive
- Battery fairy lights (optional)
Steps
- Cover the outside of the bowl with mirror tiles or mirrored stickers.
- Pop fairy lights inside and let a few peek over the rim.
- Leave it as-is or add silver ornaments or filler beads.
Clara tip: Full coverage can take longer than an hour. For a fast win, tile just the front and top rim where it catches light and let the back stay plain.
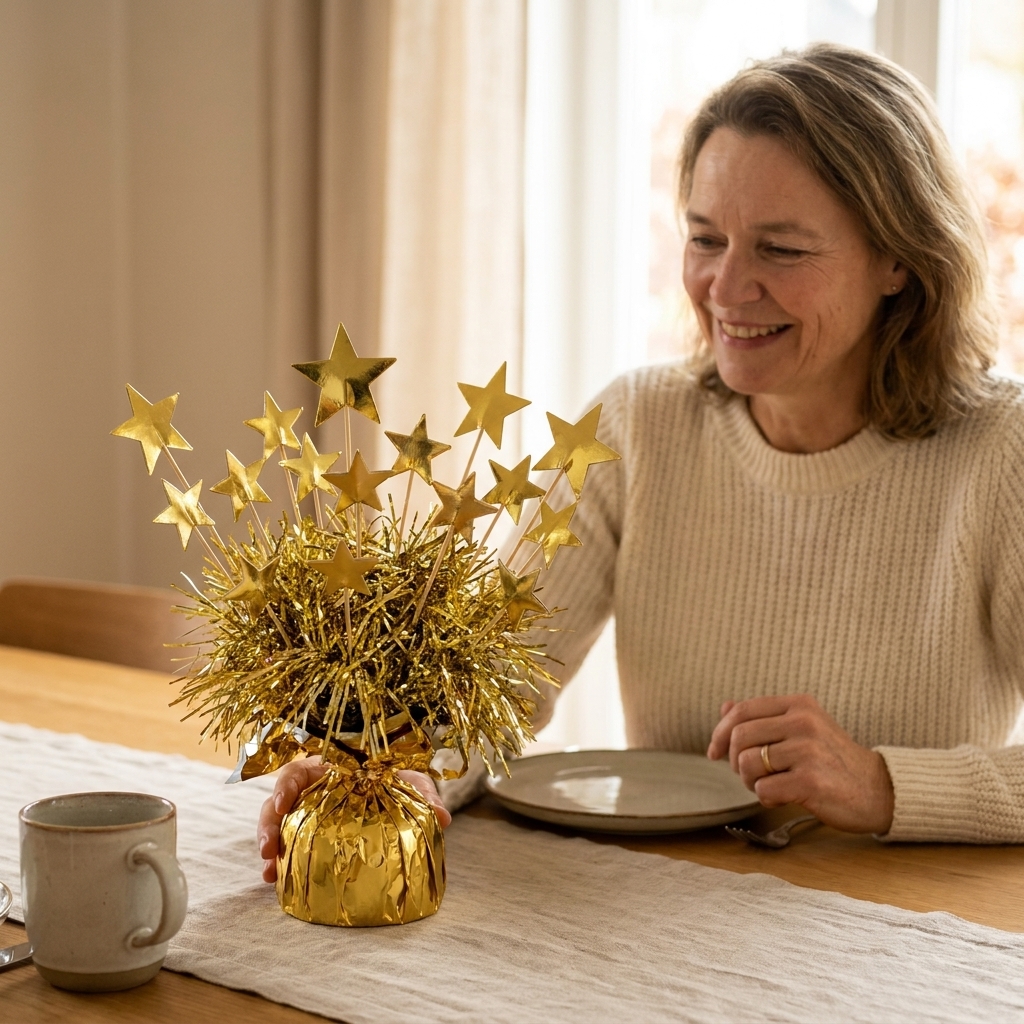
4) Balloon weight upgrade
Balloon weights are underrated. They are already designed to look festive, so we just elevate them.
Supplies
- 1 balloon weight
- Metallic tinsel garland or a feather boa
- Party picks or faux florals
- Optional: a small vase or cup to hide the base
Steps
- Wrap tinsel (or a feather boa) around the balloon weight until it looks full.
- Add party picks like a bouquet.
- Set it into a small vase or cup for a cleaner silhouette.
Clara tip: For a 6 to 8 foot table, plan on 2 to 3 of these, spaced every 3 to 4 place settings. It looks styled, not cluttered.
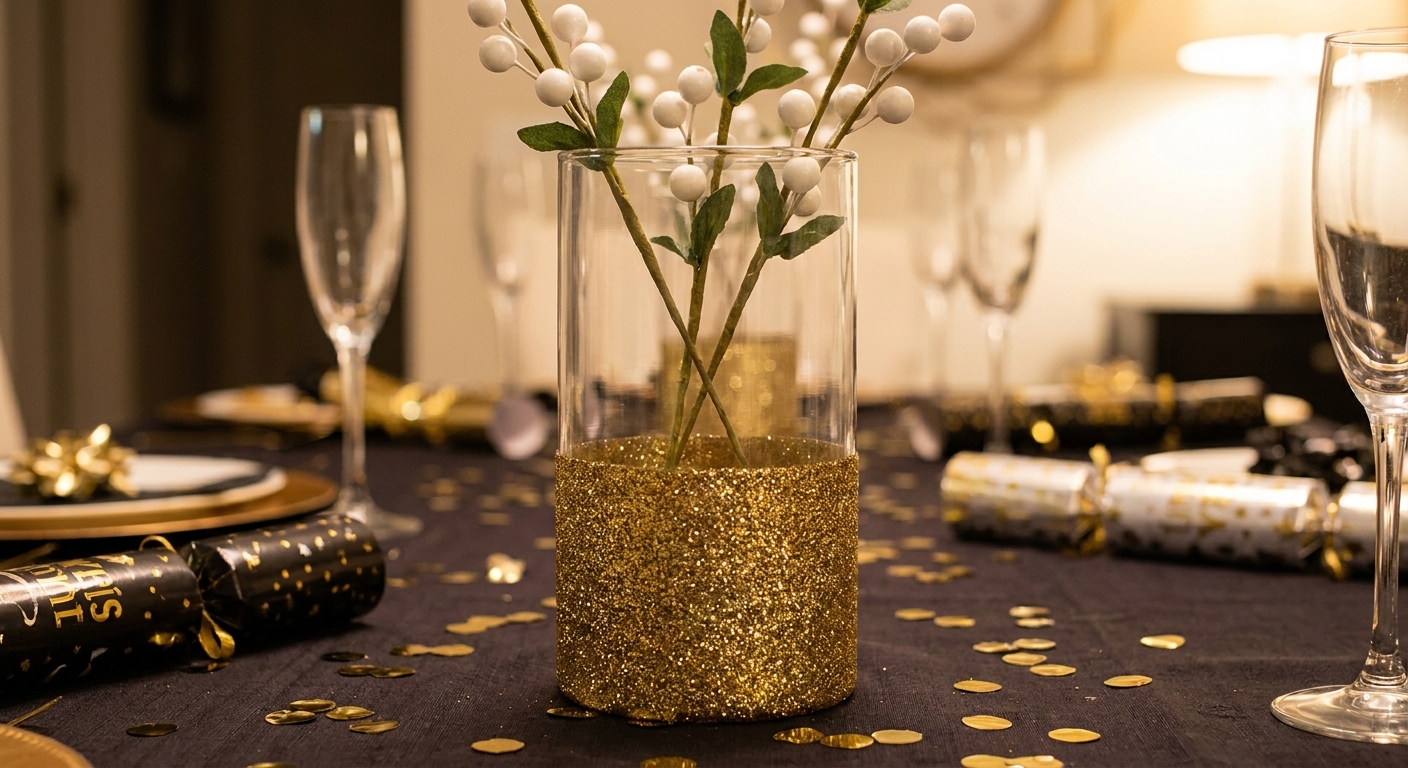
5) Glitter-dipped vase
Classic, sparkly, and it works with any color scheme.
Supplies
- Clear glass vase or cylinder
- Painter’s tape
- Mod Podge or spray adhesive
- Glitter (gold, silver, or champagne)
- White or black faux stems
Steps
- Tape off a clean line around the vase (about one-third from the bottom).
- Apply adhesive below the tape line and dip or sprinkle glitter.
- Peel tape once tacky-dry and add stems once fully set.
Clara tip: For last-minute decorating, do a glitter band instead of a full dip. It sets faster and still gives that “pop” across the table.
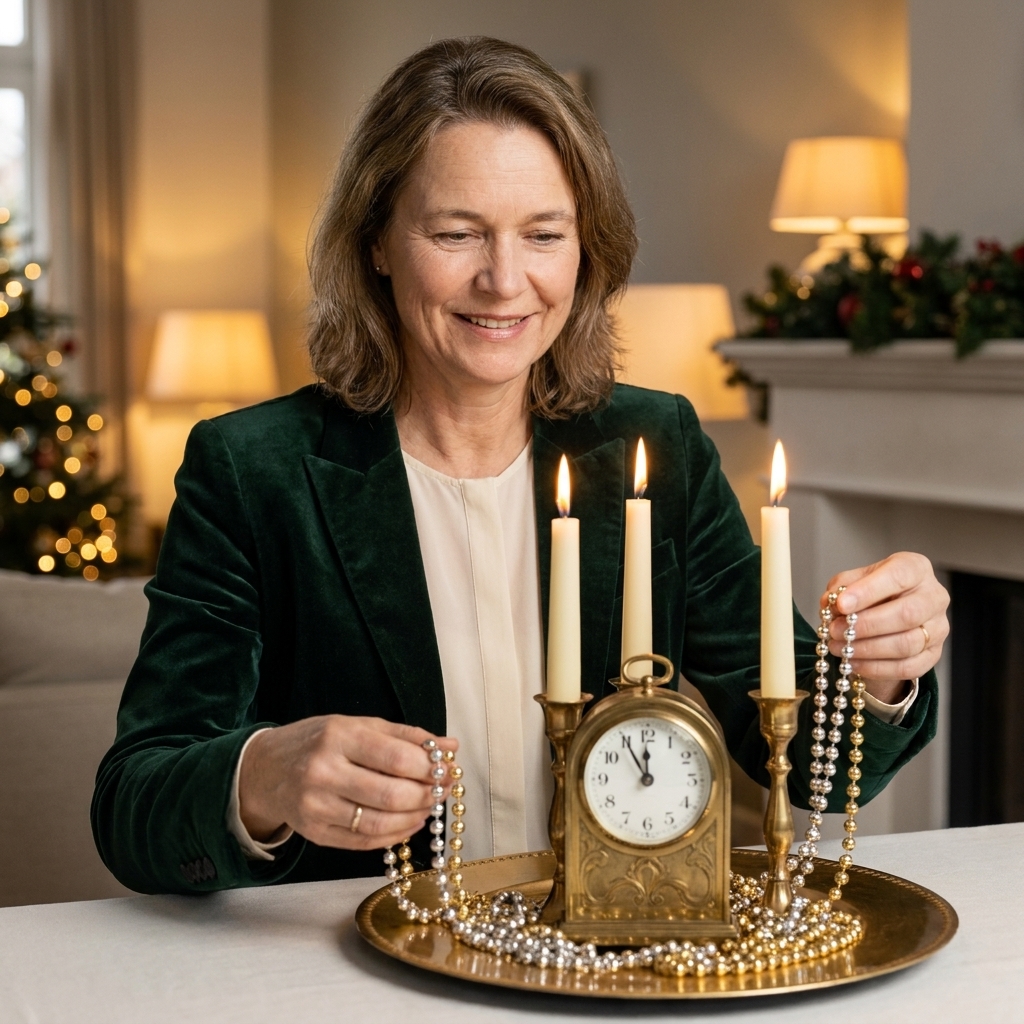
6) Clock centerpiece
This is a trick I stole from retail displays: give people a theme they can read at a glance.
Supplies
- Small decorative clock (thrift store or dollar store)
- Round charger or cake stand
- 2 to 3 candles (pillar or taper)
- Metallic filler: beads, ornaments, or confetti
Steps
- Place the clock slightly off-center on your base.
- Add candles in a small cluster beside it.
- Fill empty space with beads or ornaments for shine.
Clara tip: Set the clock close to midnight. It’s cheesy in the best way.
7) Candy jar tower
Edible decor is my love language, and this one doubles as a sweet snack station right at the table.
Supplies
- 2 to 3 clear apothecary jars or canisters
- Wrapped chocolates in black and gold
- One cake stand or upside-down bowl for height
- Ribbon for jar lids (optional)
Steps
- Fill jars with wrapped candies by color for a clean look.
- Stack heights using a cake stand or flipped bowl under one jar.
- Tie ribbon around lids for a finished feel.
Clara tip: Mix in a handful of gold-wrapped caramels among darker candies so it sparkles without looking busy.

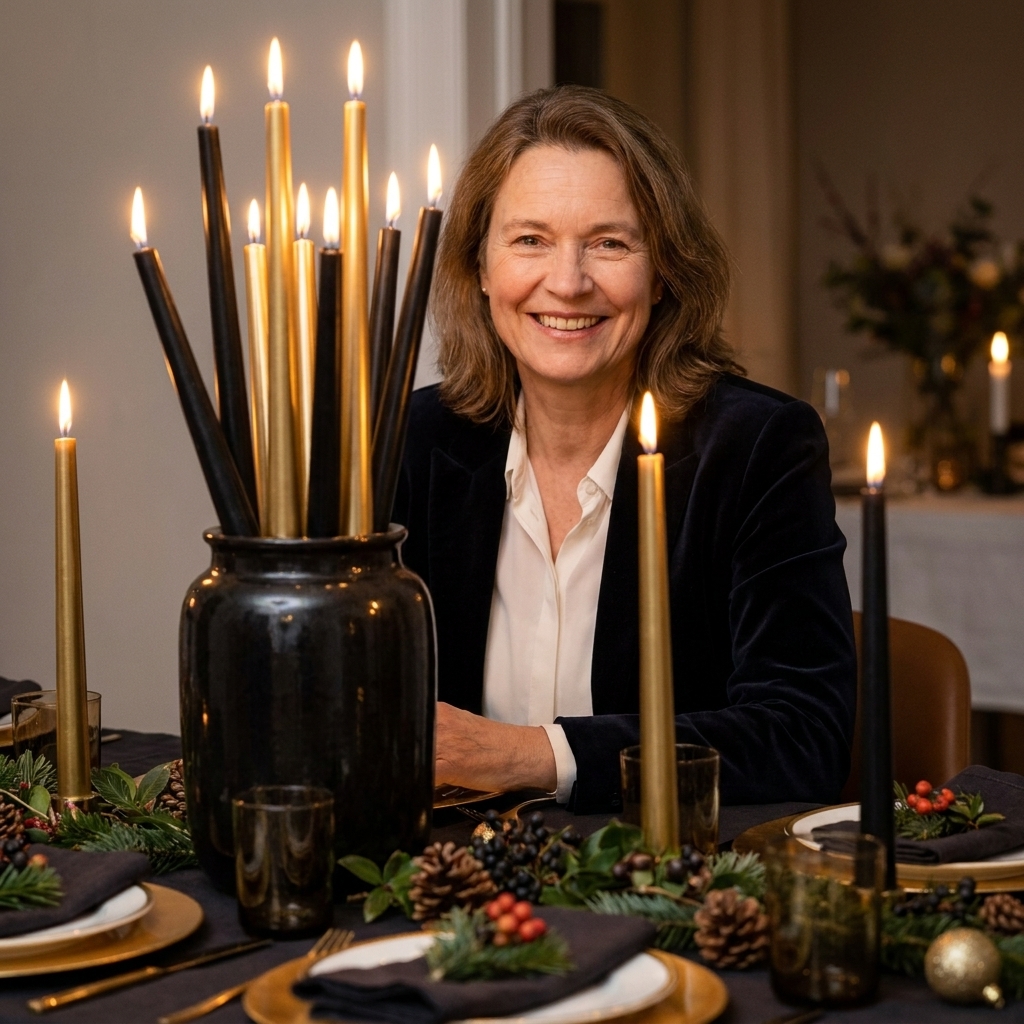
8) Taper candle bouquet
This looks dramatic, photographs beautifully, and takes almost no effort.
Supplies
- A vase or heavy tumbler
- 6 to 12 taper candles (black, white, gold, or silver)
- Candle holders that fit your tapers, or LED taper candles
- Metallic ribbon or bead garland
Steps
- If you plan to light real tapers, place them in proper candle holders and set those in or on a stable container.
- Arrange tapers at slightly different heights like a bouquet.
- Wrap the base with ribbon or bead garland, kept well away from flame zones.
Clara tip: My favorite version is LED tapers. You get the drama, you keep the table safer, and nobody is watching wax drip during dessert.
9) Ornament bowl
When I need something fast that still reads “intentional,” this is my default.
Supplies
- Shallow bowl (white, black, clear, or metallic)
- Plastic ornaments in gold, silver, black, and champagne
- Pearl bead garland or metallic bead strands
- Optional: one LED tea light tucked in the center
Steps
- Fill the bowl with ornaments, largest first.
- Tuck bead garland throughout like shiny spaghetti.
- Add one LED tea light if you want a warm glow.
Clara tip: Choose ornaments in two finishes max, like matte black and shiny gold, for a very high-end look.

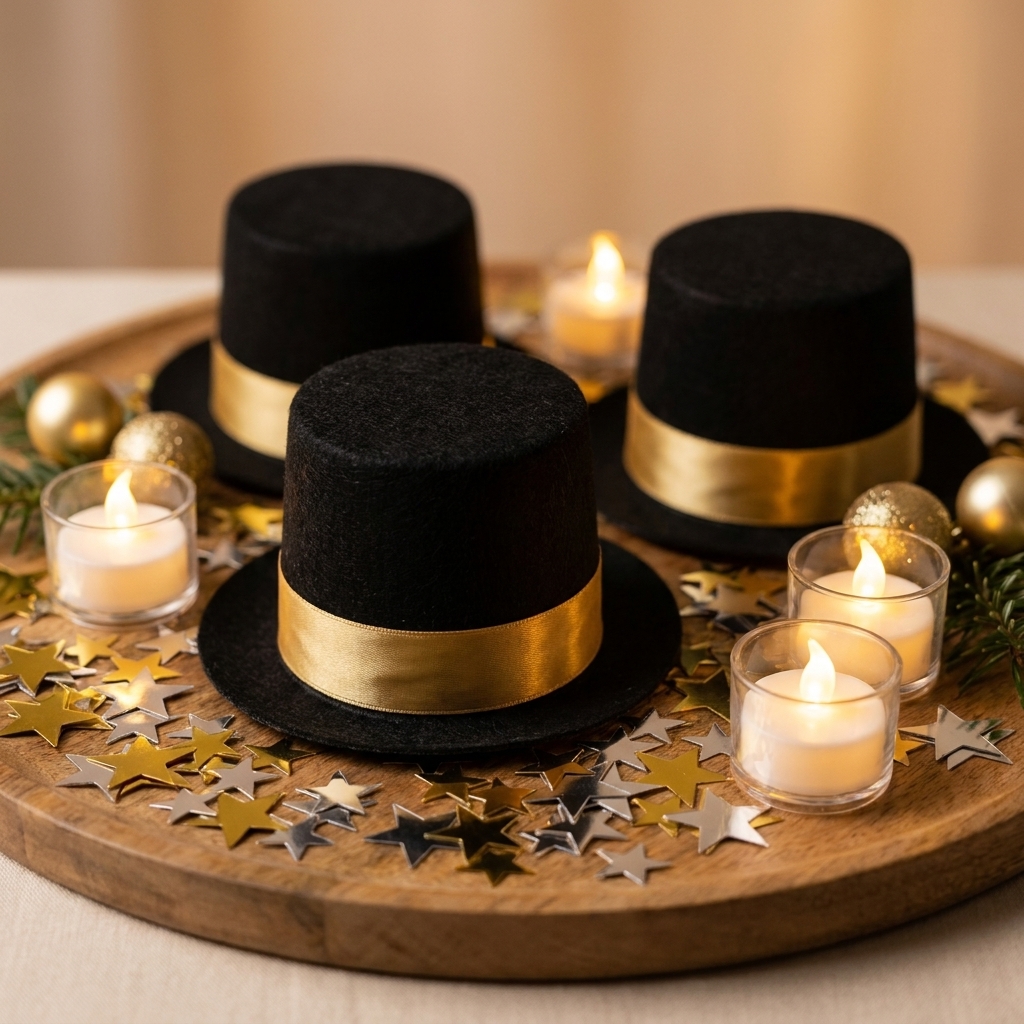
10) Mini top hat tray
Playful, a little retro, and so cute for families or a casual party spread.
Supplies
- Mini plastic top hats (party aisle)
- Hot glue
- Metallic ribbon and sequins
- Tray or charger
- Confetti or tinsel
- Optional: small battery tea lights
Steps
- Glue ribbon around each hat brim like a band.
- Add sequins or a tiny bow for extra sparkle.
- Arrange 3 to 5 hats on a tray with confetti or tinsel tucked around them.
- Place tea lights between hats for glow.
Clara tip: Keep the hats all one color (all black is classic) and let the sparkle come from your ribbon and scatter.
Low-mess, low-sparkle option
Not a glitter person? You can still do New Year’s Eve without the confetti migration.
Try this
- Fill a shallow bowl with lemons or pears.
- Tuck in a few sprigs of fresh greenery.
- Add 2 to 3 LED votives around the bowl on a tray.
Clara tip: One metallic element is enough here. Use a gold tray or a gold ribbon bow and let the rest stay clean and simple.
Quick styling upgrades
- Add a runner: black fabric, gold sequin, or even kraft paper for a modern base.
- Repeat one element: if your centerpiece has gold, echo it with gold napkin rings or cutlery.
- Use odd numbers: 3 candles, 5 hats, 7 ornaments. It photographs better.
- Mix textures: shiny (confetti), soft (ribbon), and natural (a sprig of greenery) keeps it from looking flat.
- Keep height guest-friendly: nothing taller than the face if you want easy conversation. If you go tall, keep it airy.
Last-minute supply list
If you are running out the door, these are the items I grab first because they can become almost any centerpiece above.
- Plastic serving trays or chargers
- LED tea lights and votives
- Metallic ribbon and curling ribbon
- Confetti or table scatter
- Party picks (stars, “Happy New Year,” numbers)
- Tinsel garland
- Clear vases and jars
- Ornaments (especially unbreakable)
Cleanup and storage
- Glitter shedding fix: a light mist of clear sealer helps, but even simpler is choosing chunky glitter that does not dust everywhere.
- Confetti control: keep it on a tray, not directly on the table, so you can lift and dump it in one move.
- Save it for next year: ornament bowls and candy jars store beautifully. Put everything back in the bowl or jar, wrap it, and you are done.
FAQ
How do I make a centerpiece look expensive on a budget?
Limit your palette (black, white, and gold is foolproof), cluster items tightly instead of spreading them out, and add a reflective element like a mirror, metallic tray, or mirrored tiles.
What is the fastest centerpiece if I have only 10 to 15 minutes?
The confetti candle tray or the ornament bowl. Both are essentially assemble and glow, with no drying time.
Any kid-friendly options?
The mini top hat tray and candy jar tower are both fun and sturdy. Use LED candles instead of flames, and stick with plastic ornaments if little hands will be helping.