Fresh florals, pastel linens, and seasonal tableware made simple. A step by step decorating plan for a welcoming spring garden party or Easter brunch.
The Festive Dwell
Sew a Reversible Spring and Easter Table Runner
A beginner-friendly sewing tutorial for a reversible table runner: one side for Easter, one side for everyday spring. Simple seams, crisp corners, and a polished finish.

Clara Jenkins
Clara Jenkins is a former visual merchandiser and lifelong holiday enthusiast who believes every season is worth celebrating. She helps readers transform their everyday spaces into magical, welcoming homes through budget-friendly DIYs, elegant tablescapes, and clever styling tricks. When she isn't untangling fairy lights or hot-gluing autumn wreaths, Clara can be found hunting for vintage ornaments at local flea markets.
Published October 17, 2026
Updated October 17, 2026
There is something deeply satisfying about a decor piece that earns its keep. This reversible table runner is my favorite kind of project: it looks boutique, it is forgiving for beginners, and it lets you flip your table from Easter brunch to everyday spring in about three seconds.
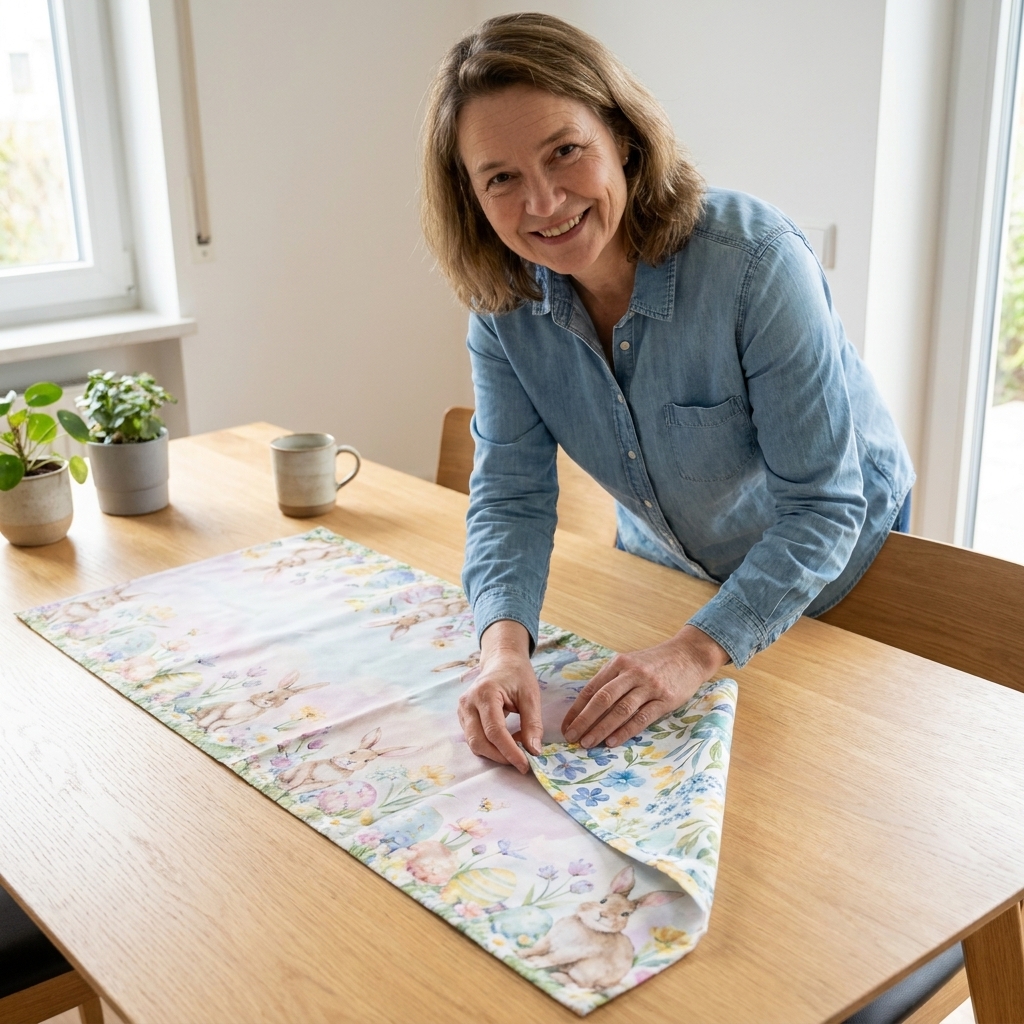
I learned this trick back in my visual merchandising days when we had to transition displays fast without buying twice. Same idea, just cozier and a lot more personal. One side can be bunnies, eggs, gingham, or a sweet pastel print. The other side is your “all of spring” option: floral, stripes, solids, linen-look cotton, whatever feels fresh.
What you will make
A reversible runner with clean, square corners and a neat topstitch all the way around. No binding required. No tricky quilting required. Just two fabrics, optional interfacing (or batting), and straight seams.
- Skill level: beginner
- Time: about 60 to 90 minutes
- Best part: two looks, one project
Pick your size
Runners are wonderfully flexible, but here is the sizing I use most often.
Length
- Classic drape: table length + 12 to 20 inches total (6 to 10 inches hanging off each end)
- Modern, minimal: table length + 6 to 10 inches total
- Centerpiece-only runner: long enough to anchor decor with no overhang (great for busy families)
Width
- Standard: 14 to 16 inches
- Narrow: 12 to 13 inches (nice for smaller tables)
- Wide: 17 to 19 inches (great if you like a fuller look)
My go-to: 16 inches wide and long enough for a 6 to 8 inch drop at each end.
Cut size vs. finished size: Cut both fabrics to the finished size you want. The seam allowance is taken from that cut size, so your finished runner will end up slightly smaller.
Seam allowance: I use 1/2 inch because it is sturdy and beginner-friendly. You can use 3/8 inch or 1/4 inch if you prefer. Just stay consistent throughout.
Yardage guide
You only need two rectangles, so yardage is usually simple. Here are quick, real-world numbers for a standard 44 to 45 inch wide quilting cotton.
- 16 x 72 inches (good for many 6 ft tables): buy 2 yards of each fabric (gives you room to square the cut and match prints)
- 16 x 90 inches (longer tables or more drape): buy 3 yards of each fabric
How to calculate your own: Take your runner length in inches, add 4 to 8 inches for squaring and peace of mind, then divide by 36 to get yards. If you are using a directional print (like bunnies that face one way), add a little extra so you can center the motif nicely.
Materials and tools
- Fabric A (Easter side): quilting cotton or cotton-linen blend
- Fabric B (spring everyday side): similar weight to Fabric A for the nicest drape
- Optional interfacing or batting: lightweight fusible interfacing for body, or very thin cotton batting for a softly padded look
- Matching thread
- Sewing machine (you can sew this by hand, but it will take longer)
- Iron and ironing board (pressing is half the magic)
- Fabric scissors or rotary cutter + mat
- Ruler or measuring tape
- Pins or clips
- Turning tool (a chopstick or blunt knitting needle works)
Fabric pairing ideas
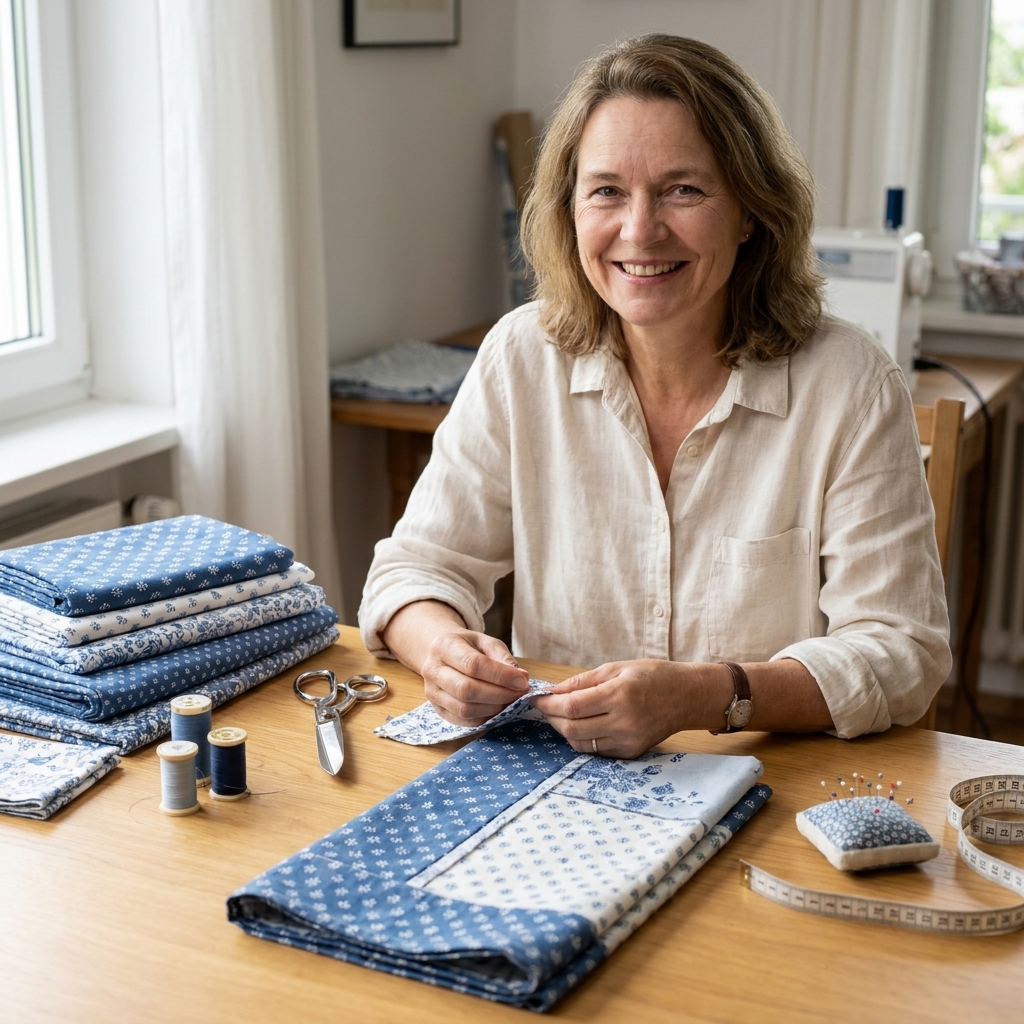
If you get overwhelmed choosing two fabrics, this is my little merchandiser shortcut: pick one “personality” print and one “calm” print.
- Easter print + ticking stripe: bunnies or eggs on one side, a soft stripe on the other
- Gingham + tiny floral: classic and cheerful, not too theme-y
- Pastel toile + solid: elegant brunch vibes, everyday-friendly flip side
- Neutral linen-look + playful Easter motif: best of both worlds for minimalists
Tip: Try to keep both fabrics in the same temperature family (both warm, or both cool). That is the secret to a runner that reads “curated” instead of “random.”
Step-by-step
1) Prewash (optional) and press
If your fabrics are likely to shrink, prewash and dry them the way you plan to launder the finished runner. Then press well. Crisp fabric is easier to cut accurately, and accurate cutting makes sewing beginner-friendly.
2) Cut your fabric
Cut one rectangle from Fabric A and one rectangle from Fabric B to your chosen cut size (see note above about finished size). Square up your fabric first so your runner does not twist later.
Directional print note: If your Easter fabric is one-way (bunnies, carrots, lettering), orient it so the design runs lengthwise. That way it looks “right” from both ends of the table.
Optional: If using interfacing, cut it the same size, or slightly smaller (about 1/4 inch less on all sides) to reduce bulk. If you prefer, you can fuse it full-size and trim it back after fusing.
3) Add interfacing (optional but lovely)
If using fusible interfacing, fuse it to the wrong side of one fabric following the package instructions. I usually apply it to the everyday spring side so the runner feels a touch more structured all season long.
4) Pin right sides together
Place Fabric A and Fabric B right sides together. Match edges and corners. Pin or clip around the perimeter.
Leave a turning gap of about 5 to 7 inches along one long side.
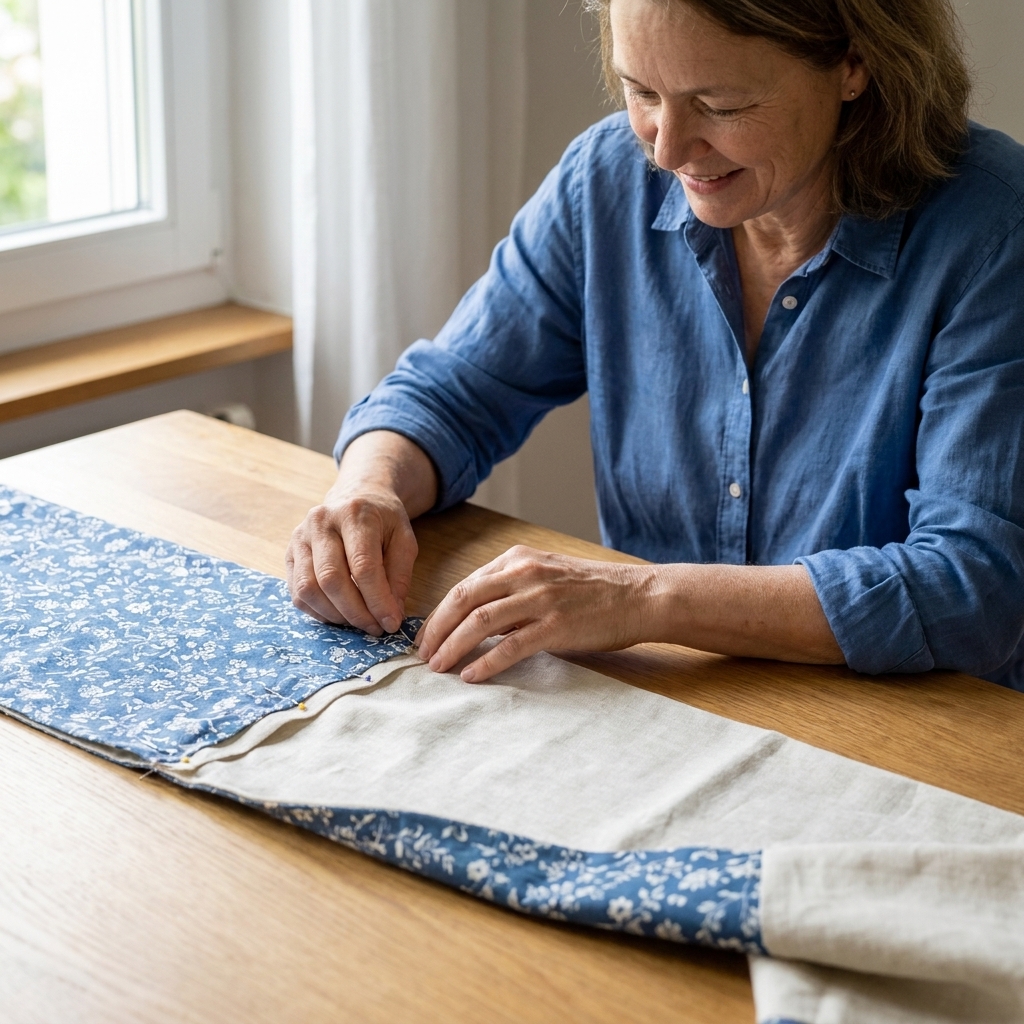
5) Sew around the edges
Sew all the way around using your chosen seam allowance (I use 1/2 inch), pivoting at corners. Backstitch at the start and stop. Remember to leave the turning gap unsewn.
Stitch length: For the main seam, a normal length like 2.5 to 3.0 is perfect.
6) Trim and clip corners
This is the step that makes your corners look polished instead of puffy.
- If your fabric is bulky, trim the seam allowance down to about 1/4 to 3/8 inch and grade if needed (trim one layer slightly narrower than the other).
- Clip diagonally across each corner, close to the stitching but not through it. Leave about 1/8 inch of fabric from your stitch line so the corner does not pop open.
7) Turn and press
Turn the runner right side out through the gap. Use a turning tool to gently push corners into a crisp point.
Press the runner flat, rolling the seam with your fingers so the edge is sharp. Tuck the raw edges of the turning gap inside and press that area neatly, too.
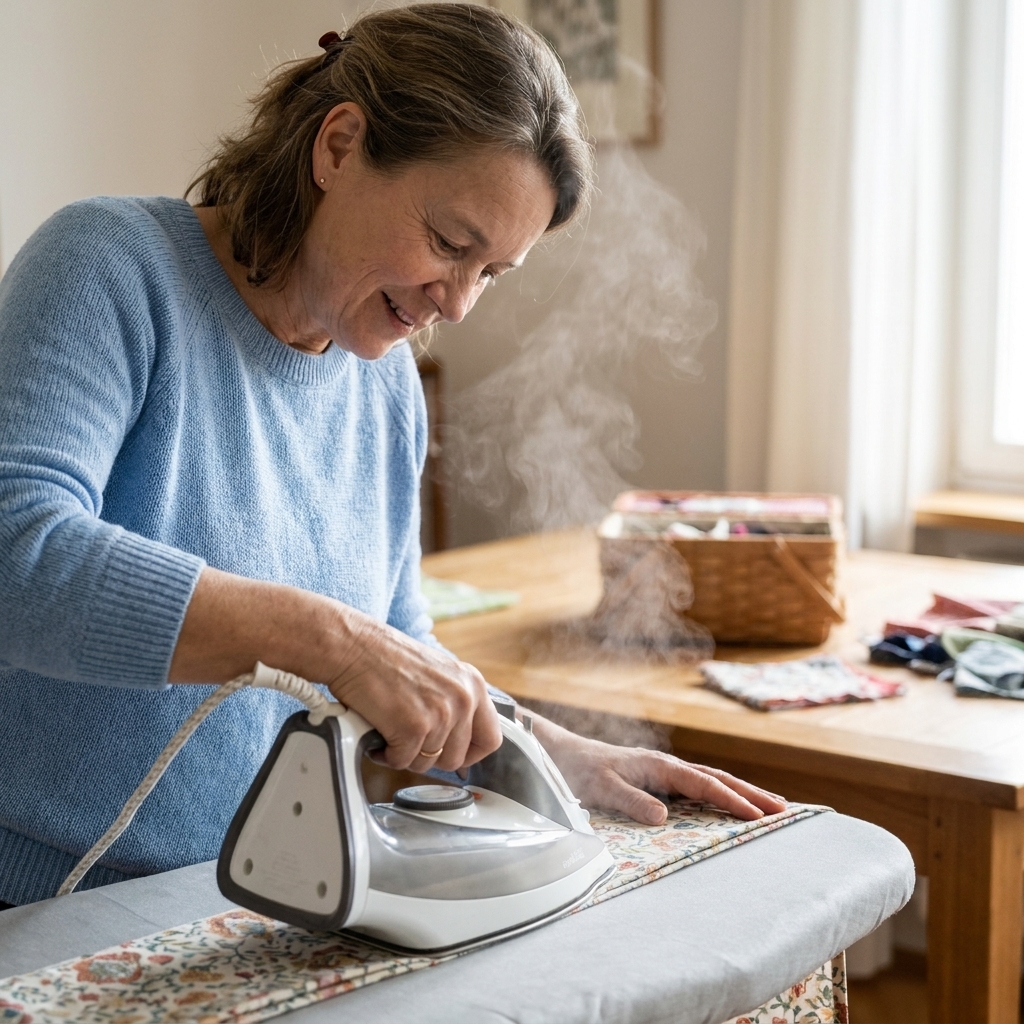
8) Topstitch to finish
Topstitch around the entire runner about 1/8 to 1/4 inch from the edge. This closes the turning gap and gives the runner that “store-bought” look.
Stitch length: For topstitching, bump it up to 3.0 to 3.5 for a cleaner, flatter look.
Optional upgrade: Add a second row of topstitching about 3/8 inch from the edge for an extra tailored finish.
Pressing tip: If one fabric is much darker than the other and you notice shadowing at the edge, press so the seam rolls ever so slightly toward the darker side.
9) Final press
Give it one more press, then lay it on the table and smooth it with your hands. Fabric relaxes after sewing, and that final press is the secret handshake of tidy DIY decor.
Finishing options
Option A: Square corners
This tutorial uses square corners, and honestly, they look clean and modern. Perfect for layering with plates and a centerpiece.
Option B: Mitered corners
If you feel ready for a challenge, you can sew mitered corners for a very crisp look. If you try it, practice on scraps first. Then sew slowly and press each step. Pressing matters more than speed here.
Option C: Corner tassels
If your everyday side is simple, corner tassels add that little boutique flourish. Sew the runner almost completely, sandwich a tassel into each corner (tassel pointing inward), stitch, then turn and topstitch.
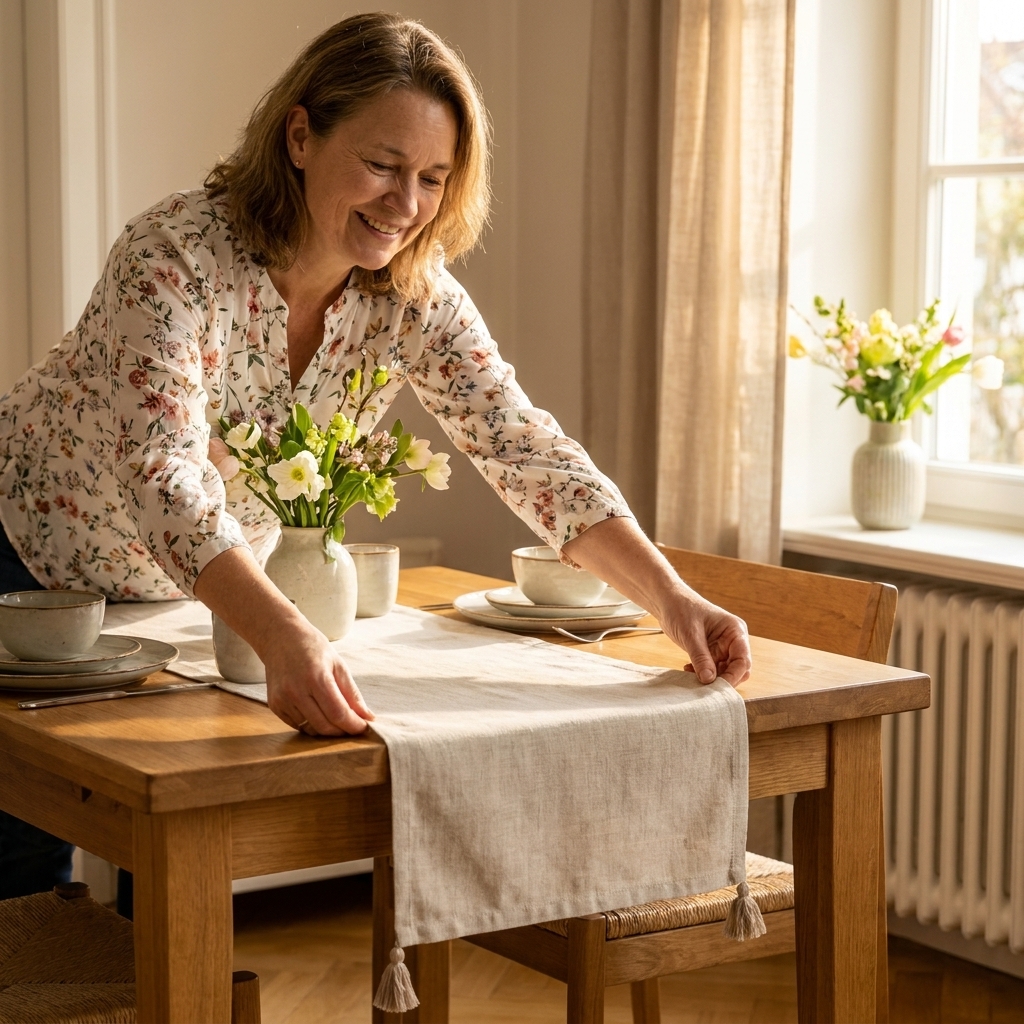
Style it for Easter
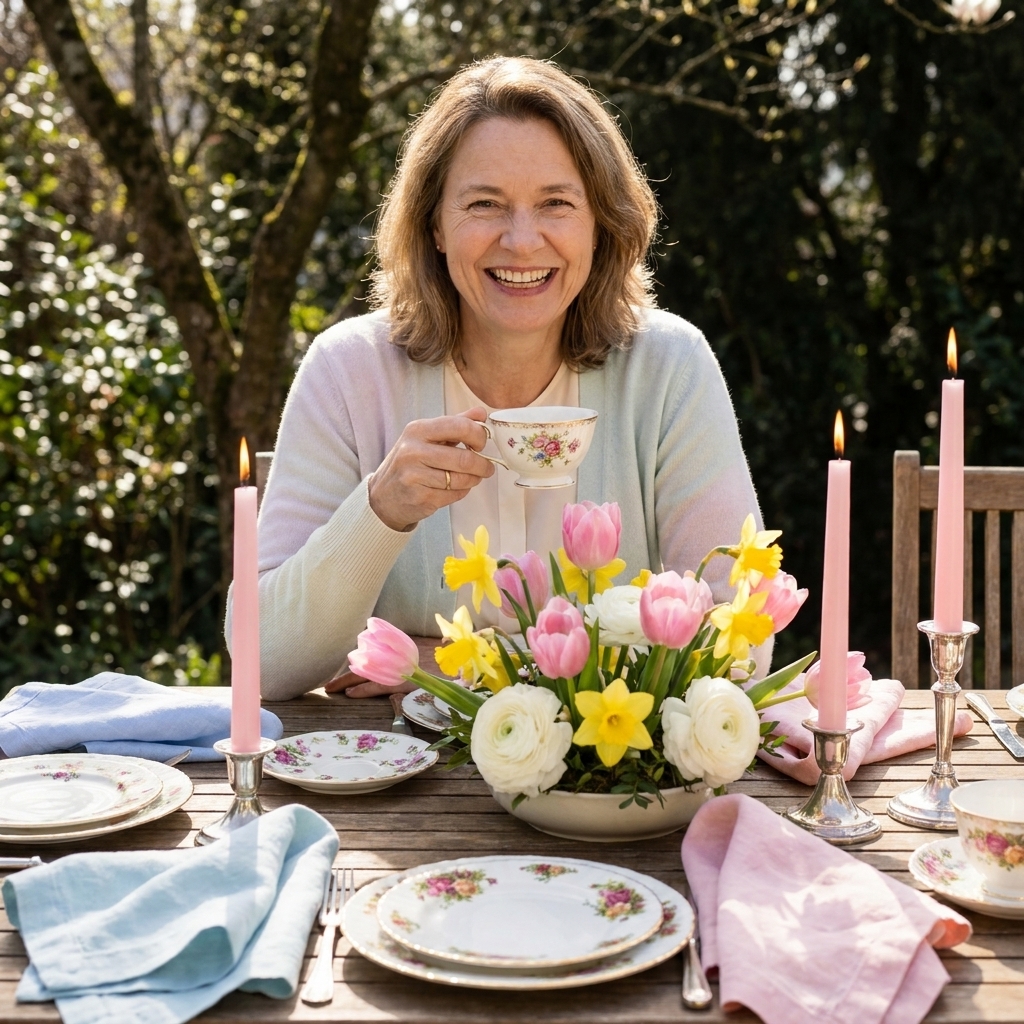
When you flip to the Easter side, let it feel joyful, not cluttered. A runner is your “visual path,” so keep the height in the center and the place settings calm.
- Centerpiece: a low bowl of faux moss with speckled eggs, or a line of bud vases with tulips
- Layering: white plates + pastel napkins + a simple tied ribbon
- Natural texture: rattan chargers, a woven bread basket, or a few clipped branches in a vase
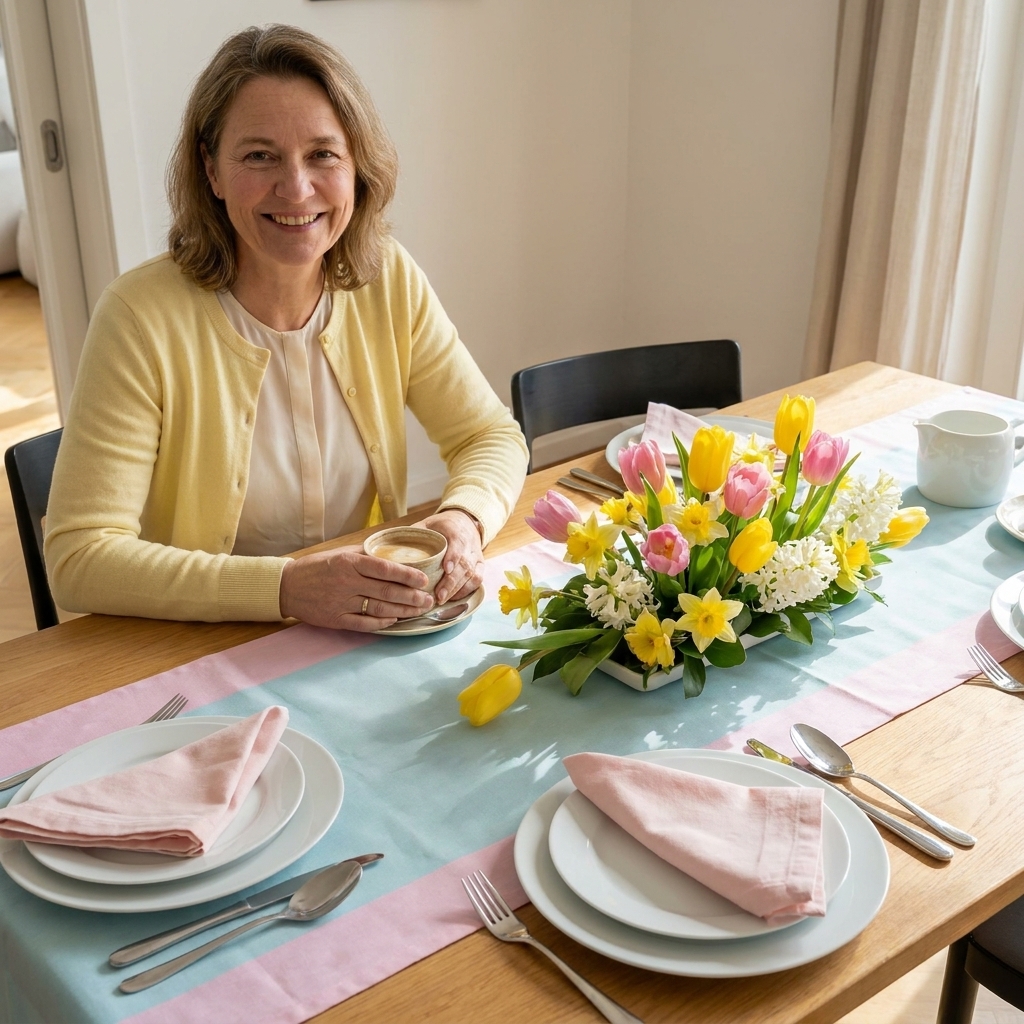
Style it for spring
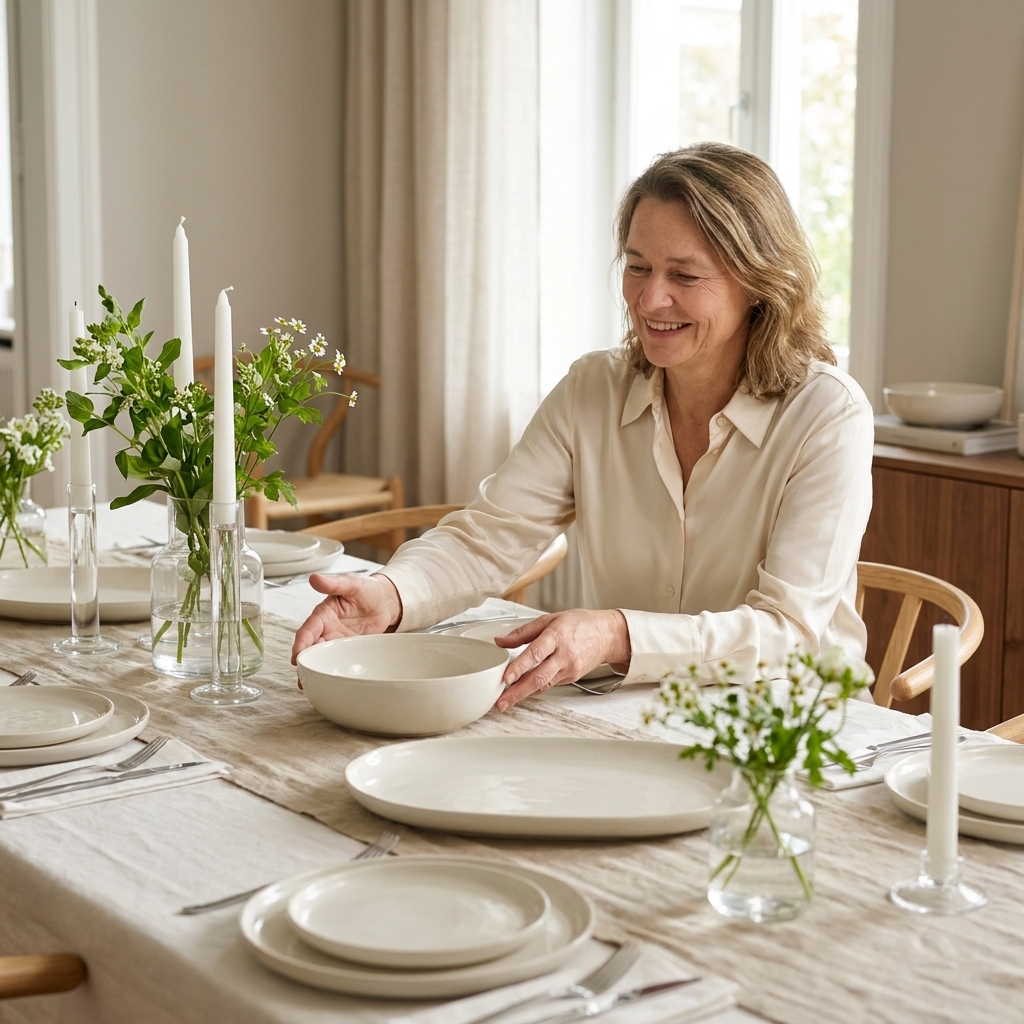
This is the side you will keep out longer, so I like it a little quieter.
- Keep a “living” centerpiece: a potted herb, a simple ceramic vase, or a bowl of lemons
- Mix materials: one wood element, one ceramic element, and one glass element makes it feel designed
- Repeat a color: pull one color from the runner into napkins or candlesticks for instant cohesion
Care and storage
- Washing: follow your fabric and interfacing or batting care labels. In general, gentle cycle cold is kind to most cottons, but test first if your fabrics are high-contrast or richly dyed.
- Drying: line-dry or tumble low if your materials allow, then press
- Storing: roll around a cardboard tube (like a gift wrap tube) to avoid hard creases, or fold loosely and store with a lavender sachet
Troubleshooting
It looks wavy after topstitching
This usually means the fabric stretched slightly. Press well, use a slightly longer stitch length (around 3.0 or a touch higher), and guide the fabric without pulling.
The corners are bulky
Trim the corner closer to the seam and consider grading the seam allowance (trim one layer slightly shorter than the other). Also, push corners gently. Aggressive poking can distort the stitch line.
It twists when I flip it
This is often a cutting issue. Next time, square your fabric before cutting and measure twice. For this runner, a thorough steam press and careful edge rolling can help it behave.
The turning gap looks obvious
Press the seam allowance inside very crisply before topstitching, and pin that section. You can also hand stitch the opening closed with a ladder stitch before topstitching for an invisible finish.
Quick FAQ
Do I need batting or interfacing?
No. But a lightweight fusible interfacing makes it feel more substantial and helps it lay flat. If you love a softly padded look, choose thin batting and keep your topstitching neat.
What fabric is best?
Quilting cotton is the easiest for beginners. Cotton-linen blends drape beautifully and look a bit more elevated, but they can wrinkle more.
Can I make this for a round table?
Yes. Keep the runner narrower (around 12 to 14 inches) so it does not overwhelm the shape. Let it drape over the edges if you like that romantic look.
How do I keep it from sliding?
If your table is slick, use a thin strip of shelf liner underneath, cut narrower than the runner so it stays hidden.
A tiny pep talk
If your stitches are not perfectly straight, congratulations. You are officially making something with your hands that will live at the center of your home. Put on a playlist, keep your iron hot, and remember that the magic is in the finished feeling, not microscopic perfection.
When you are done, set the table even if it is just for Tuesday night takeout. That is how festive homes are built, one small seasonal moment at a time.